Thursday, September 29, 2022

Extending Zone 9 to another bed

 With the small front yard area between the sidewalk and the driveway dug up, and put back, we can turn to the irrigation system.  We have 3 areas to consider -- the top around the Oak tree (Fuzzy), the middle, and the bed by the garage and the front porch.  The bed is likely to be different from the other two areas, and we have another bed on the other side of the sidewalk, next to the house, so it seems natural to add the front bed to the already existing Zone 9, and then use Zone 11 for the other two areas.


The main difficulty is that the sidewalk is between the two beds.  To extend Zone 9, we will need to tunnel under the sidewalk to run a pipe to connect the two sections.

First we did down on the "new" side of the sidewalk, to expose the pipes that we want to connect to.


The pipe going towards the street is where the water used to come in, but now is just disconnected.  We remove it.


On the other side of the sidewalk, we have a sprinkler head (the end of Zone 9).


We dig down to find the actual pipes. We have to be careful here not to disturb the plants.


Getting under the sidewalk seems to be the main problem.  Our model of the sidewalk is about 4 to 6 inches of concrete, then some dirt they put down as a base for the concrete, and eventually, construction debris or the native mix of rock and dark clay soil.  But it appears we have only dirt, and digging thru that, we hit concrete.


Our view of the sidewalk is obscured by the stone edging of the bed.  If we remove it, we can see the actual sidewalk structure itself.  So we do.


With the stone edging gone, we can see the sidewalk structure clearly.


Our basic model is correct, although it may be 8 to 10 inches of concrete.  Then a layer of light brown soil (sandy loam?) used as a base -- about 6 to 8 inches.  Then probably construction debris, but whatever, it's rocky.

So our best chance of getting thru is in the sandy loam.  But how to do that?  After much investigation of masonry core bits, earth augers, and such, we realized that the sandy loam is very soft and decided to just use a high pressure water stream.  We used our pressure washer and was able to get thru more than 2 feet of the dirt.  Then putting our six-foot pry bar in the hole and using a sledge hammer, we were able to break thru to the other side.

The pry bar was useful to dislodge the large rocks that had been buried in the sandy loam, and to enlarge the hole so that we could slide a 3-inch PVC pipe thru it.

Then we could run a 1/2-inch PVC pipe thru the 3-inch pipe and connect it to both the old Zone 9 line


and connect it to the 3 sprinkler heads in the bed next to the garage.


We had to cap off the end of the new section of pipe, in the bed close to the garage.


And, it turns out, there was a leak in Zone 19 that I had to fix too. Over by the gas meter, the line that ran from the heads near the house across, under the River of Rocks, to the wall at the neighbor's property line.  That line had come loose -- it looked as if when the new Zone 9 layout was done in August 2019 this line was near cemented in place; the pipes were just fitted together.


Once that leak was fixed, we could test Zone 9 and it worked as expected, allowing us to shovel the dirt back into the holes on both sides of the sidewalk.


Zone 9 now has about 19 heads on it, which seems like a lot.


Tuesday, September 27, 2022

Replace Fire Extinguisher

 We have a small home fire extinguisher in the utility room.

We first put one in here back in September 1986.

One of the properties of small children is they get into everything, and you have to watch them all the time.  In this case the grandchild was attracted to the fire extinguisher, and in the process of telling him to "leave it!", I noticed that it was undercharged.

I believe this happened once before, with my own kids -- they noticed it was undercharged and needed to be replaced.  

I  found a replacement at Lowes for $19.98.  First Alert  HOME1 Rechargeable 1-a:10-b:C Residential Fire Extinguisher. Model FE1A10GR195.

The first step is to remove the old fire extinguisher.

The new one is smaller than the old one, and has then a smaller bracket.  So we remove the old bracket.

Thankfully, the mounting holes are still in the same place, so we can just reuse them to mount the new bracket.

Then we put the new extinguisher on the new bracket

and we are ready for another 15 or 20 years.  Just to be sure, we check and see that it is properly charged.


Tuesday, September 6, 2022

Digging up the remainder of the Front Yard, Part 2

We started digging out this section of the yard back in May 2022, but I developed back problems from the work, so I didn't get back to it until late July.  But it stayed the same as when I left it (other than a bunch of leaves that fell in the hole).


The first thing to do was take out the little corners that had been left, next to the sidewalk and diagonal from that, to make it a simple rectangle.

Then apply the jack hammer to break up the rock shelft


and clear all of that rock out of the hole.


Then use the jack hammer to break up the next patch towards the sidewalk.  First break up the top dirt layer of about 8 inches, and scrape it down into the part of the trench that we have already dug.


Then take out the 8 to 9 inch layer of construction rubble that was buried when they built the house.


And finally break up and remove the foot or so of rock under all that, to get down to what we are using as the new bottom of the trench.


And repeat it once more to get all the way to the driveway.

This takes weeks, and produces lost of rock to be gotten rid of, plus some relatively rock free dirt, which we can mix with leaves and grass and re-use.  But we have to put it someplace while we work.  So we put it "behind" us, in the trench.

But now we want to continue digging, closer to the street, closer to the tree, Fuzzy. But not so close that we damage the roots of Fuzzy.

We notice there is a spacer in the sidewalk, about as close to Fuzzy as we would want to be.  And another spacer in the driveway a bit closer, but roughly again, as close as we would want to be to Fuzzy, to protect the roots.  So we run a string line from one spacer to the other, to define the totality of the space that we want to dig up here -- how close we can get to the tree.

 Note that we have to shave off some of the dirt that we pile up when we were first starting to excavate.

Then we can again start digging it up, first the dirt, then the construction rubble, then the solid rock, working our way from the sidewalk towards the driveway.  Rock gets put on the driveway to be gotten rid of later. Dirt gets mixed with leaves and grass and piled up in the trench where we first excavated, next to the bed in front of the house.

July turns to August, which turns to September.

We continued the trench across the front yard.


 First we remove the top dirt layer.  This exposes the construction rubble.


And then go thru that and the underlying rock, to get the next section dug out.


And finally repeat this same process on the last chunk of dirt, next to the driveway.


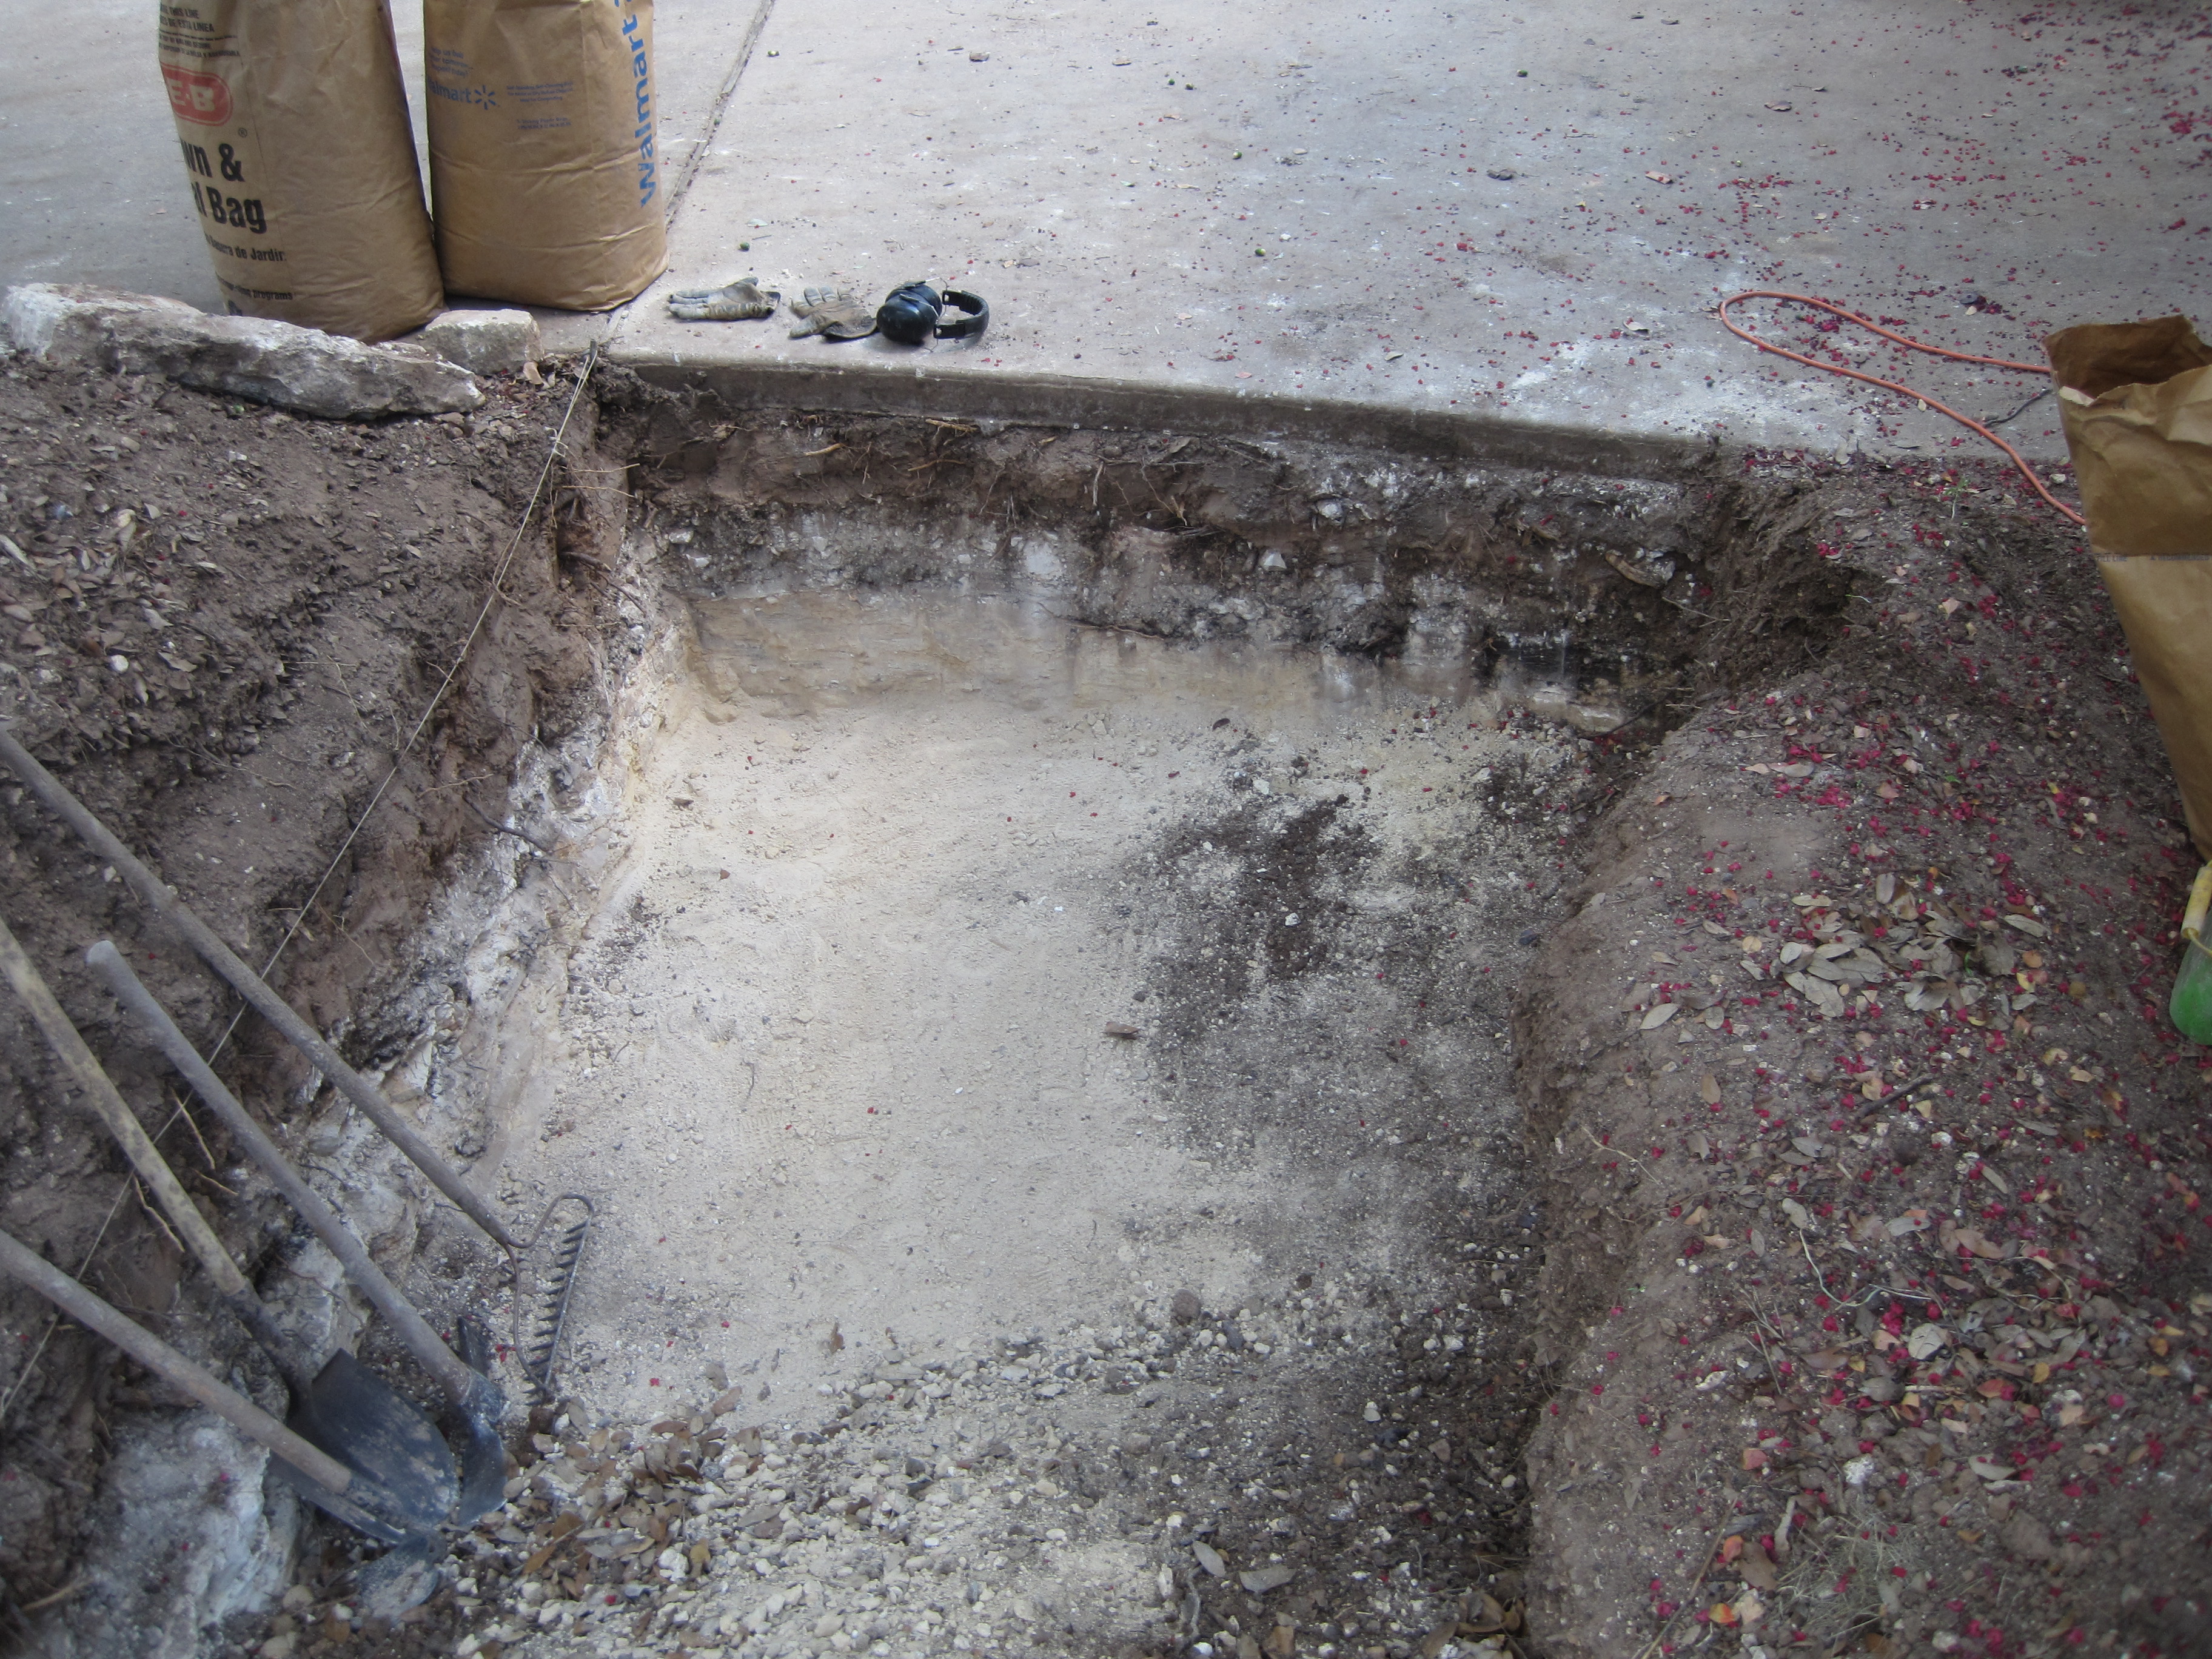
This gets us 30 inches down.


The top 8 to 10 inches are dirt.  The bottom 12 to 14 inches are solid bedrock.  The 6 to 10 inches between these two layers is construction rubble.

But having finished that, we can then put the dirt back in the hole.  A coupld of days shoveling from the piles on either side into the hole, and we get a relatively smooth patch of dirt back.


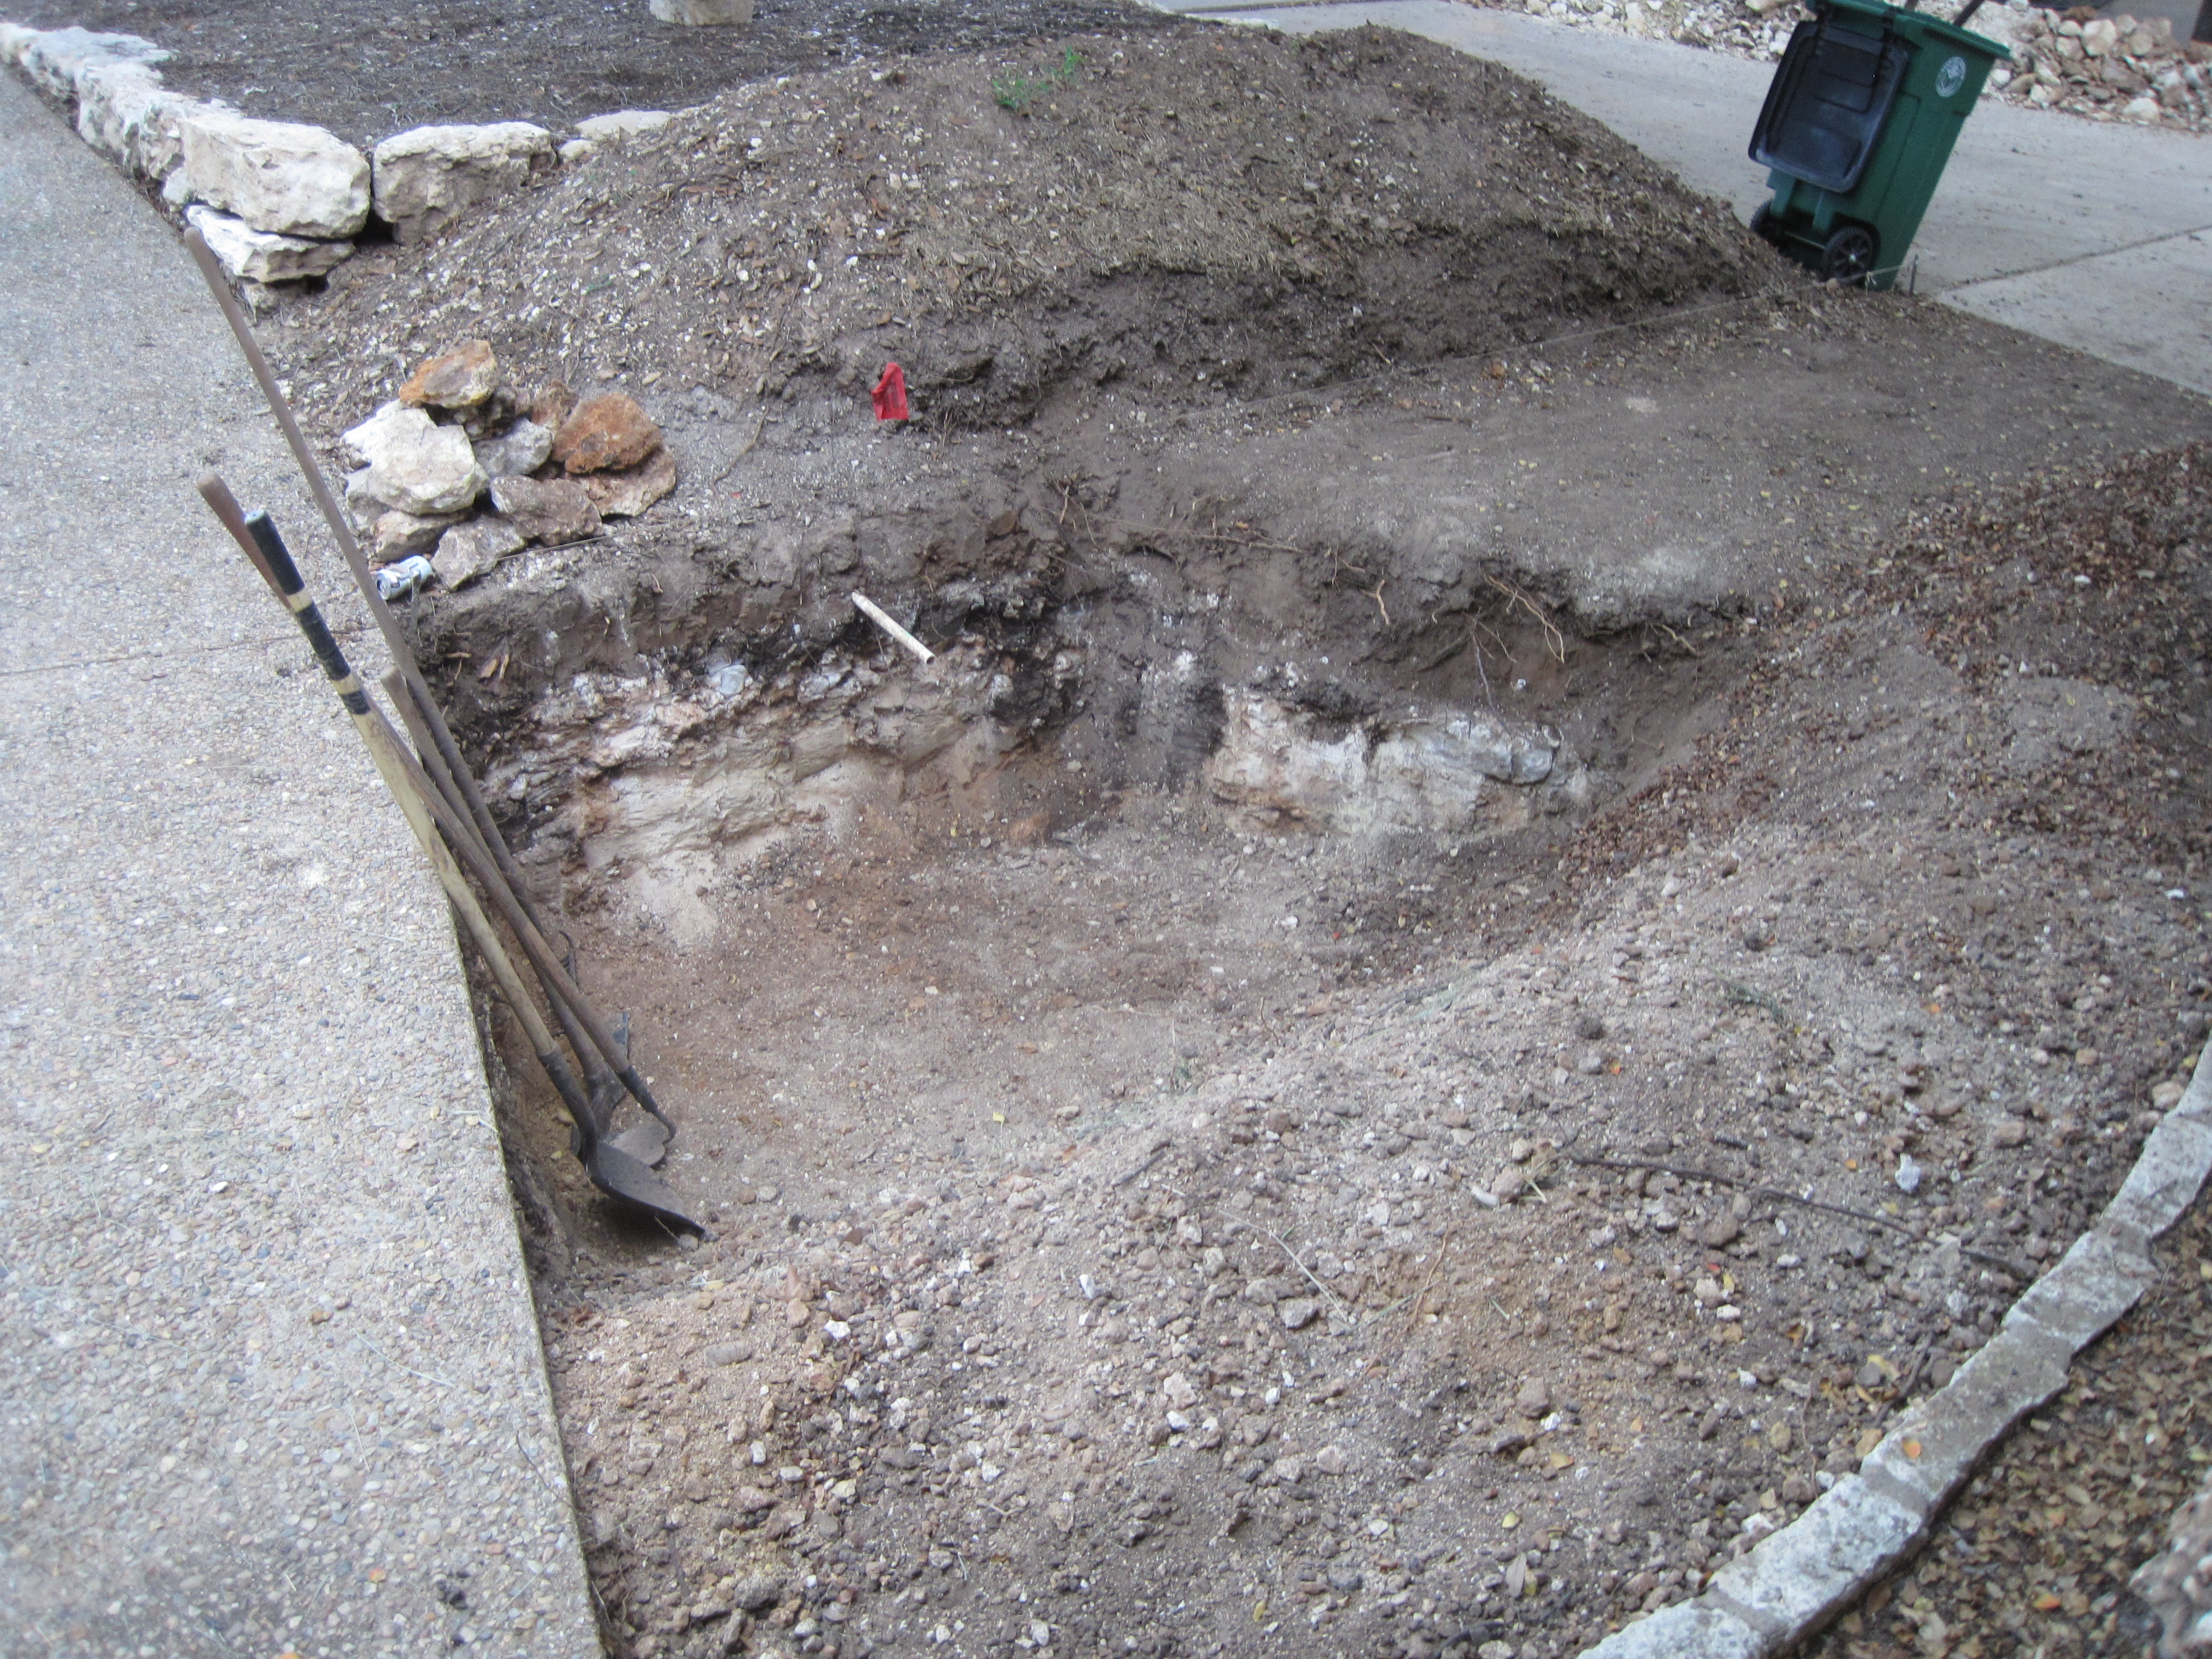
The bottom two-thirds of this patch have been excavated, and we expect the dirt for that part to settle over time.  After all, all the rock lined up along the other side of the driveway in this photo (and more) was excavated out of this lower section of the front lawn.


Wednesday, August 3, 2022

Irrigation Water Usage

 After replacing the heads in Zone 4 and Zone 6 (and finding and fixing multiple leaks), we wanted to see what effect it had our water usage.

We have checked our water usage before, in July 2014, October 2017, July 2020, and July 2022.  This time, we simply read the water meter on Tuesday night, before it went off, and then again on Wednesday morning after it had run it's normal cycle.

It used 1462 gallons.


Friday, July 29, 2022

Upgrading Zone 6 Irrigation Heads

 Zone 4 and Zone 6 are the two main lawn irrigation zones.  We upgraded zone 4 from the standard pop-up spray heads to a rotary head. Now we do the same for zone 6.


We first turn on the system and mark all the heads -- including the two hidden in the bed next to the fence.

Then we dig out around each head to make sure it is clear of any grass.

We go around and turn off each head by tightening the screw in the center of the top (clockwise).  Now when we turn the zone on, all the heads pop up, but no water comes out.  Checking the meter, we see it is still turning, slowly.  We remember there is a bubbler for the pecan tree, so we find it and turn it off.


The water meter is still turning and after some checking, we find a leak under one of the heads -- the nipple between the white PVC piping and the head has split.  So we dig that up, and replace the nipple and riser.  Now we can turn Zone 6 on and there is no water usage.

Next we remove the inside of each of the sprinkler heads, leaving only the exterior plastic shell.  (Well, except for the head that had the leak; we can easily replace that entire head.)  Turning the water on, we see that it flows freely from the shells close to the valve; those further away, not so much.


So we start installing the inside of the new rotary sprinkler heads, starting close to the valve, where the water is flowing freely.  As we plug those plastic shells, the water starts to flow to the other plastic shells, further from the valve.  As with Zone 4, we can install the heads in all the plastic shells except the last one.  We turn off the water, install the inside of that last plastic shell and then turn the water back on.

Now all the heads work, pretty much as designed.  We have to go to each head and adjust where it starts and where it ends.  Except for the 360 degree heads in the middle of the yard.  Those just need to be adjusted for the distance to throw the water.

Once all the heads are adjusted, we can run our 5 minute test and Zone 6 takes about 75 gallons.


Tuesday, July 26, 2022

Upgrading Zone 4 Sprinkler Heads

 While doing the maintenance for the irrigation system, and computing the amount of water that each zone takes, we figured we should switch out the heads for Zone 4 and Zone 6 (which are the Rain Bird 1800 pop-up spray heads) with the rotary heads that we used in the front, in Zone 10.  The rotary heads are supposed to be much more efficient than the standard pop-up spray heads.  I can swap out the heads, but all heads in a given zone should be the same.  So upgrading Zone 4 means replacing all 15 heads.

I ordered the heads thru Amazon, for both Zone 4 and Zone 6.  Twenty-three Rain Bird 8SAPROPR Pressure Regulating (PRS) High-Efficiency Pro Rotary Sprinkler, Hand Adjustable 45° - 270° Pattern, and Seven 8SAFPROPR 360 degree Full Pattern. $499.28.

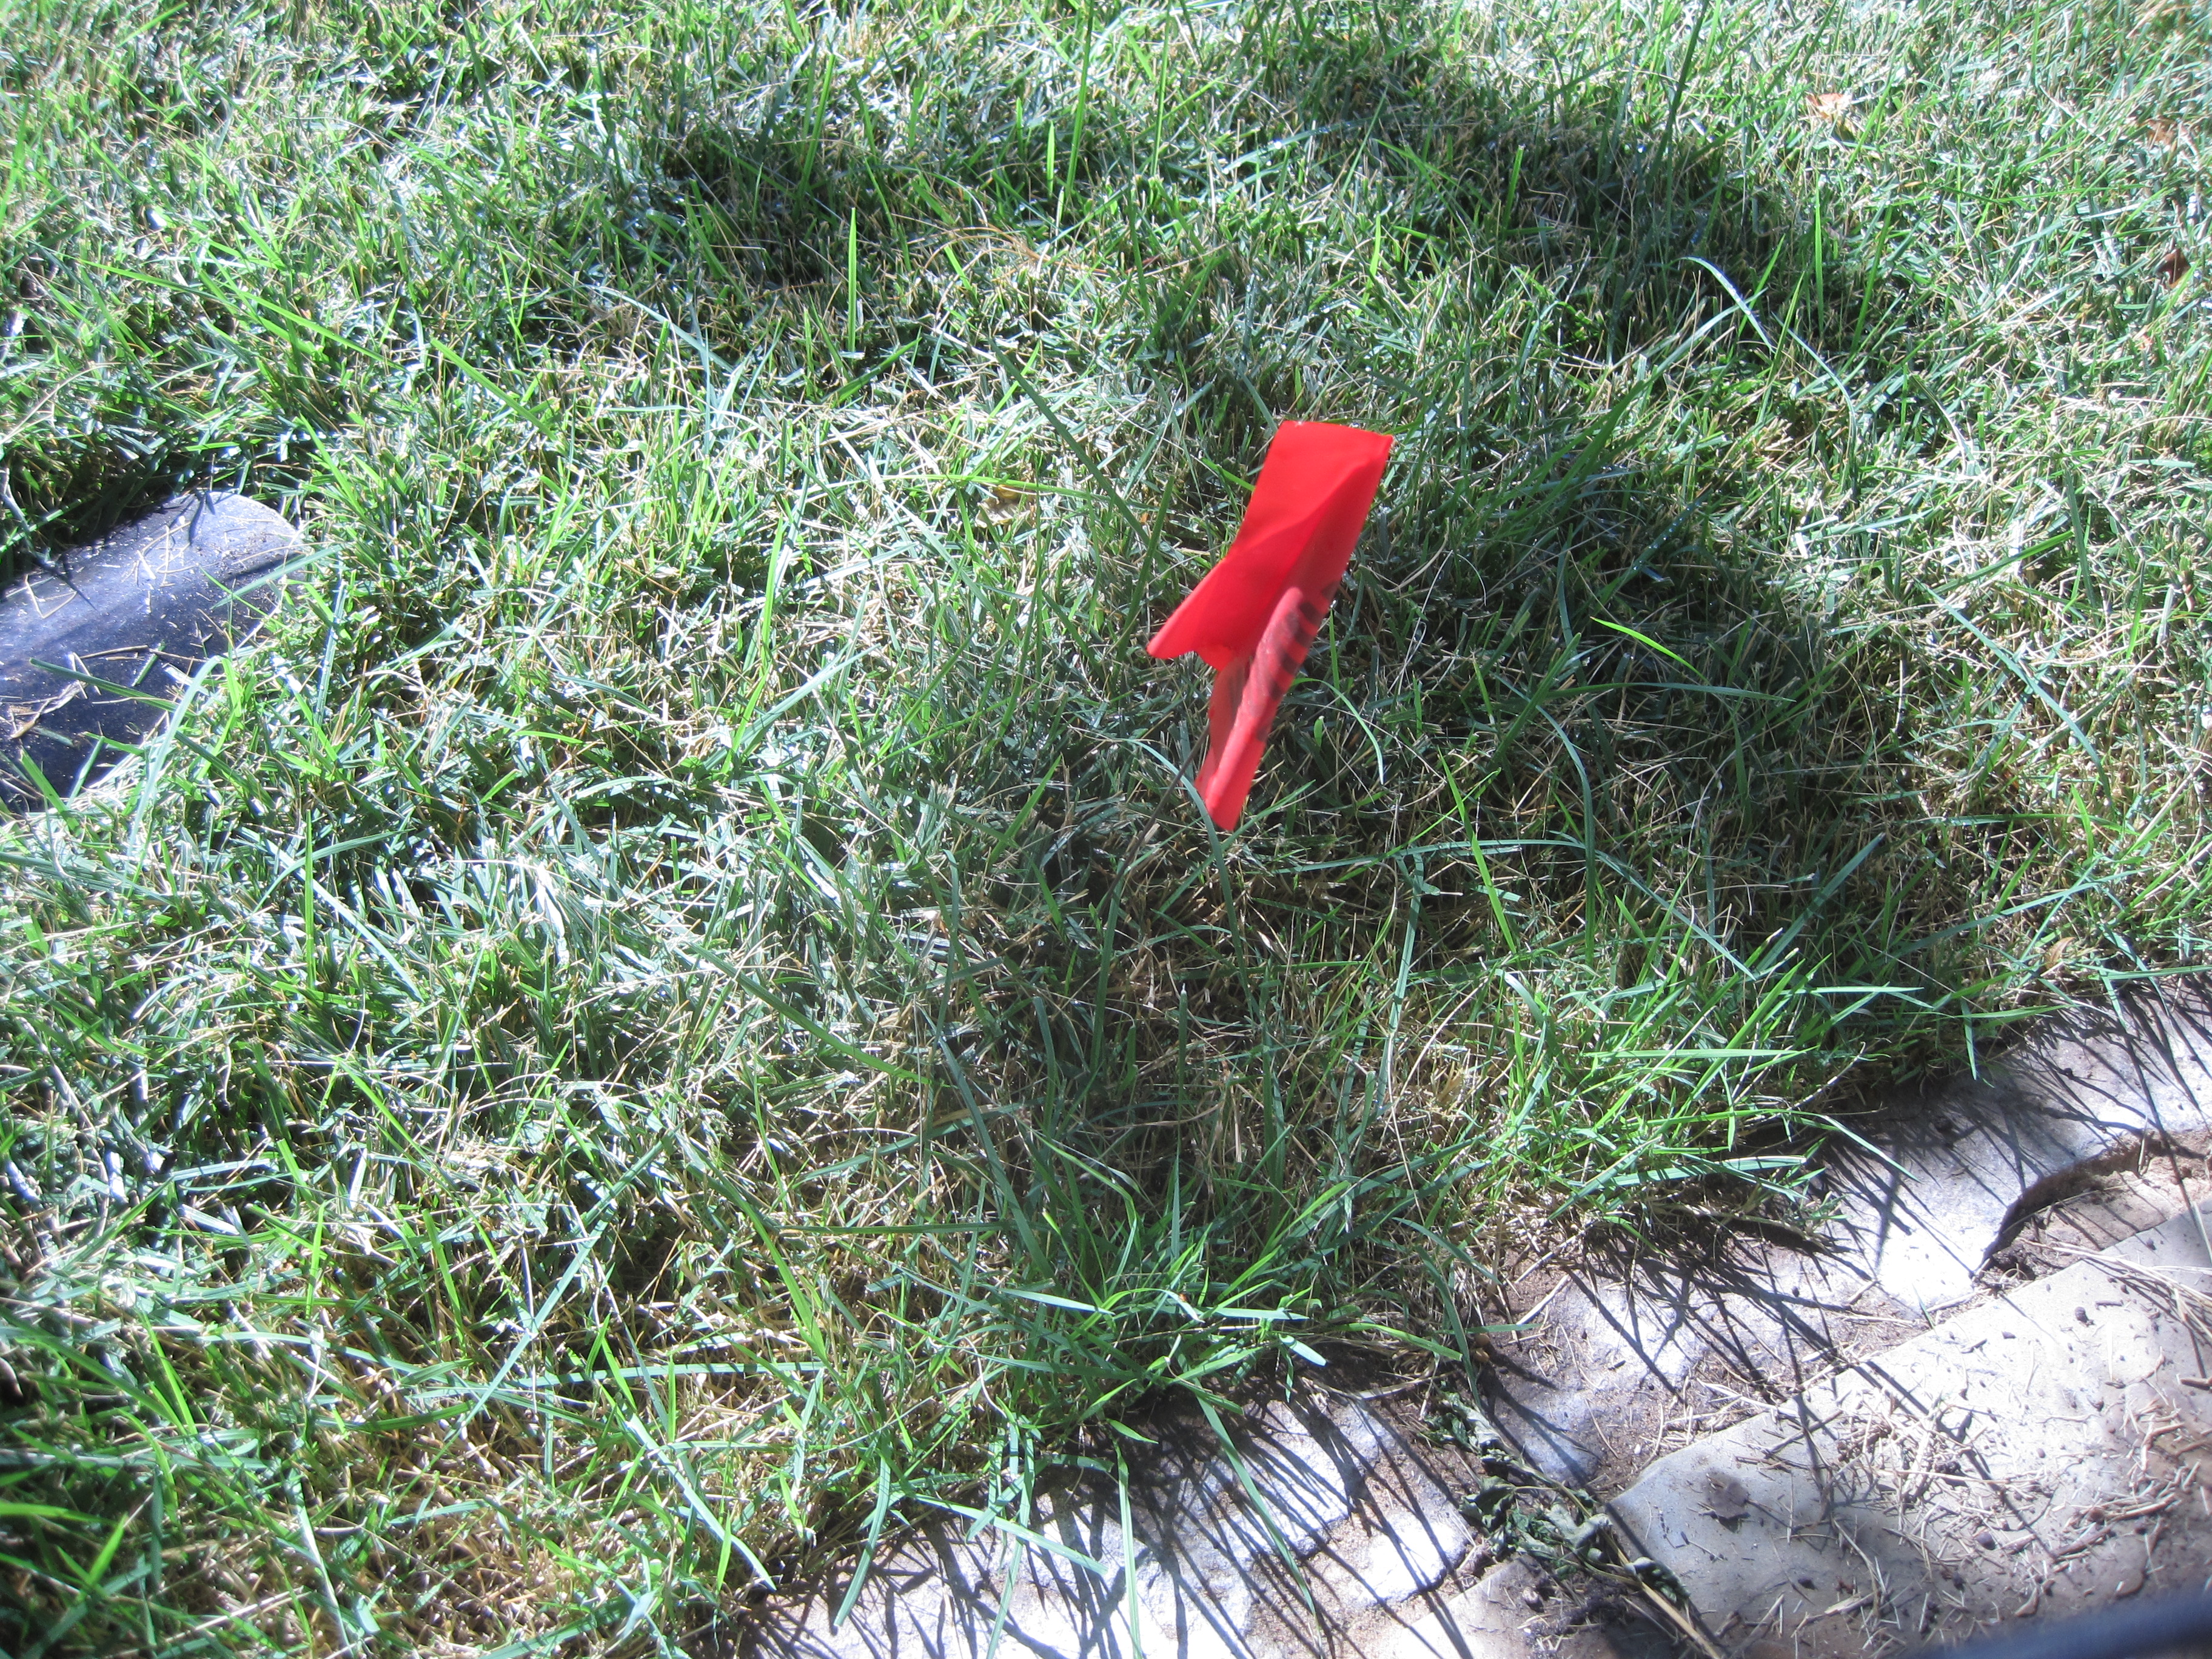
To upgrade the zone, we first needed to find all the heads.  We ordered the right number of heads based on our plan for the zone.  We turned on the zone, and used left-over flags from gas and electrical line markings to mark where the heads were.  Mostly they popped-up, but a couple were held down by grass that had grown over them and were harder to find.

Then we dug out around each head, so that we could easily find it, and work with it.


Some of the heads were significantly down in the dirt and took some digging to find.  We would need to raise those up to ground level for either the new heads or the old ones, as we need to add to the riser underneath the head.


Some five heads were buried like this and needed to be raised up between 3 and 5 inches.  We had to go to both Lowe's ($8.44) and Home Depot ($$6.19) to get parts to replace the existing risers with the right heights

In addition, before we started doing anything else, we figured we should check for any leaks in this zone.  On each head, in the middle is a little screw, and turning the screw clockwise until it stops closes off the spray from that head.  So screwing down all 15 heads should cut off all water for the zone.

Doing that, and then checking the water meter at the street, we see that there is still significant water flow.  Going back and looking over each head, we notice that one is wet and getting wetter.  Digging down around it shows a break in the riser under that head.  So 6 heads need to be dug up and the risers replaced -- five for height and one to fix a leak.

When those 6 heads are dug out, the risers repaired and replaced, we went ahead and switched out the heads with the new heads at the same time.

For the other 9 heads, we noted that the plastic exterior for the heads is the same for the Rain Bird 1800 heads and the new Rotary heads.  So we could simply unscrew the old 1800 heads from the plastic exterior


remove the shaft and spring from inside the plastic exterior, and then unscrew the head from the new rotary head and put it in the 1800 plastic exterior, still in the ground.


Digging up a head, down to the riser, and replacing the entire thing takes about a half an hour (or more).  Switching out the insides takes just seconds. 

In fact, we removed all the old heads, and then turned on zone 4, so we had water flowing from the old plastic exteriors -- flushing out anything that was in the lines.  While it was flowing, we were able to go around and put the new heads into the old exterior plastic and screw them in place.  All until the last one.  The force of the water for the last one was too much.  At that point, we turned off the water, put in the last one, and then turned the water back on.

Because once the heads were all in place, they needed to be adjusted.  Almost all of them were adjustable (from 45 degrees to 270 degrees), so we had to go around to each and adjust them to the right angle and start position.  Mostly they were either 90 degrees (for corners) or 180 degrees (for running along a side), but we were able to adjust them to fit whatever we needed.

We did have one head that seems to rotate at about 3 times the speed of the others.  Most of the heads lazily rotate around, but one spins like mad.  I called Rain Bird customer service and they suggest switching out the part on the top that spins with another head, and if that doesn't work, then the whole unit.  Apparently you can buy (and replace) just the top spray part.  So apparently the fast spinning one is defective (although customer service would not come right out and say that; nor did they offer to replace the defective one with a good one.)  We have extra parts until we do Zone 6.

This whole process basically took all day.

Switching out the heads dropped the 5-minute usage for Zone 4 from 105 gallons to 54 gallons.


Saturday, July 23, 2022

Maintaining the Irrigation System

 The temperatures are at record highs, and our lawn irrigation system does not seem to be working right.  Zone 6, especially, is not putting up the pop-up sprinkler heads effectively.  The further from the valve, the less it will pop-up.

So I call an irrigation company -- Sprinkler Medics -- to come evaluate my system, especially zone 6.  He doesn't think it is the valve and eventually is able to find  a leak under one of the heads.

The nipple between the head and the PVC piping had broken, so all the water was leaking out down near the PVC pipe.  Apparently our dirt is now porous enough that the water all went down, so there was no evidence at ground level.

But we replaced the nipple, put things back together, and things were better.

At least for a little while.  Now it looks like zone 6 is not working well, again.  So maybe another hidden leak?

But what about the other zones?  To check, we ran all zones for 5 minutes each to see how much water they used. 

1 8
2 101
3 40
4 105
5 7
6 31
7 149
8 112
9 102
10 33

This seemed to show that zone 2 used a lot of water.  Which seems unreasonable, since zone 2 is strictly underground. And zone 3 is is about twice as big.

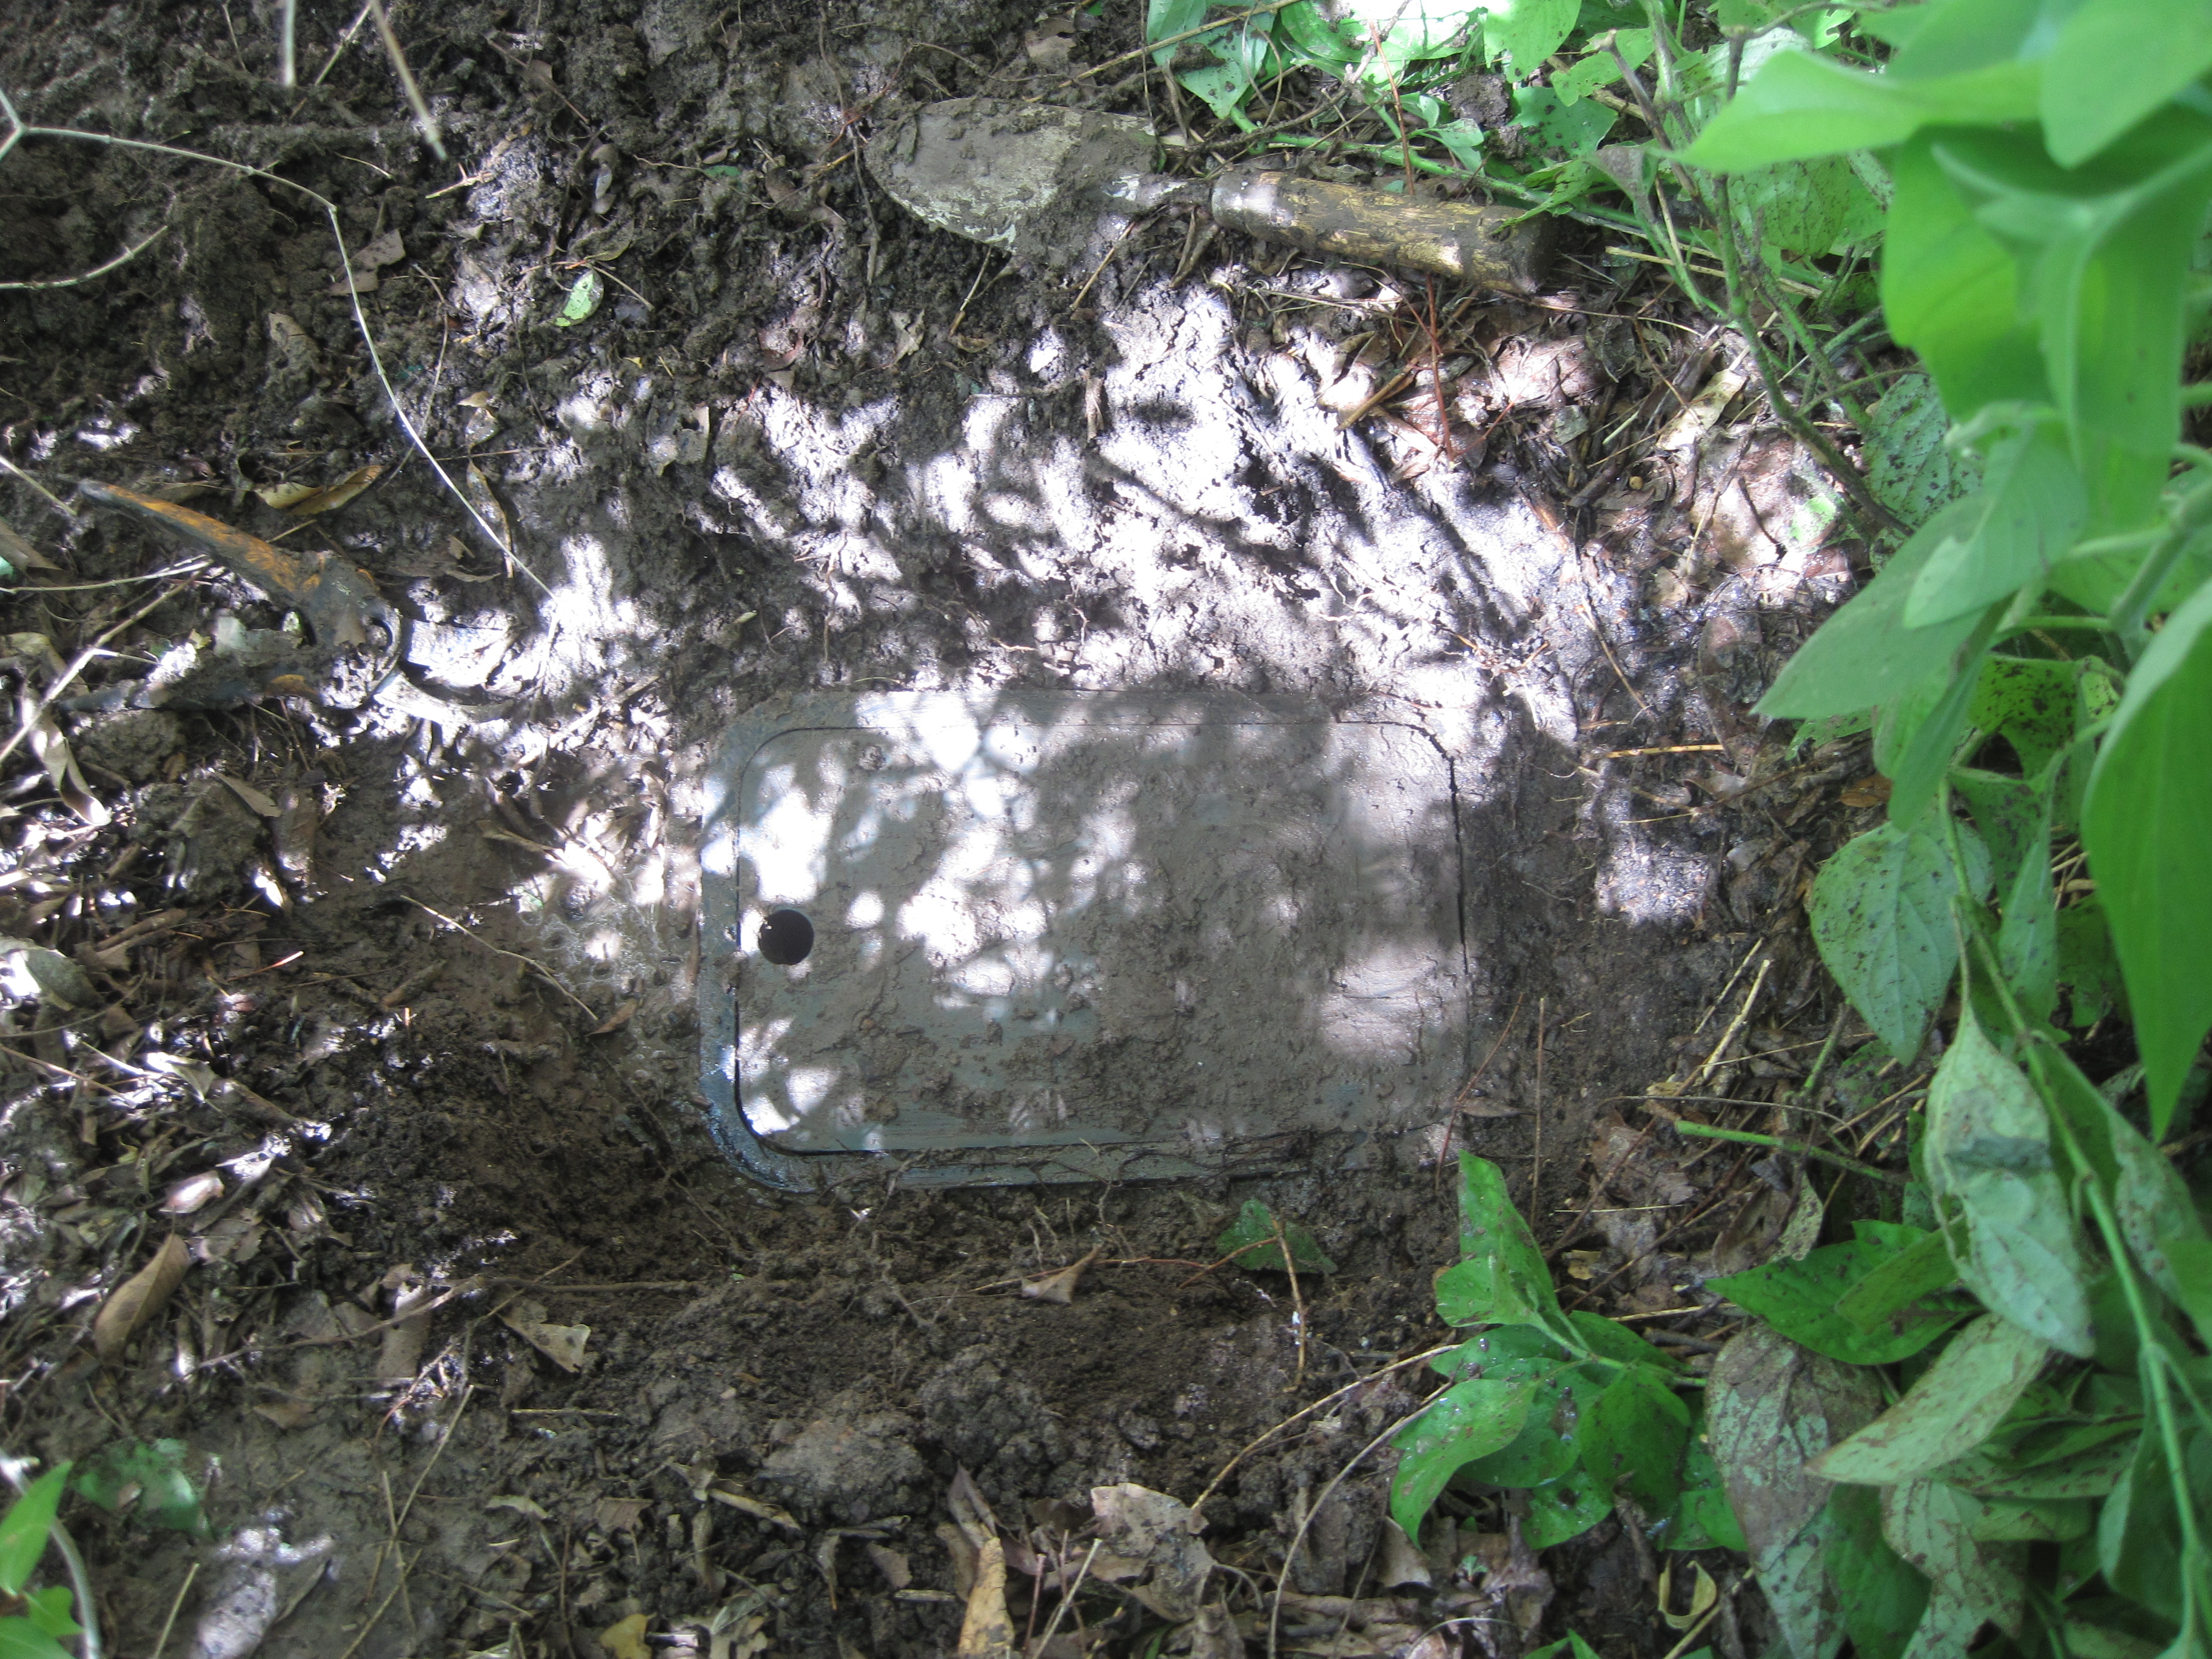
But, letting zone 2 run, we can identify a stream of water coming from the middle of the zone, and tracing that back brings us to the leak.  The leak is coming from the box that holds the valve and other controls for zone 2.  We found the box buried in what is now very wet mud.


and opening it, we can see the actual leak.

The leak is at the joint between the on/off valve and the filter for the underground lines.  It appears that the ground has settled and caused the lid of the box to press down on the filter, eventually breaking the connection to the on/off valve.  We buy another filter unit from Home Depot, and while we may be able to extract the broken piece from the end of the on/off value and reuse it, the on/off valve is relatively cheap and being underground, a pain to replace, so we get a new one of that too.


Putting that all together, we can then re-install the box and put zone 2 back  into use.

Before we do that, we should also flush out the lines, so we find the lower flush box which is now 8 inches deep, by the rain barrel.

The upper flush box is not as deep, but harder to find.  It is 11 inches out from the house and 27 inches from the corner of the house and the sidewalk (right under the corner of the fence.


Now zone 2 uses 15 or 16 gallons in 5 minutes.  More if the flush valves are open, then up to 46 gallons in 5 minutes.

When we upgrade zone 4 and zone 6 to rotary heads, we find each of these zones also have a leaking head with a broken riser.  So 4 underground leaks in our irrigations system (so far).