Also, it's been varied. The first set went pretty well. The polyurethane on the second set was so bad I had to redo it myself. The third set seemed to go much better and they improved on the trim.
Another difference with the third set was that they took out a building permit, which they had not done on the first two. The city building inspector failed the job because the windows next to the sliding door to the deck were not tempered. And then looking out over the deck, he saw that there was another window in the back bedroom also next to a door. This had been part of the second set of windows, but he failed that window too. And tacked on a failure for not getting a permit to replace the first and second sets.
In addition, he saw that the windows (from the second set) in two of the bedrooms did not pass "egress" -- emergency exit requirements. Originally these windows were sliding windows, but we had them changed to double hung to match all the other windows in the house. Sliding windows can be opened to expose half the window space as an exit. Replacing them with two double hung windows means that only one-fourth can be opened for an exit. The salesman from Renewal By Anderson should have known this and raised this issue when the original second set was contracted (as they should have known about the need for tempered glass next to a door), so while I made the decision to change from sliding to double-hung, they should have caught that and not agreed to do it.
Changing to tempered glass was fairly easy. The company just re-ordered a new sash (the window part with its frame) for the two windows next to the door, and with the magic of interchangeable parts, swapped out the non-tempered windows with tempered glass windows. It was just a couple of screws and then stain and polyurethane to match. That was done in September. The main problem was communication and follow-up. Someone came out in February to measure the windows for replacement, but that apparently got lost. By June, it was clear that nothing was happening, so I started calling, pretty much every day, until I got someone's attention. They had to come out and re-measure the windows -- having lost the original measurements. By July the new windows were supposed to be in, but when they came out to install them, there was only one set -- a lower sash for one window and the upper sash for the other. So they took those back and the sashes were swapped out for tempered glass on September 1.
For the two bedroom windows, it was more difficult. The window needed to be bigger, to have a larger area for egress. The framing for the window has a "header" on the top that supports the weight of the building with supports along either side. To expand either up or to the sides would require removing this framing and installing all new framing. So the easiest thing to do is to make the window larger by expanding it down. Since this is an exterior wall, both the inside (sheetrock) and outside (stone facade) would need to be modified. Let us use the window in one bedroom as an example -- the other was done exactly the same way.
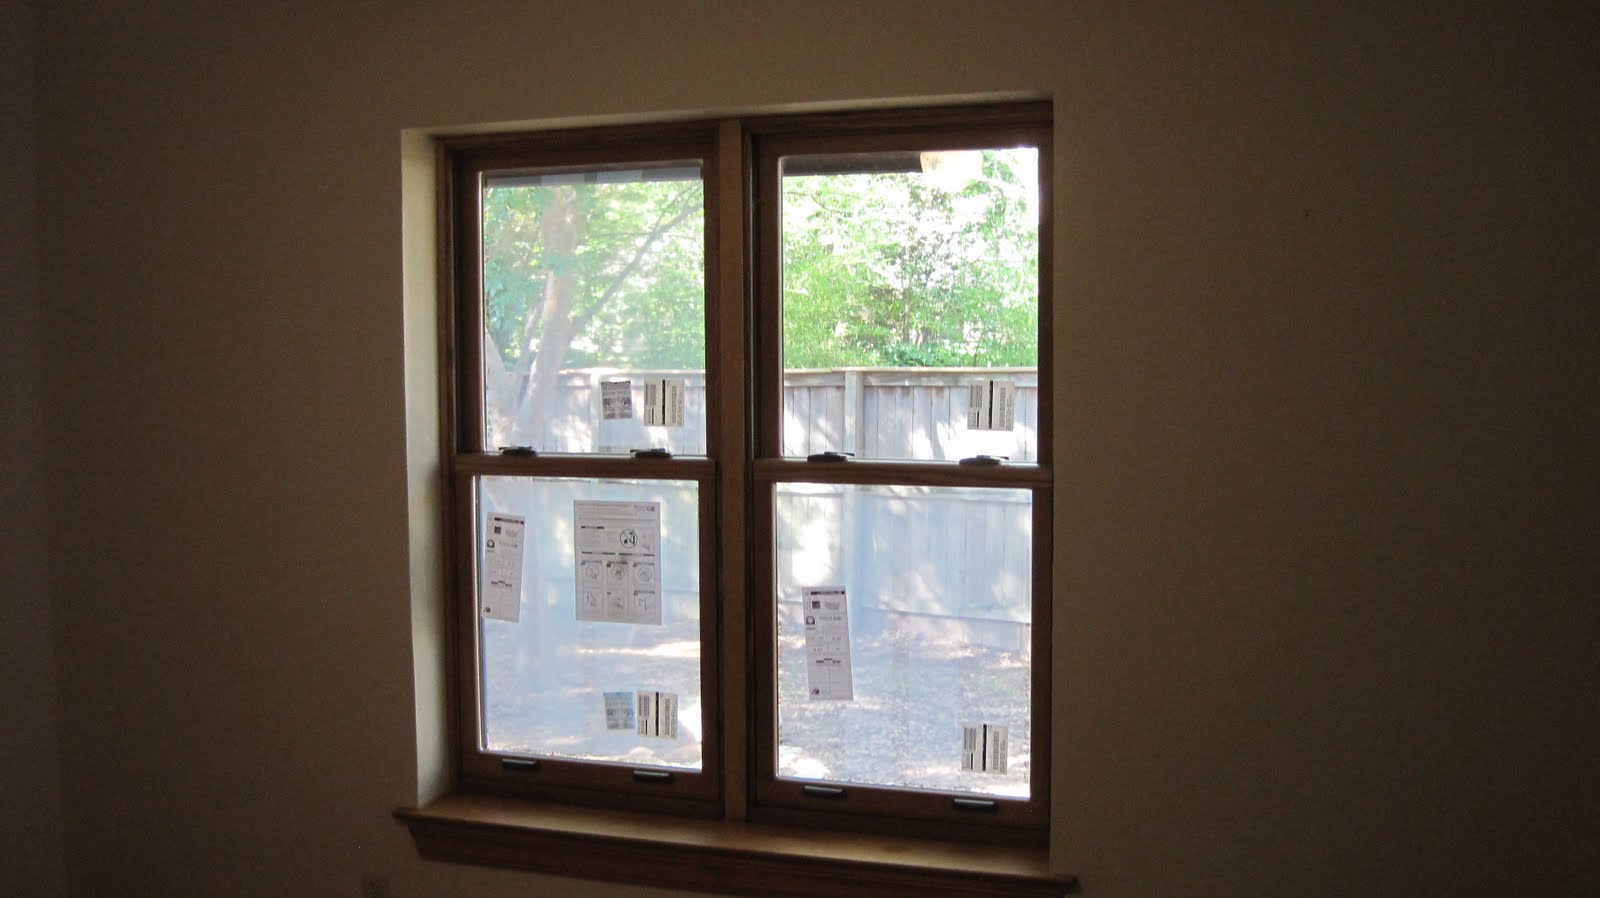
The original window on the inside and outside looked like this.


The first step is to remove the sheetrock from below the window on the inside and the stone from the outside.


The insulation was removed. At this point, a problem arose. There are electrical outlets on both sides of the window. A wire connects them right thru the space where the window is to go. This was solved by grooving one 2x6 support and moving the wire down to be out of the way.

With that out of the way, the blue Styrofoam exterior insulation can be cut out and the new windows put in place.


Once both windows are in place, foam insulation is put in place all around the window, to seal it off.

The next step is to patch the sheetrock in the room, to cover the hole that was cut for the electrical re-wiring, and to extend it down the wall to the new, lower window sill. On the outside, stones were selected from what had been broken out to fill up underneath the window and create a new exterior window sill.


The interior sheetrock, once patched, has to be taped and floated and then textured. When this dries, it can then be painted. The inside wood surface of the window is stained ("Golden Oak"), and two coats of polyurethane applied.

The same sequence of changes was necessary for the other window, with the same result. The smaller window was replaced by a larger one.


The process took 3 days. The first day replaced the window. The second day did the exterior stone work and interior sheetrock patching and tape and float, and staining the wood. The last day did the mortar work around the window on the outside, while the painting and polyurethane work was done on the inside.
The estimated cost of this was about $7800. The company agreed to roughly split it, so we will pay $4000 for this. I've paid the first half -- $2000, but will wait to pay the other half until it passes inspection.
And it turns out, these windows also fail the building inspection. The inspector says that egress requires an opening of at least 5 square feet, or 720 square inches. With the bottom window completely open, we have at most 27 inches high by 26 inches wide, or 702 square inches. The inspector measured 26.5 by 25.5, or only 675 square inches. So if fails egress.
The company, Renewal by Andersen, agrees that this is all their fault and will come back out and do it again with a window that is 6 inches taller. With half the extra space in the top window, and half in the bottom, that should give us an extra 3 inches in height, or 29.5 by 25.5 or 752 square inches -- room to spare.