We lost two Elm trees and had them cut down in 2021. This left us with two stumps in the west side yard.

We did not have time to work on those in 2021, so we buried them under dirt leftover from part of the front yard digging.

So to dig these stumps out, the first thing we need to do is move the dirt off it, to expose the stump.

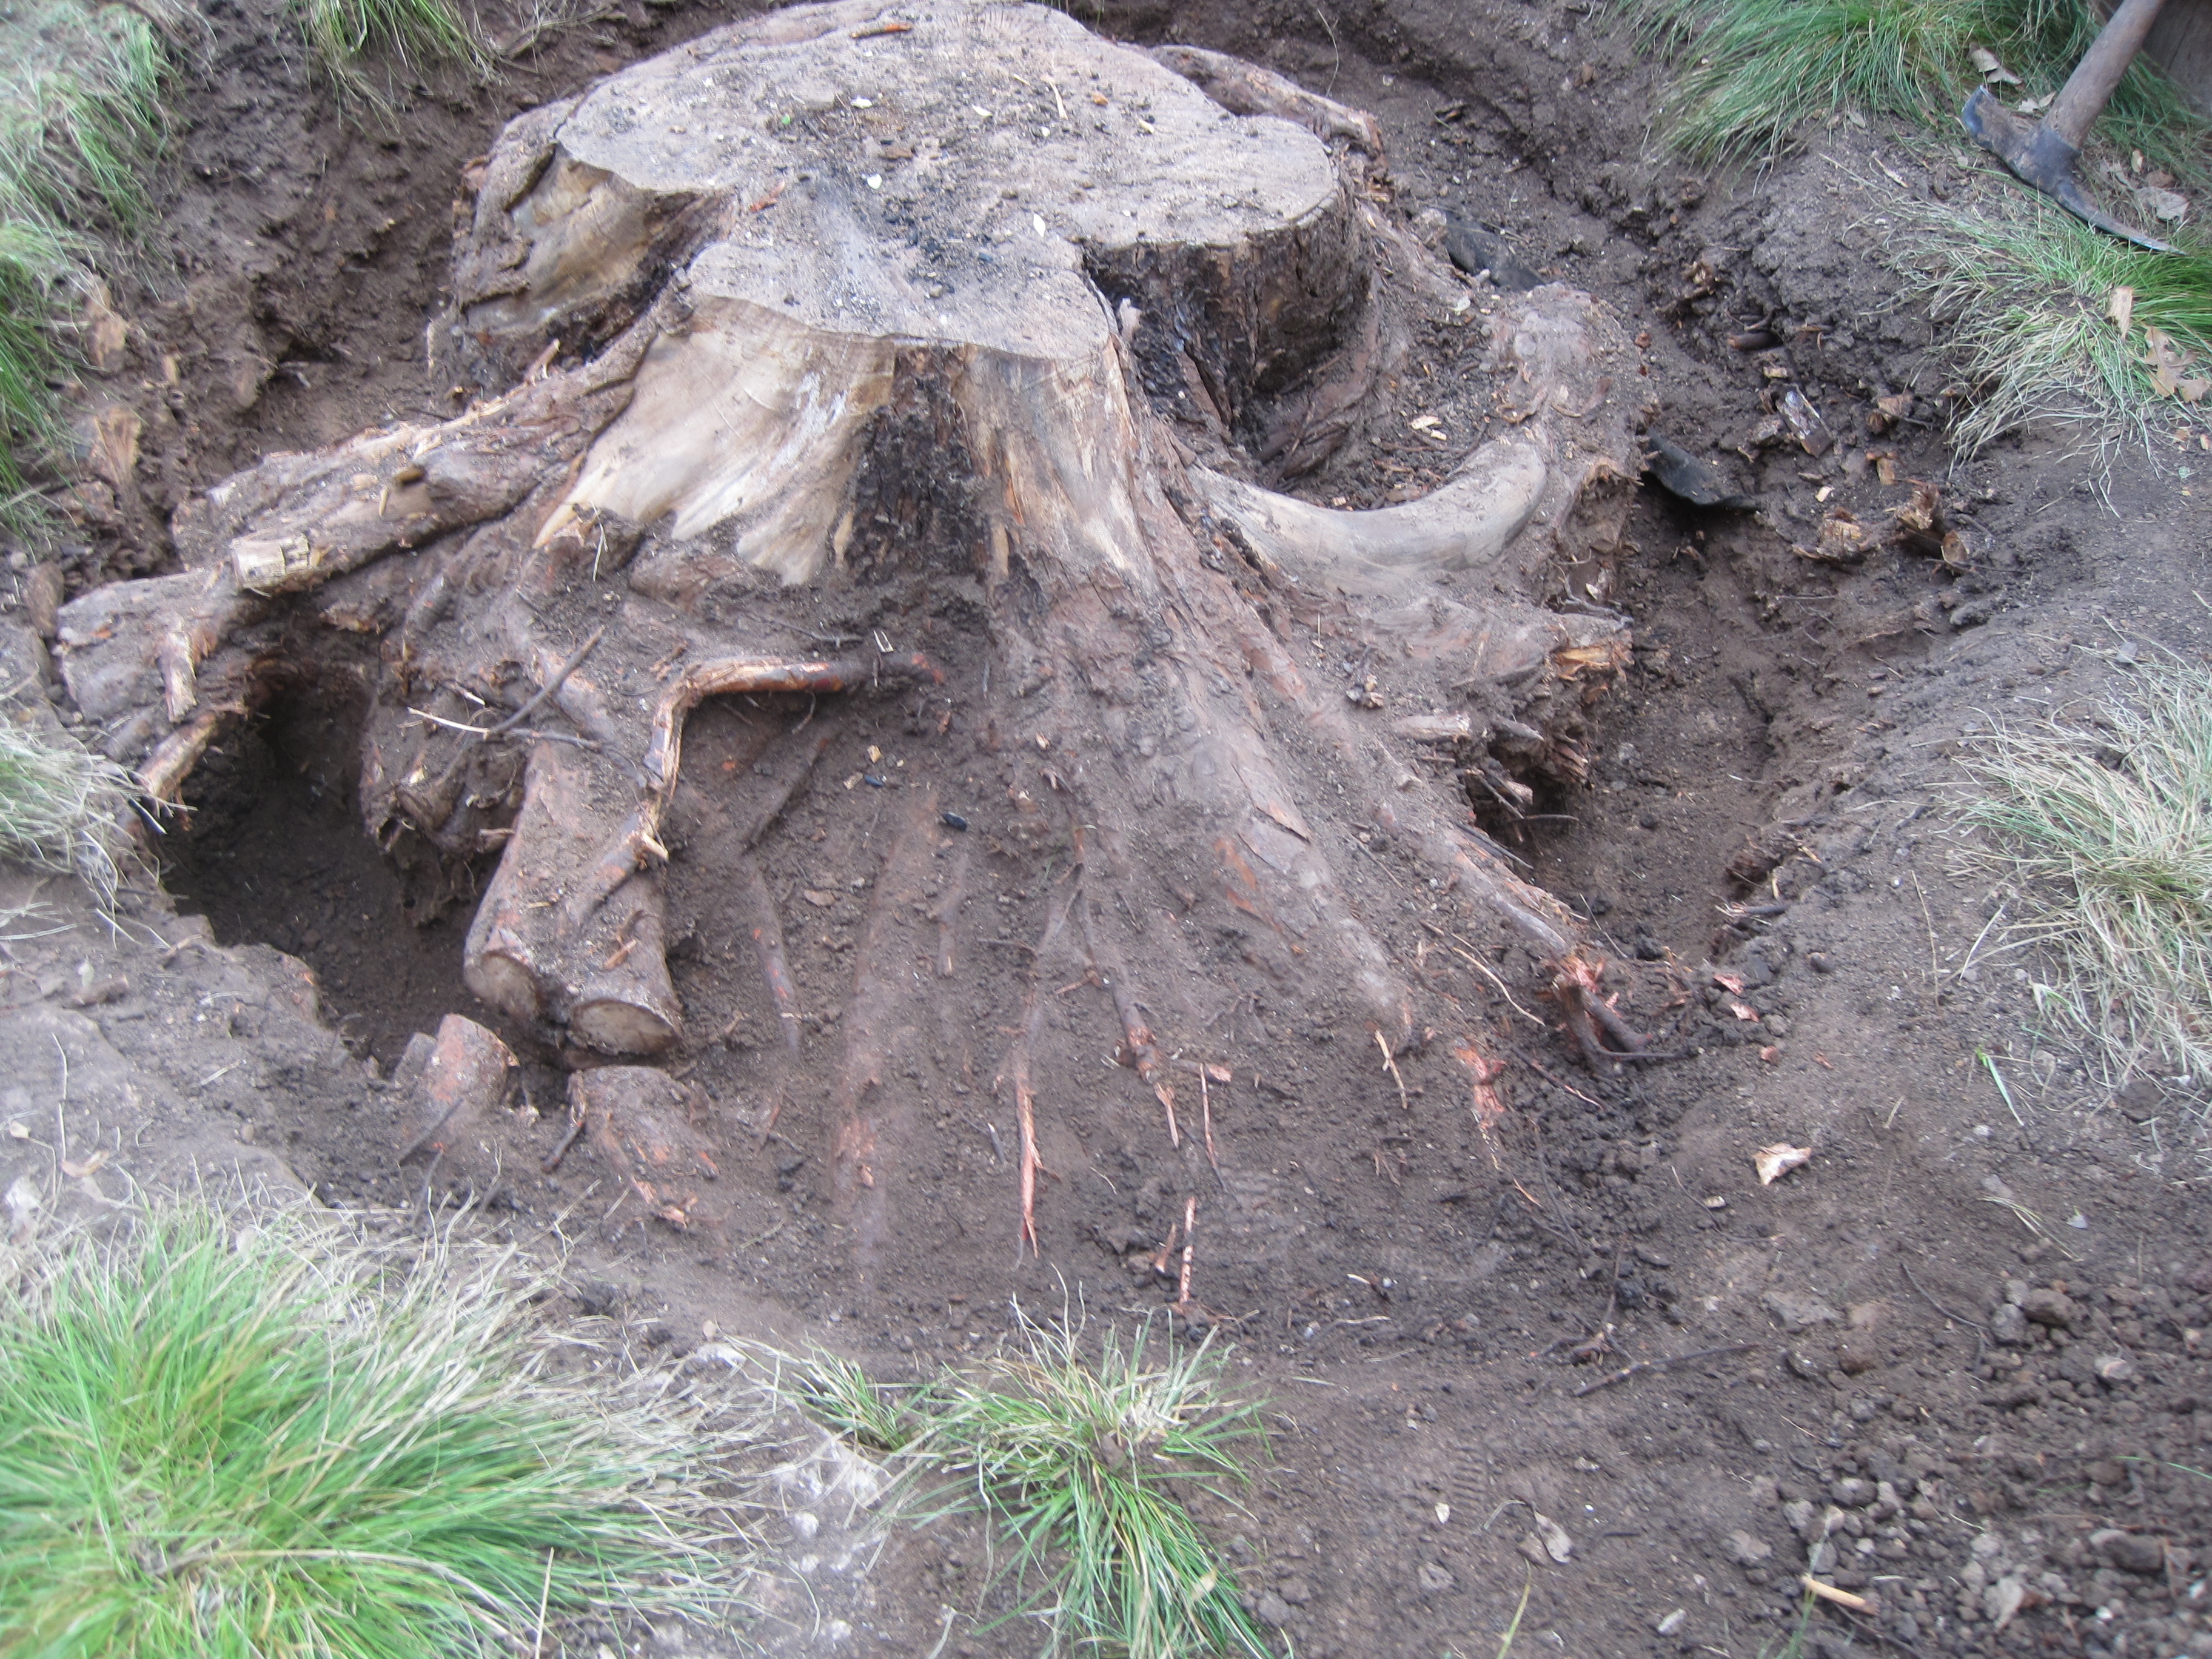
Once the stump is exposed, we can start digging down around it. The plan is to encircle the stump with a trench, cutting off roots as we go around and down until the stump is disconnected and can be removed.
We start digging down on one side.

We can then extend that around the stump.

It would be easier to dig, if we knew where the roots were and how big they were. The air spading that we did in the front yard to find the roots for Fuzzy would be really useful here. But that was very expensive. As an alternative, we have the high pressure washer. We used that to tunnel under the front sidewalk. So we tried that around the stump.

That seemed to work reasonably well, although it then takes days for the water to soak into the surrounding dirt and dry up. So it's not a fast process.
Once the soil mostly dries out, we can go back to digging out around the stump.

The process is pretty simple. Try to remove the dirt. Find a root. Cut thru the root, both close to the stump and at the edge of the pit we are digging. Smaller roots, we can use a pair of branch clippers -- a bypass lopper. Bigger roots, we use our grubbing hoe-axe combo.
After a couple of days, with rain coming, we try the high pressure water spray again, to clear the dirt off the last set of roots.

Once this (and the rain) dry, we can cut thru as many of the roots as we can see, dig down to get more, until we have the entire stump encircled with the trench, going down to rock, cutting all the roots off.
We left a couple of big roots sticking out from the stump, so that we could get under them and use them to try to lift the stump up. For that we use a bottle jack that we purchased for this purpose.

We position the jack on a rock under a big root and lift it up as high as we go. Then we stack rocks under the root and lower the jack down.

As we repeat this around the stump, it is clear that the stump is loose from the ground. The problem now is: how do we get it out of the pit and dispose of it?
The stump, with all it's attached roots, and the dirt packed in on the bottom, weighs a lot. I can barely move it; I certainly can't lift it. So as with large rocks that we uncover, we will have to break it down into smaller pieces.
The approach we take to that is to try to split pieces of it off using a sledge hammer and a set of wedges. Select a piece that looks sort of separate, and insert a wedge in a crack. Hammer the wedge into the crack, making the crack grow larger.

Use other wedges to continue to grow the crack, until the piece separates and can be removed.

With luck, this creates a set of additional cracks, which we can then go back and use the wedges and the sledge hammer to further crack apart the stump.
Sometimes the wedges can only go so far and separating off a section takes a wider crack than the wedges can make. A wedge is only about 2 inches, and even putting two wedges together only gets to about 4 inches. You can move the wedges down the crack to widen it at the middle, instead of just at the top, but still there are limits.
In those cases I went for a jack. The bottle jack that helped lift the stump up and separate it from the earth is a vertical structure, so it needs 8 to 10 inches, and then only adds another 6 inches. So I use a scissor jack that is normally used to change a tire on a car.
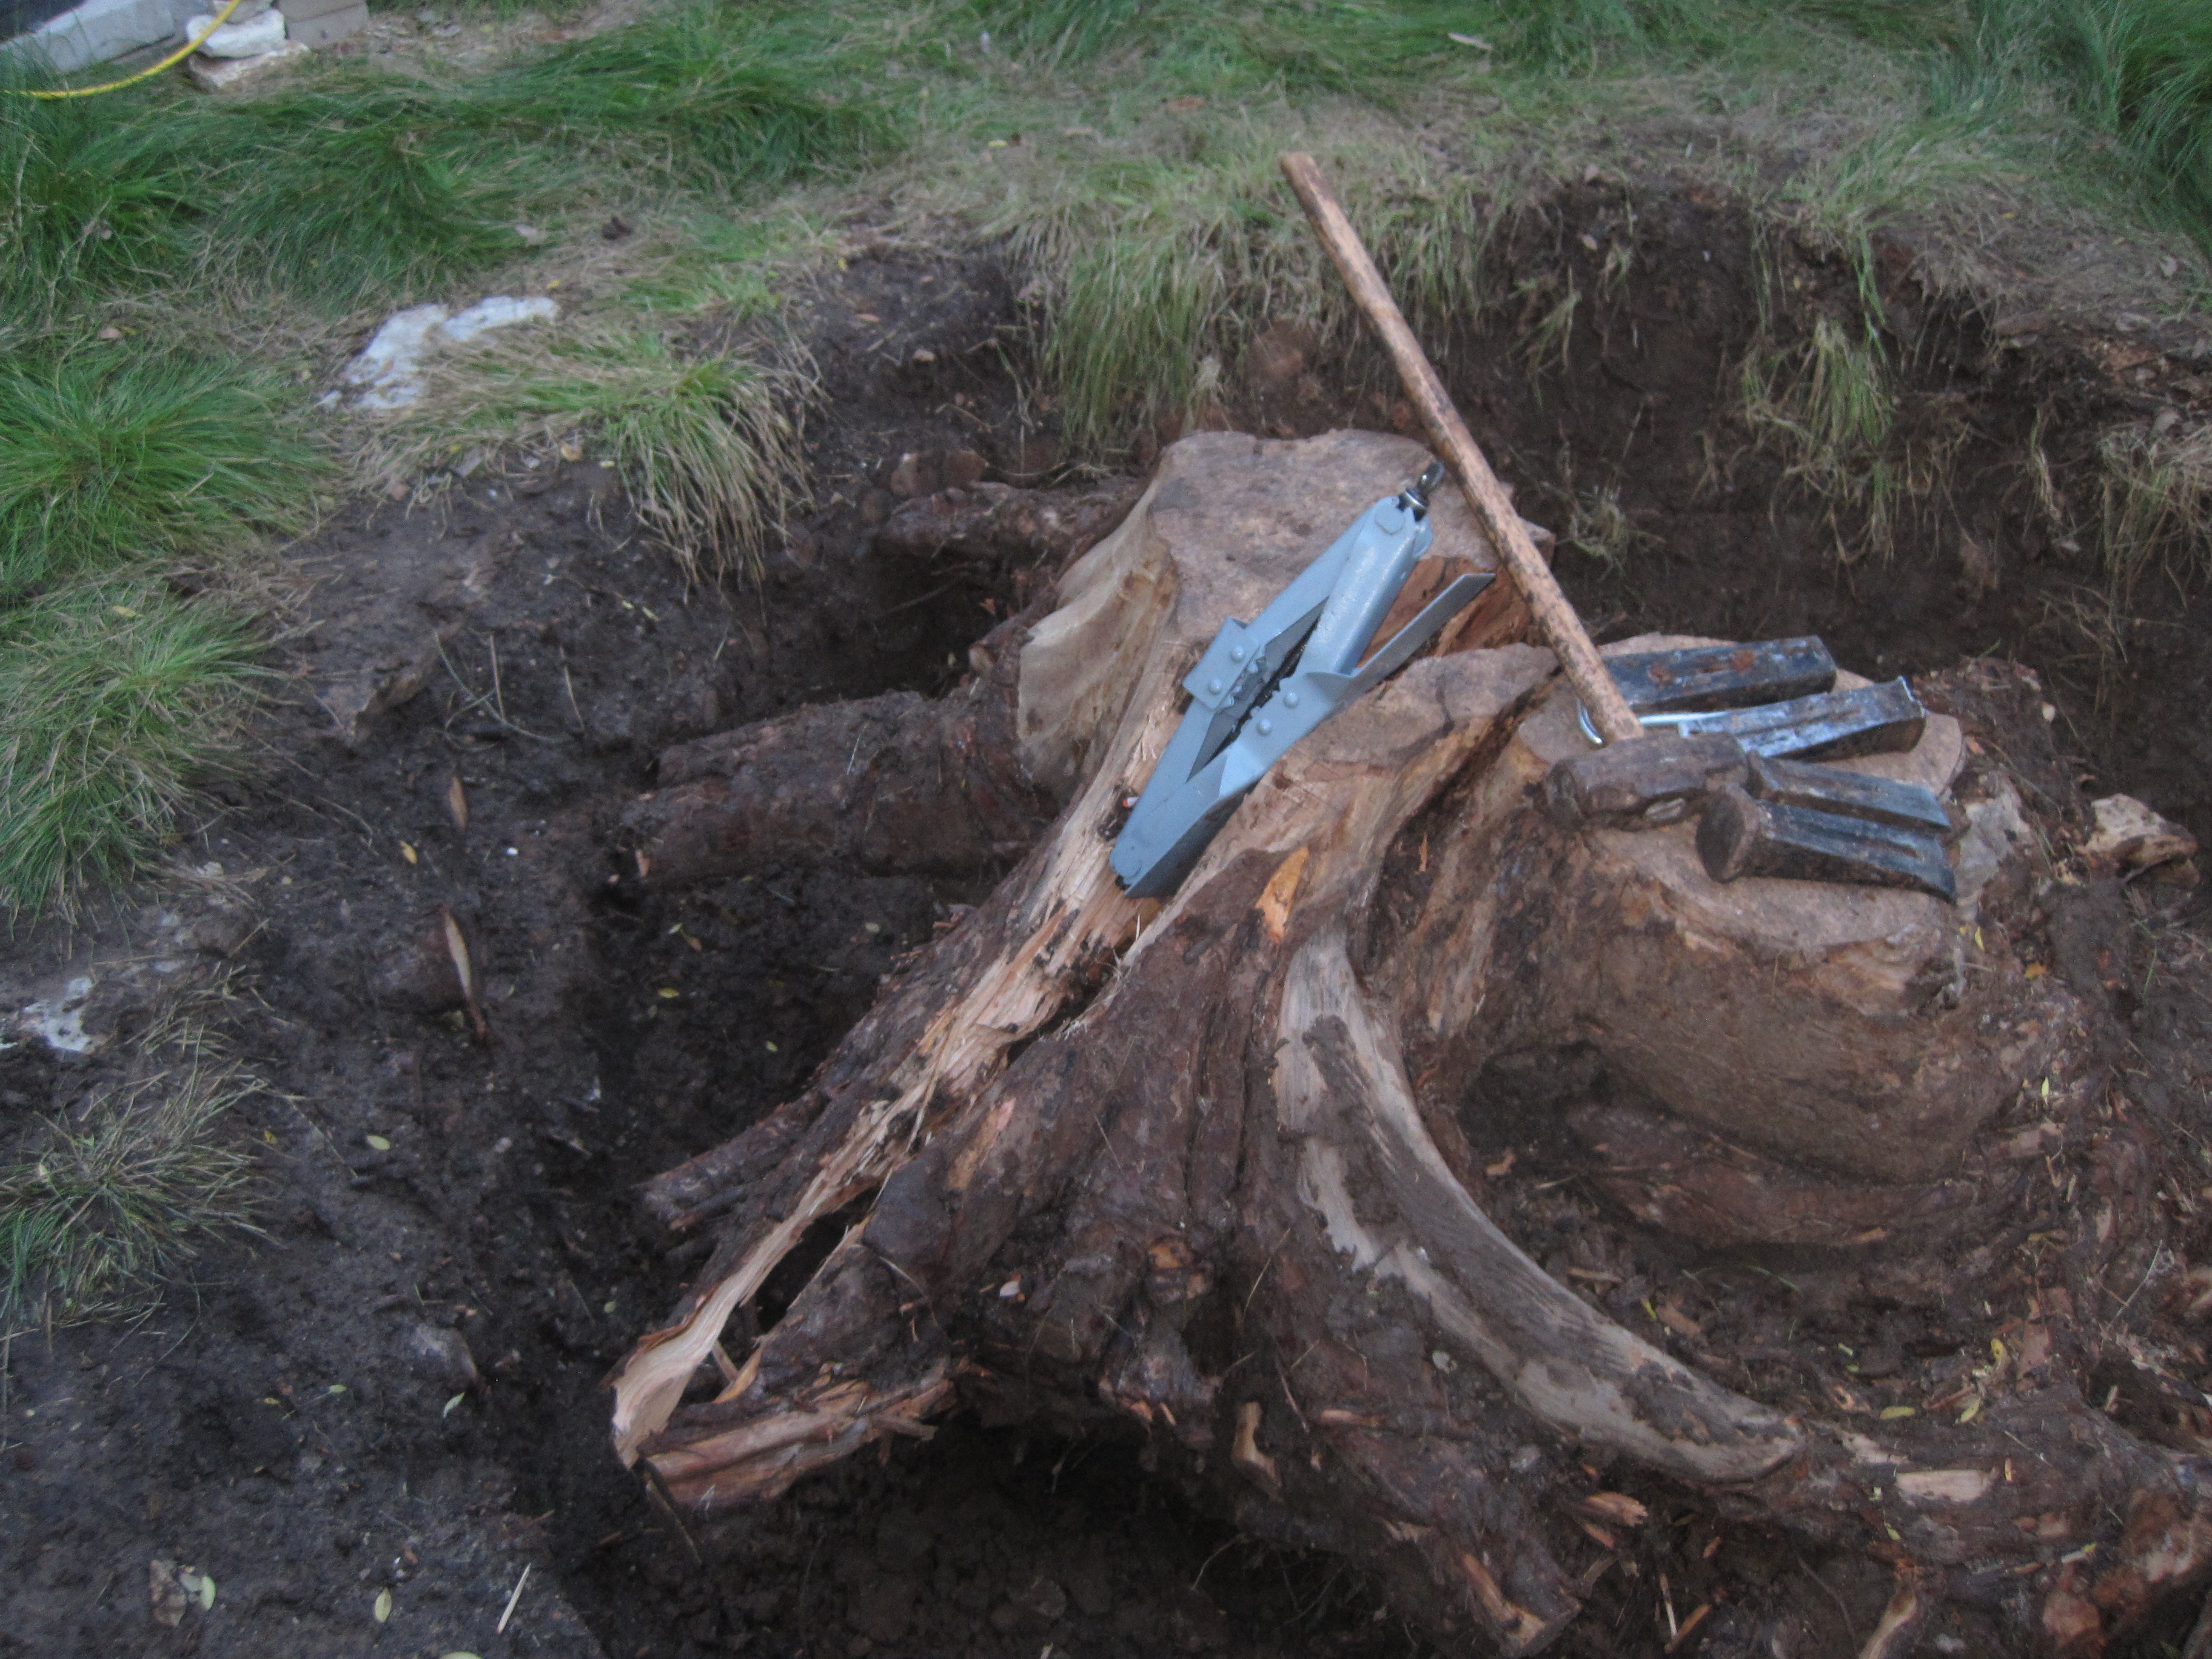
A scissor jack starts out fairly flat -- mine starts at 4 inches -- and can be cranked to over a foot. You do have to be careful in case thing slip, and there are limits on how much pressure you can apply without damaging the jack.
But if by keeping at it, wedging, jacking, sticking large rocks in gaps to keep them open, I was able to continue to pare down the remaining intact part of the stump.

Until eventually the part of the stump that was left was small enough

that I could wrangle it out of the pit, leaving an empty hole
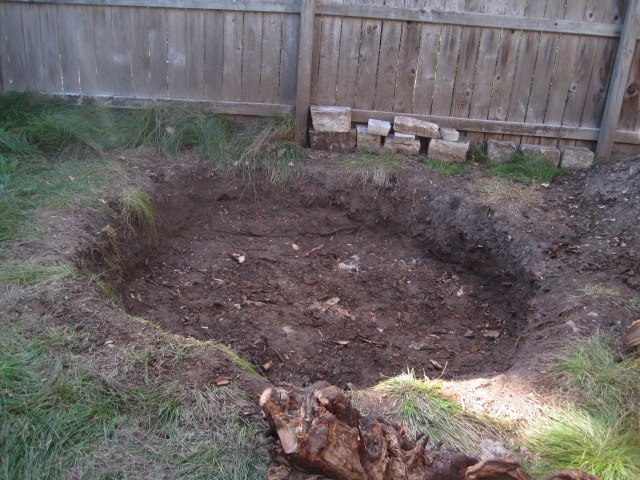
and a selection of large pieces of what used to be the stump.


