Wednesday, August 3, 2022

Irrigation Water Usage

 After replacing the heads in Zone 4 and Zone 6 (and finding and fixing multiple leaks), we wanted to see what effect it had our water usage.

We have checked our water usage before, in July 2014, October 2017, July 2020, and July 2022.  This time, we simply read the water meter on Tuesday night, before it went off, and then again on Wednesday morning after it had run it's normal cycle.

It used 1462 gallons.


Friday, July 29, 2022

Upgrading Zone 6 Irrigation Heads

 Zone 4 and Zone 6 are the two main lawn irrigation zones.  We upgraded zone 4 from the standard pop-up spray heads to a rotary head. Now we do the same for zone 6.


We first turn on the system and mark all the heads -- including the two hidden in the bed next to the fence.

Then we dig out around each head to make sure it is clear of any grass.

We go around and turn off each head by tightening the screw in the center of the top (clockwise).  Now when we turn the zone on, all the heads pop up, but no water comes out.  Checking the meter, we see it is still turning, slowly.  We remember there is a bubbler for the pecan tree, so we find it and turn it off.


The water meter is still turning and after some checking, we find a leak under one of the heads -- the nipple between the white PVC piping and the head has split.  So we dig that up, and replace the nipple and riser.  Now we can turn Zone 6 on and there is no water usage.

Next we remove the inside of each of the sprinkler heads, leaving only the exterior plastic shell.  (Well, except for the head that had the leak; we can easily replace that entire head.)  Turning the water on, we see that it flows freely from the shells close to the valve; those further away, not so much.


So we start installing the inside of the new rotary sprinkler heads, starting close to the valve, where the water is flowing freely.  As we plug those plastic shells, the water starts to flow to the other plastic shells, further from the valve.  As with Zone 4, we can install the heads in all the plastic shells except the last one.  We turn off the water, install the inside of that last plastic shell and then turn the water back on.

Now all the heads work, pretty much as designed.  We have to go to each head and adjust where it starts and where it ends.  Except for the 360 degree heads in the middle of the yard.  Those just need to be adjusted for the distance to throw the water.

Once all the heads are adjusted, we can run our 5 minute test and Zone 6 takes about 75 gallons.


Tuesday, July 26, 2022

Upgrading Zone 4 Sprinkler Heads

 While doing the maintenance for the irrigation system, and computing the amount of water that each zone takes, we figured we should switch out the heads for Zone 4 and Zone 6 (which are the Rain Bird 1800 pop-up spray heads) with the rotary heads that we used in the front, in Zone 10.  The rotary heads are supposed to be much more efficient than the standard pop-up spray heads.  I can swap out the heads, but all heads in a given zone should be the same.  So upgrading Zone 4 means replacing all 15 heads.

I ordered the heads thru Amazon, for both Zone 4 and Zone 6.  Twenty-three Rain Bird 8SAPROPR Pressure Regulating (PRS) High-Efficiency Pro Rotary Sprinkler, Hand Adjustable 45° - 270° Pattern, and Seven 8SAFPROPR 360 degree Full Pattern. $499.28.

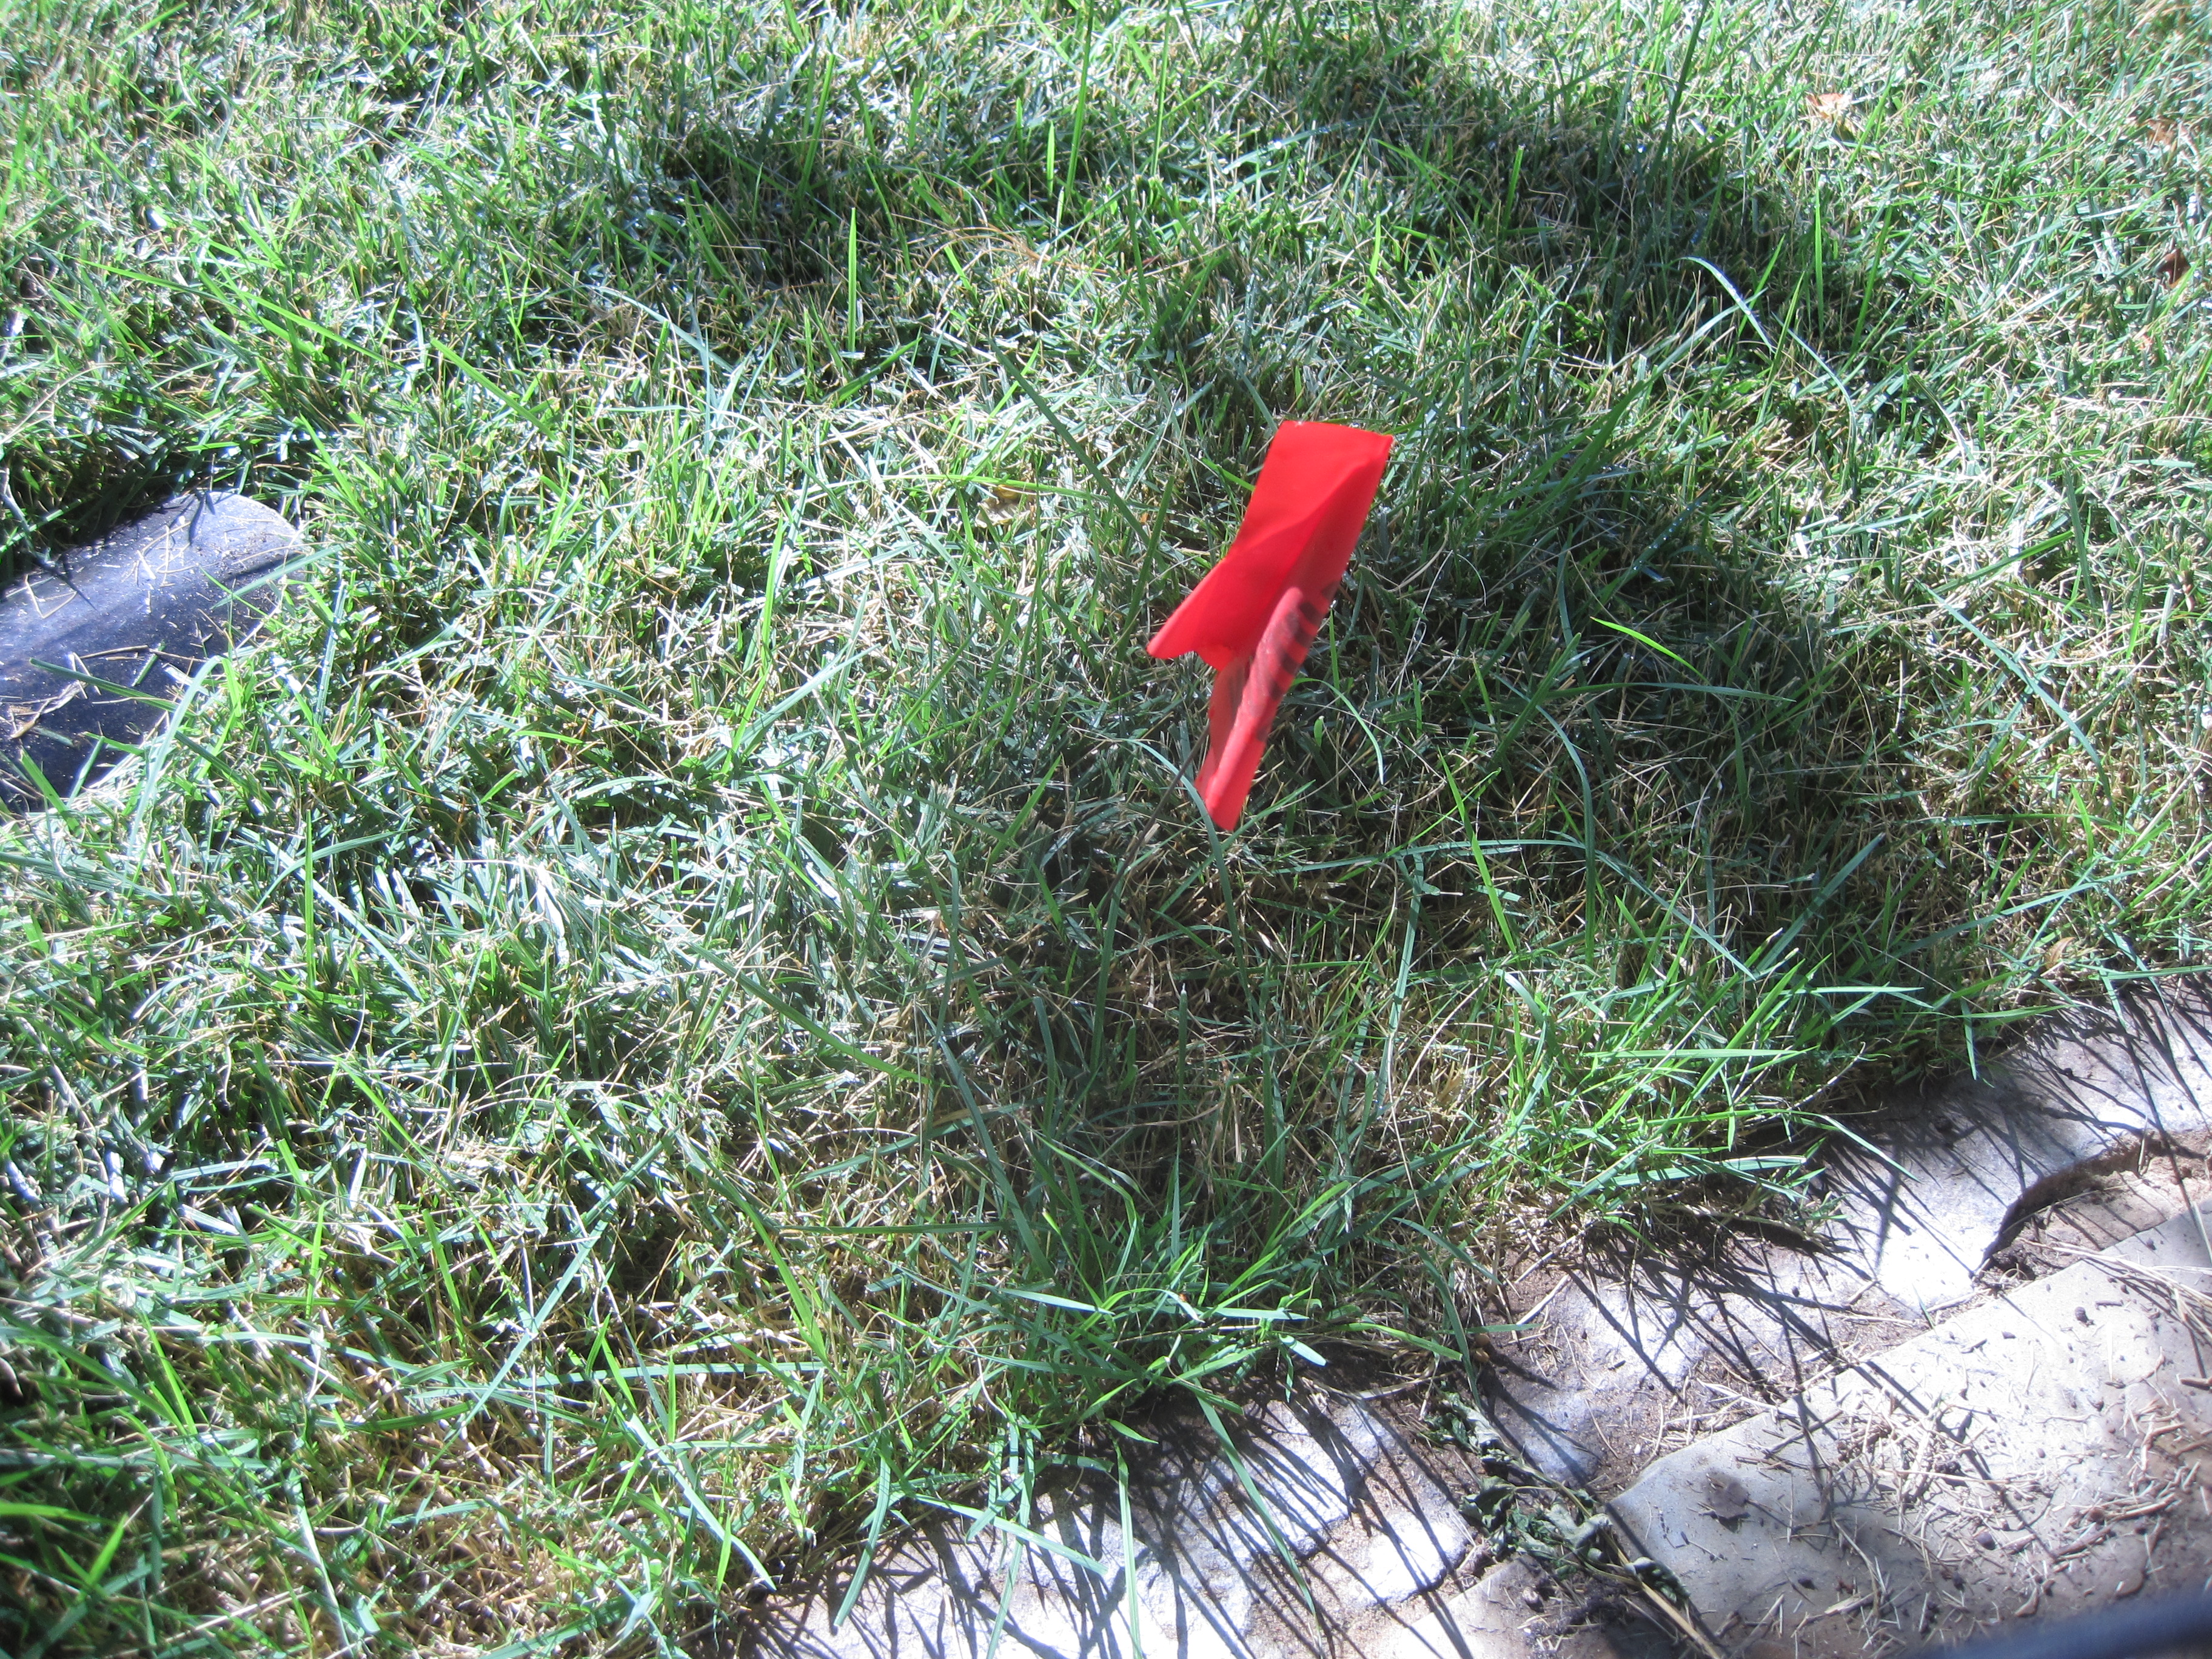
To upgrade the zone, we first needed to find all the heads.  We ordered the right number of heads based on our plan for the zone.  We turned on the zone, and used left-over flags from gas and electrical line markings to mark where the heads were.  Mostly they popped-up, but a couple were held down by grass that had grown over them and were harder to find.

Then we dug out around each head, so that we could easily find it, and work with it.


Some of the heads were significantly down in the dirt and took some digging to find.  We would need to raise those up to ground level for either the new heads or the old ones, as we need to add to the riser underneath the head.


Some five heads were buried like this and needed to be raised up between 3 and 5 inches.  We had to go to both Lowe's ($8.44) and Home Depot ($$6.19) to get parts to replace the existing risers with the right heights

In addition, before we started doing anything else, we figured we should check for any leaks in this zone.  On each head, in the middle is a little screw, and turning the screw clockwise until it stops closes off the spray from that head.  So screwing down all 15 heads should cut off all water for the zone.

Doing that, and then checking the water meter at the street, we see that there is still significant water flow.  Going back and looking over each head, we notice that one is wet and getting wetter.  Digging down around it shows a break in the riser under that head.  So 6 heads need to be dug up and the risers replaced -- five for height and one to fix a leak.

When those 6 heads are dug out, the risers repaired and replaced, we went ahead and switched out the heads with the new heads at the same time.

For the other 9 heads, we noted that the plastic exterior for the heads is the same for the Rain Bird 1800 heads and the new Rotary heads.  So we could simply unscrew the old 1800 heads from the plastic exterior


remove the shaft and spring from inside the plastic exterior, and then unscrew the head from the new rotary head and put it in the 1800 plastic exterior, still in the ground.


Digging up a head, down to the riser, and replacing the entire thing takes about a half an hour (or more).  Switching out the insides takes just seconds. 

In fact, we removed all the old heads, and then turned on zone 4, so we had water flowing from the old plastic exteriors -- flushing out anything that was in the lines.  While it was flowing, we were able to go around and put the new heads into the old exterior plastic and screw them in place.  All until the last one.  The force of the water for the last one was too much.  At that point, we turned off the water, put in the last one, and then turned the water back on.

Because once the heads were all in place, they needed to be adjusted.  Almost all of them were adjustable (from 45 degrees to 270 degrees), so we had to go around to each and adjust them to the right angle and start position.  Mostly they were either 90 degrees (for corners) or 180 degrees (for running along a side), but we were able to adjust them to fit whatever we needed.

We did have one head that seems to rotate at about 3 times the speed of the others.  Most of the heads lazily rotate around, but one spins like mad.  I called Rain Bird customer service and they suggest switching out the part on the top that spins with another head, and if that doesn't work, then the whole unit.  Apparently you can buy (and replace) just the top spray part.  So apparently the fast spinning one is defective (although customer service would not come right out and say that; nor did they offer to replace the defective one with a good one.)  We have extra parts until we do Zone 6.

This whole process basically took all day.

Switching out the heads dropped the 5-minute usage for Zone 4 from 105 gallons to 54 gallons.


Saturday, July 23, 2022

Maintaining the Irrigation System

 The temperatures are at record highs, and our lawn irrigation system does not seem to be working right.  Zone 6, especially, is not putting up the pop-up sprinkler heads effectively.  The further from the valve, the less it will pop-up.

So I call an irrigation company -- Sprinkler Medics -- to come evaluate my system, especially zone 6.  He doesn't think it is the valve and eventually is able to find  a leak under one of the heads.

The nipple between the head and the PVC piping had broken, so all the water was leaking out down near the PVC pipe.  Apparently our dirt is now porous enough that the water all went down, so there was no evidence at ground level.

But we replaced the nipple, put things back together, and things were better.

At least for a little while.  Now it looks like zone 6 is not working well, again.  So maybe another hidden leak?

But what about the other zones?  To check, we ran all zones for 5 minutes each to see how much water they used. 

1 8
2 101
3 40
4 105
5 7
6 31
7 149
8 112
9 102
10 33

This seemed to show that zone 2 used a lot of water.  Which seems unreasonable, since zone 2 is strictly underground. And zone 3 is is about twice as big.

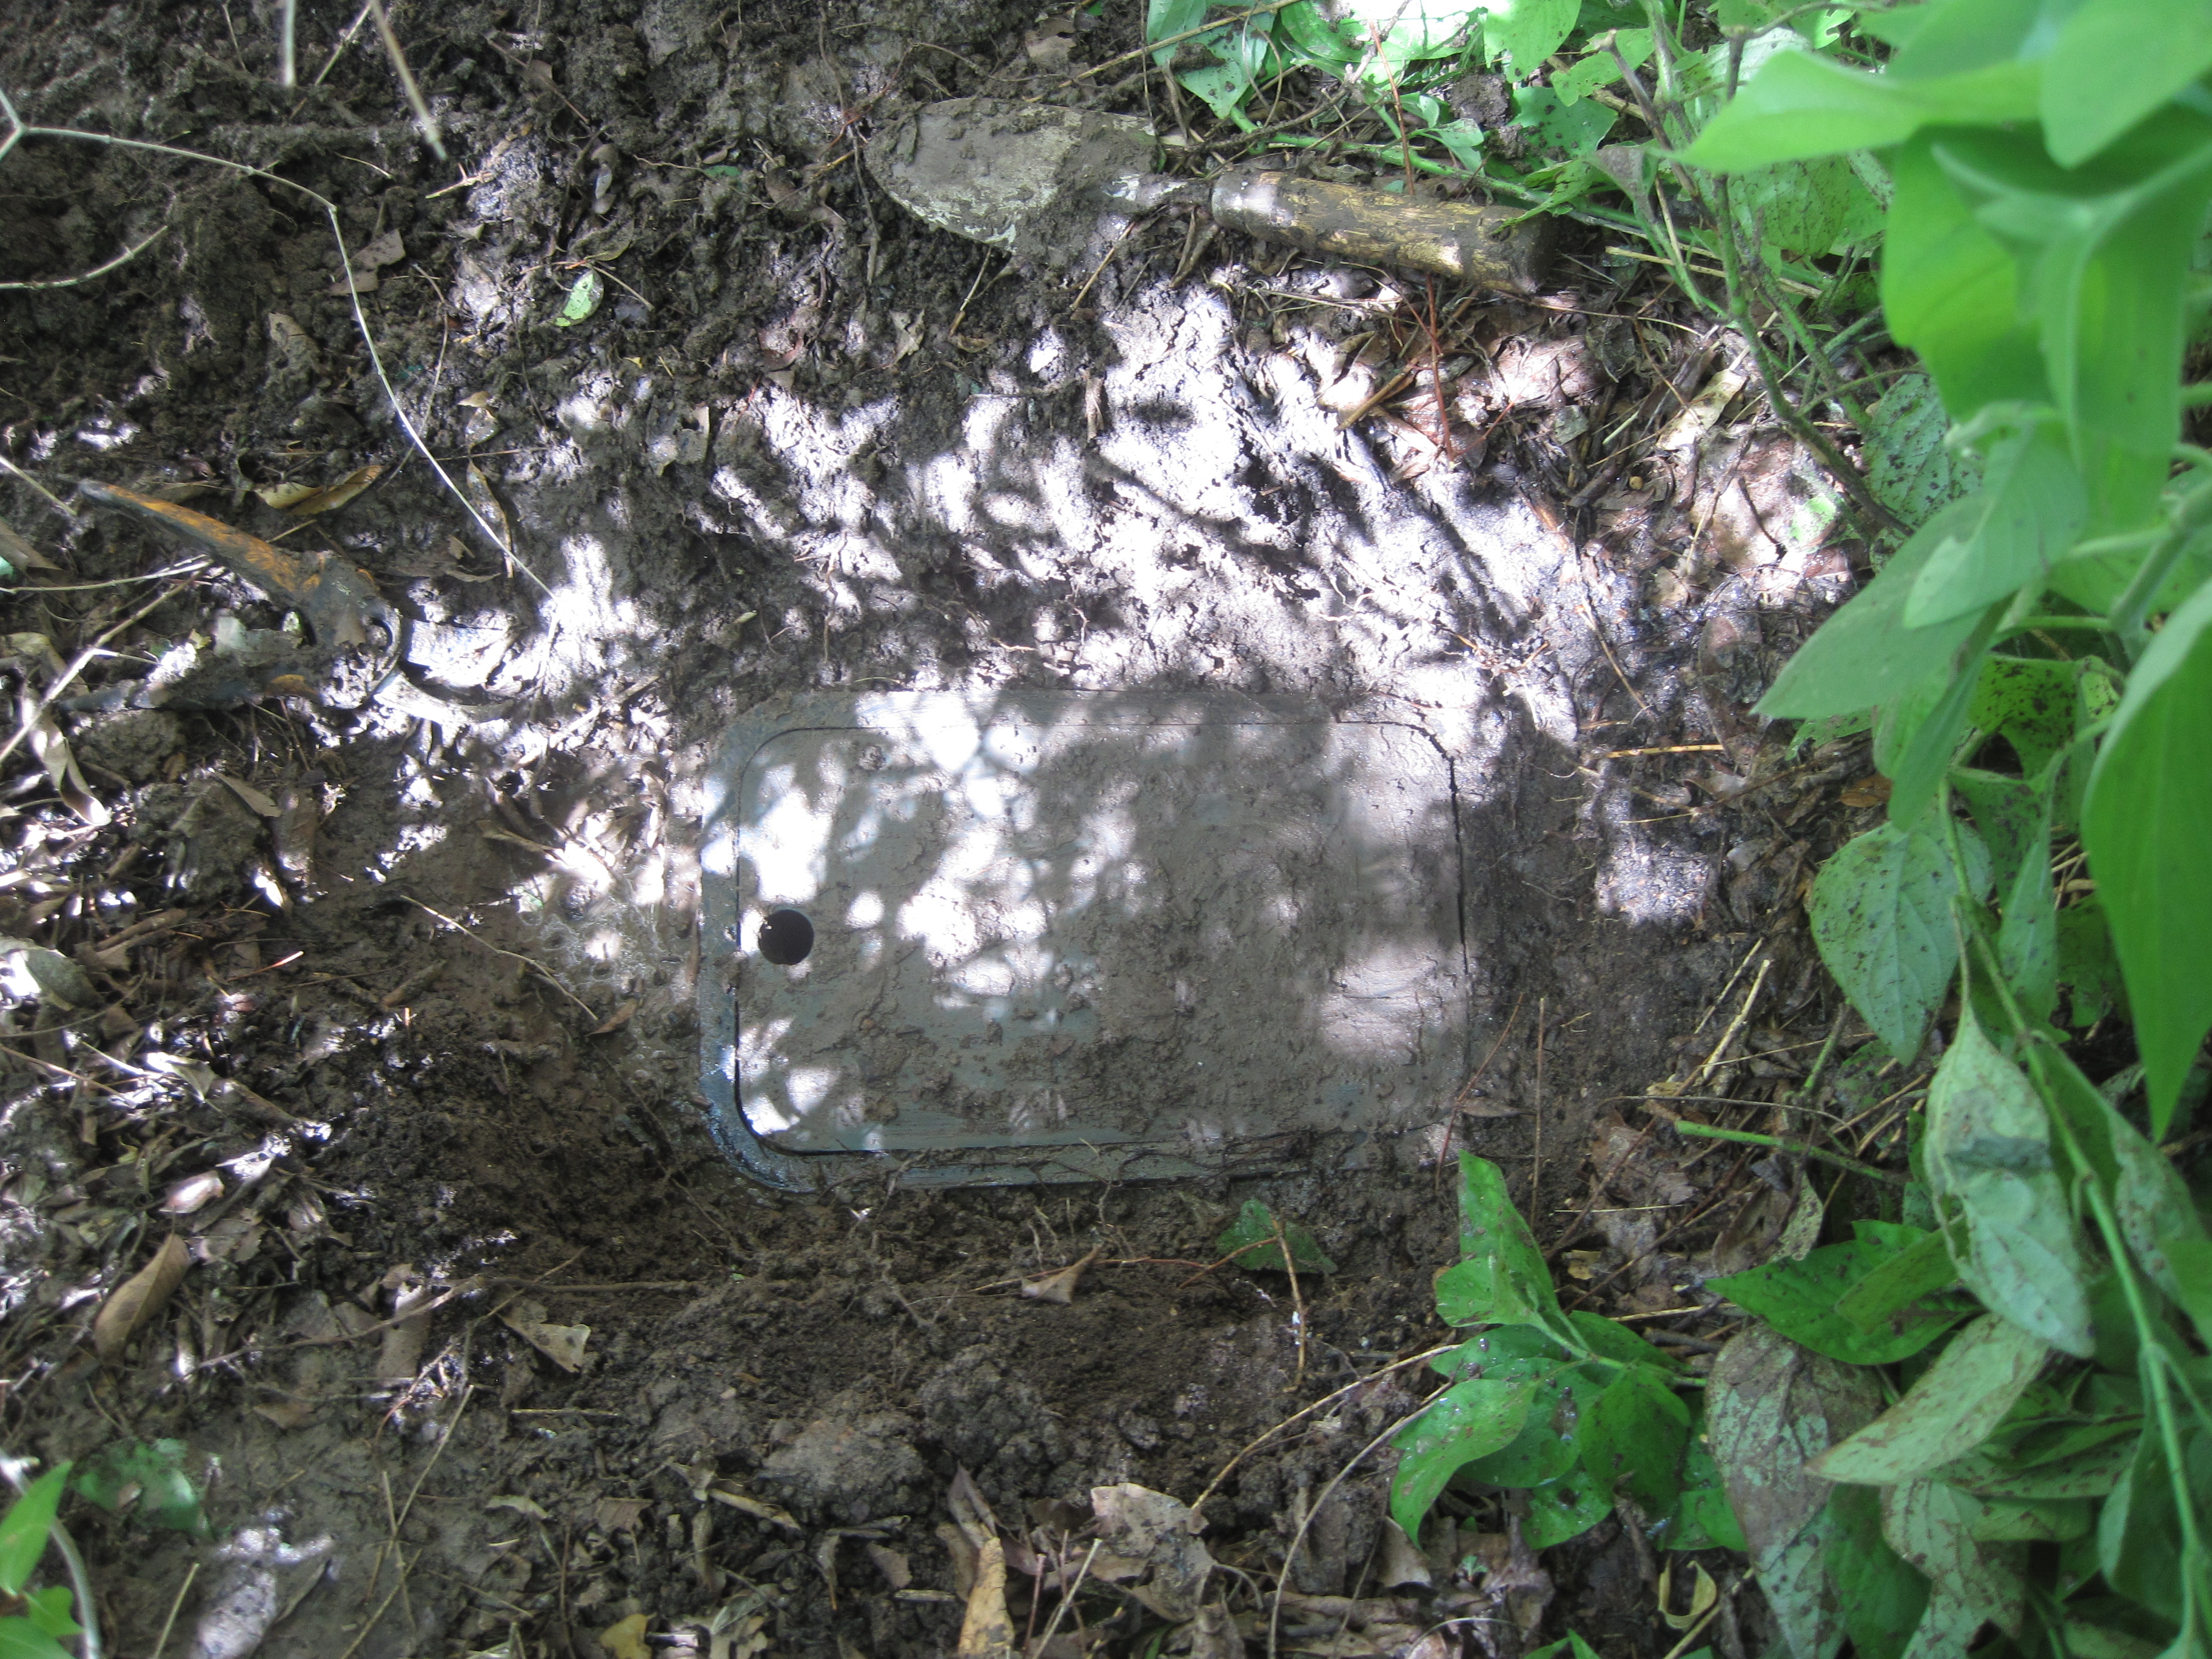
But, letting zone 2 run, we can identify a stream of water coming from the middle of the zone, and tracing that back brings us to the leak.  The leak is coming from the box that holds the valve and other controls for zone 2.  We found the box buried in what is now very wet mud.


and opening it, we can see the actual leak.

The leak is at the joint between the on/off valve and the filter for the underground lines.  It appears that the ground has settled and caused the lid of the box to press down on the filter, eventually breaking the connection to the on/off valve.  We buy another filter unit from Home Depot, and while we may be able to extract the broken piece from the end of the on/off value and reuse it, the on/off valve is relatively cheap and being underground, a pain to replace, so we get a new one of that too.


Putting that all together, we can then re-install the box and put zone 2 back  into use.

Before we do that, we should also flush out the lines, so we find the lower flush box which is now 8 inches deep, by the rain barrel.

The upper flush box is not as deep, but harder to find.  It is 11 inches out from the house and 27 inches from the corner of the house and the sidewalk (right under the corner of the fence.


Now zone 2 uses 15 or 16 gallons in 5 minutes.  More if the flush valves are open, then up to 46 gallons in 5 minutes.

When we upgrade zone 4 and zone 6 to rotary heads, we find each of these zones also have a leaking head with a broken riser.  So 4 underground leaks in our irrigations system (so far).


Sunday, June 26, 2022

Fixing the Diverter Valve for the Central Bathroom Shower

With our grandson, it seems easiest to throw him in the bathtub, and use the shower spray to wash everything off when he gets dirty.  This involves first getting the hot/cold water temperature correct and then switching the water from the tub to the shower, using the middle handle.


But for several months, turning it from the tub to the shower, while it does provide some water from the shower, mainly still means most of the water is going to the tub.  So we think the shower diverter valve needs a new washer or something.

Taking it apart, we remove the handle and unscrew the escutcheon to reveal the diverter value.


Using a big wrench, we can remove the value to leave an empty hole in the wall, going to the shower structure itself.


The valve stem has two white-ish plastic washers, one of which seems to have broken into smaller pieces of which we have only a couple pieces (on the paper towel to the left of the valve stem).


Otherwise, things look okay?  So we need a new washer.  But we don't know the actual size or where exactly it goes.

Going to Home Depot we find the Pfister Tub/Shower Compression Stem Diverter 910-022 132410, which looks almost the same:


But we were told, I think, that our fixture is from France, so it is unlikely that a U.S. diverter valve will work.  Still, we can see the two similar washers on the 132410, and we cannot find just the washers anywhere, so we buy the whole thing and use just the washers.

(I've highlighted the washers in red in the image on the right above.)

While we are here, we also replace the black rubber washer and screw on the end of the valve. So the parts we replaced were the two white-ish washers, the screw and the black rubber washer.

The larger washer that was replaced measures 1 inch interior diameter and 1 3/16 exterior diameter, and maybe 1/16 inches in depth.  The smaller washer, we don't have a measurement for.

When we reassemble everything, we haven't fixed it completely -- when you switch the water from the tub to the shower head, there is still some water going into the tub -- but there is less water going into the tub and more going to the shower.  And we don't remember if it ever cut the water to the tub completely, so we will declare success for now.


Monday, June 13, 2022

Maintaining the Bamboo Grove

We have done little for the Bamboo Grove since it was finished in 2010 and it has required very little maintenance. But in February 2021, we have a week of freezing temperatures with it getting down to single digits and not all the bamboo survived that.  It took time, but a year plus after that we found that some stalks had died and fallen over.


We extracted a large pile of dead bamboo from the Bamboo Grove and cut it into 6 foot pieces and put it out for the City to pick up with lawn clippings and leaves. Others appear to be dead too, but are still firmly rooted into the ground, so we'll wait for those to fall over.

But  it is difficult to get in to the dead stalks -- there is bamboo everywhere.  So we decided to cut a path thru the Bamboo Grove, to make it easier to get in and remove dead bamboo.  We started near the area behind the Jungle, where we are growing a new Oak tree (from an acorn).


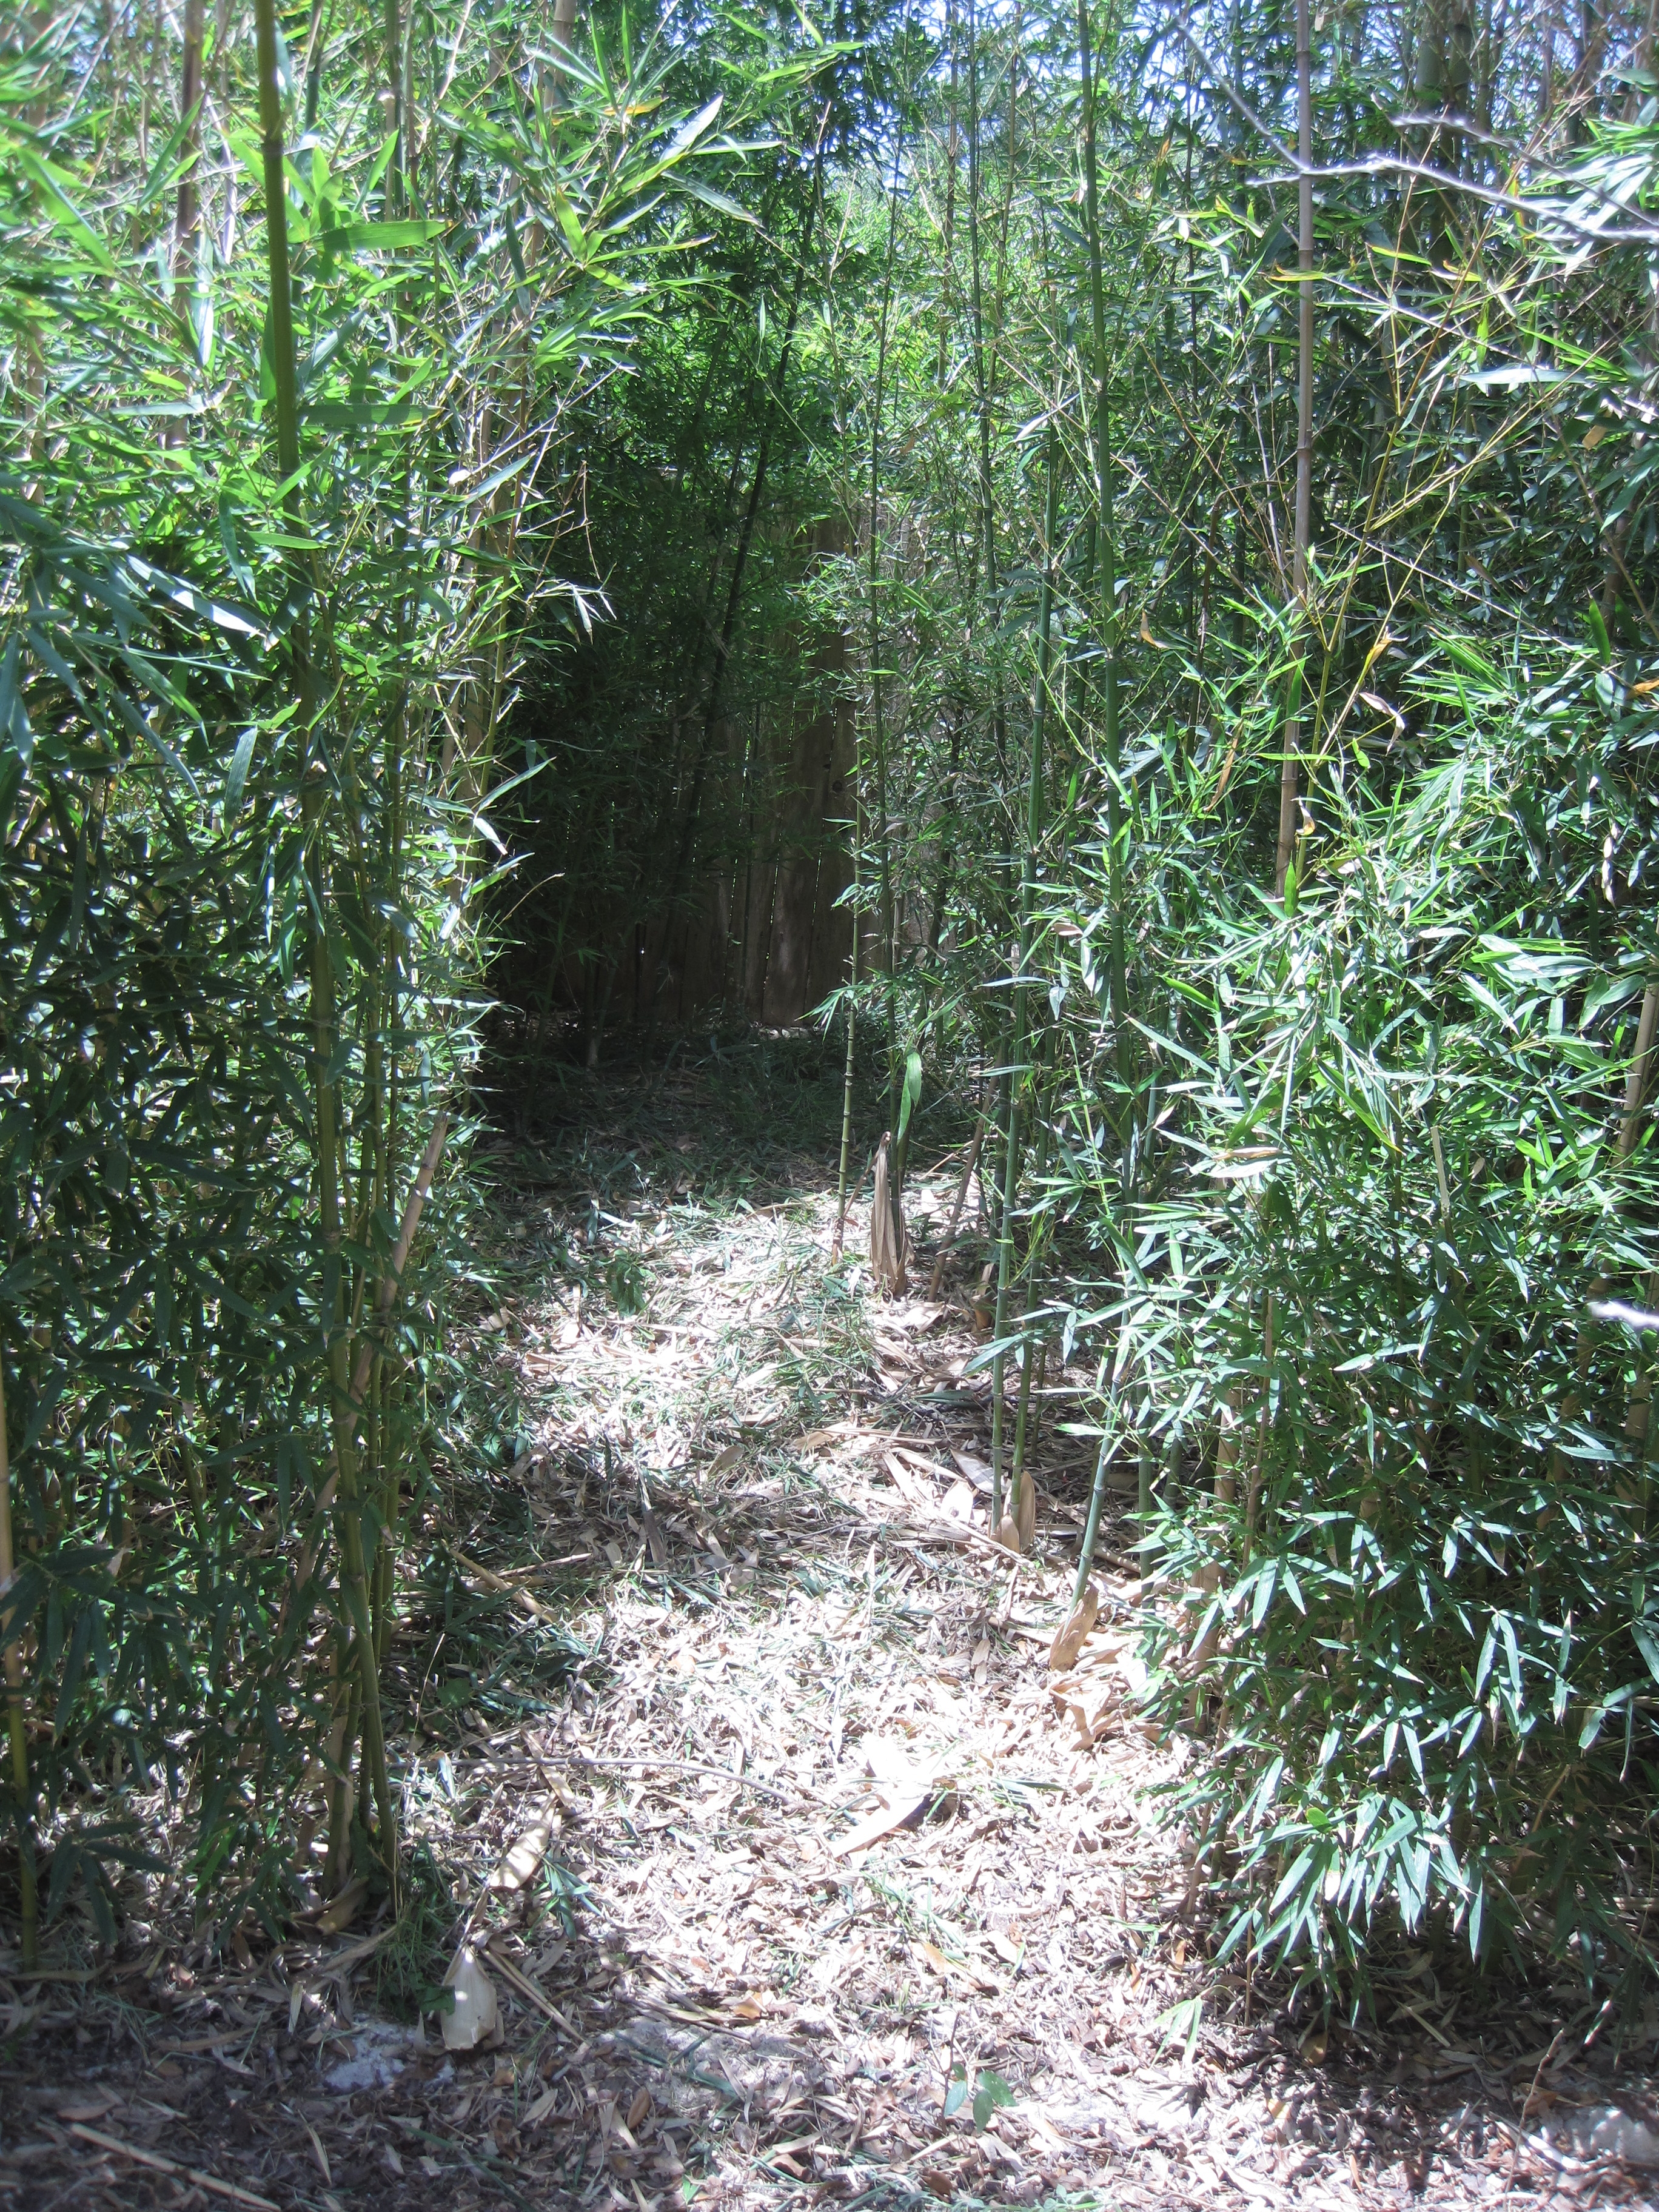
We used the chain saw to cut down some bamboo stalks, to define a path that we can take into the Bamboo Grove


and continued that thru the Bamboo Grove


and then turned right and continued to the Blue Rock Pool.


We used the hedge trimmers to cut off small branches and leaves that pressed in on both sides of the path.

That produces a large pile of bamboo on the driveway that we will need to cut down to smaller pieces and get rid of.


Saturday, May 21, 2022

Digging up the remainder of the Front Yard, Part 1

There remains one patch that we have not yet excavated -- between the sidewalk and the driveway, between the front porch/patio and the Rock Wall around Fuzzy.


We first move the granite pieces out of the way -- our intent is to use them as stepping stones later. 

We start by digging in the corner near the front door.


We discover a sprinkler line that runs diagonally from that corner.


Not expecting this line, we hit it a couple of places (so it now leaks) and we will redefine the sprinkler layout for this area (Zone 11), so for now, we just take it out and keep digging.


We extend this towards the driveway.


and in so doing, find another part of the sprinkler line, so we continue digging to expose it.

We remove the sprinkler line -- capping off the end that comes from the direction of Fuzzy. 

Which exposes a layer of rock, which we break up and remove, only to reveal -- Another layer of rock!


And at this point, we need to take a break, because we are expecting wet weather.


Monday, May 16, 2022

Back Deck Maintenance

The deck was replaced in November 2003, so it's approaching 20 years old.  It is made of ipe (iron wood), on a pine or fir under structure.  The ipe deck boards are attached by what are supposed to be brass screws, looks like #8 screws with a small T-15 Torx head; one site says they are "Finish/Trim" screws.


I've notice that some some of the heads have backed out and are sticking up; some more than others.  The worst seem to stick up maybe 1/8 to 1/4 of an inch.  Trying to screw them back down does not work -- they just spin in place.

Investigating why, it seem that the screw goes thru the deck board and into the underlying joist.  The smooth upper shaft of the screw is in the deck board and the thread goes into the joist.  The joist wood has deteriorated and so the thread has nothing to grasp, which is why the screw can pop up.  Also in some cases the screw has broken and the top half is disconnected from the threads.

So the solution seems to be to remove the old screw and move it, or a replacement to another position not too far from the original position, where it can find strong joist wood to hold the deck board in place.

Putting in a new screw involves:

(1) drilling a hole for it.  The ipe is very hard.  I used a 1/8 inch drill bit.

(2) installing the new screw.  At 2 inches long, these take quite a bit of screwing, so the easiest way is to put the T-15 Torx bit into a power screwdriver (I used my power drill with it's variable speed, on slow and easy).

Today I only did 4 replacement screws.  Took about an hour.


Sunday, April 10, 2022

Stone Border for Backyard Bed

Most of our beds are well separated from anything else.  But we have one bed, in the backyard, up against the fence, that is not.


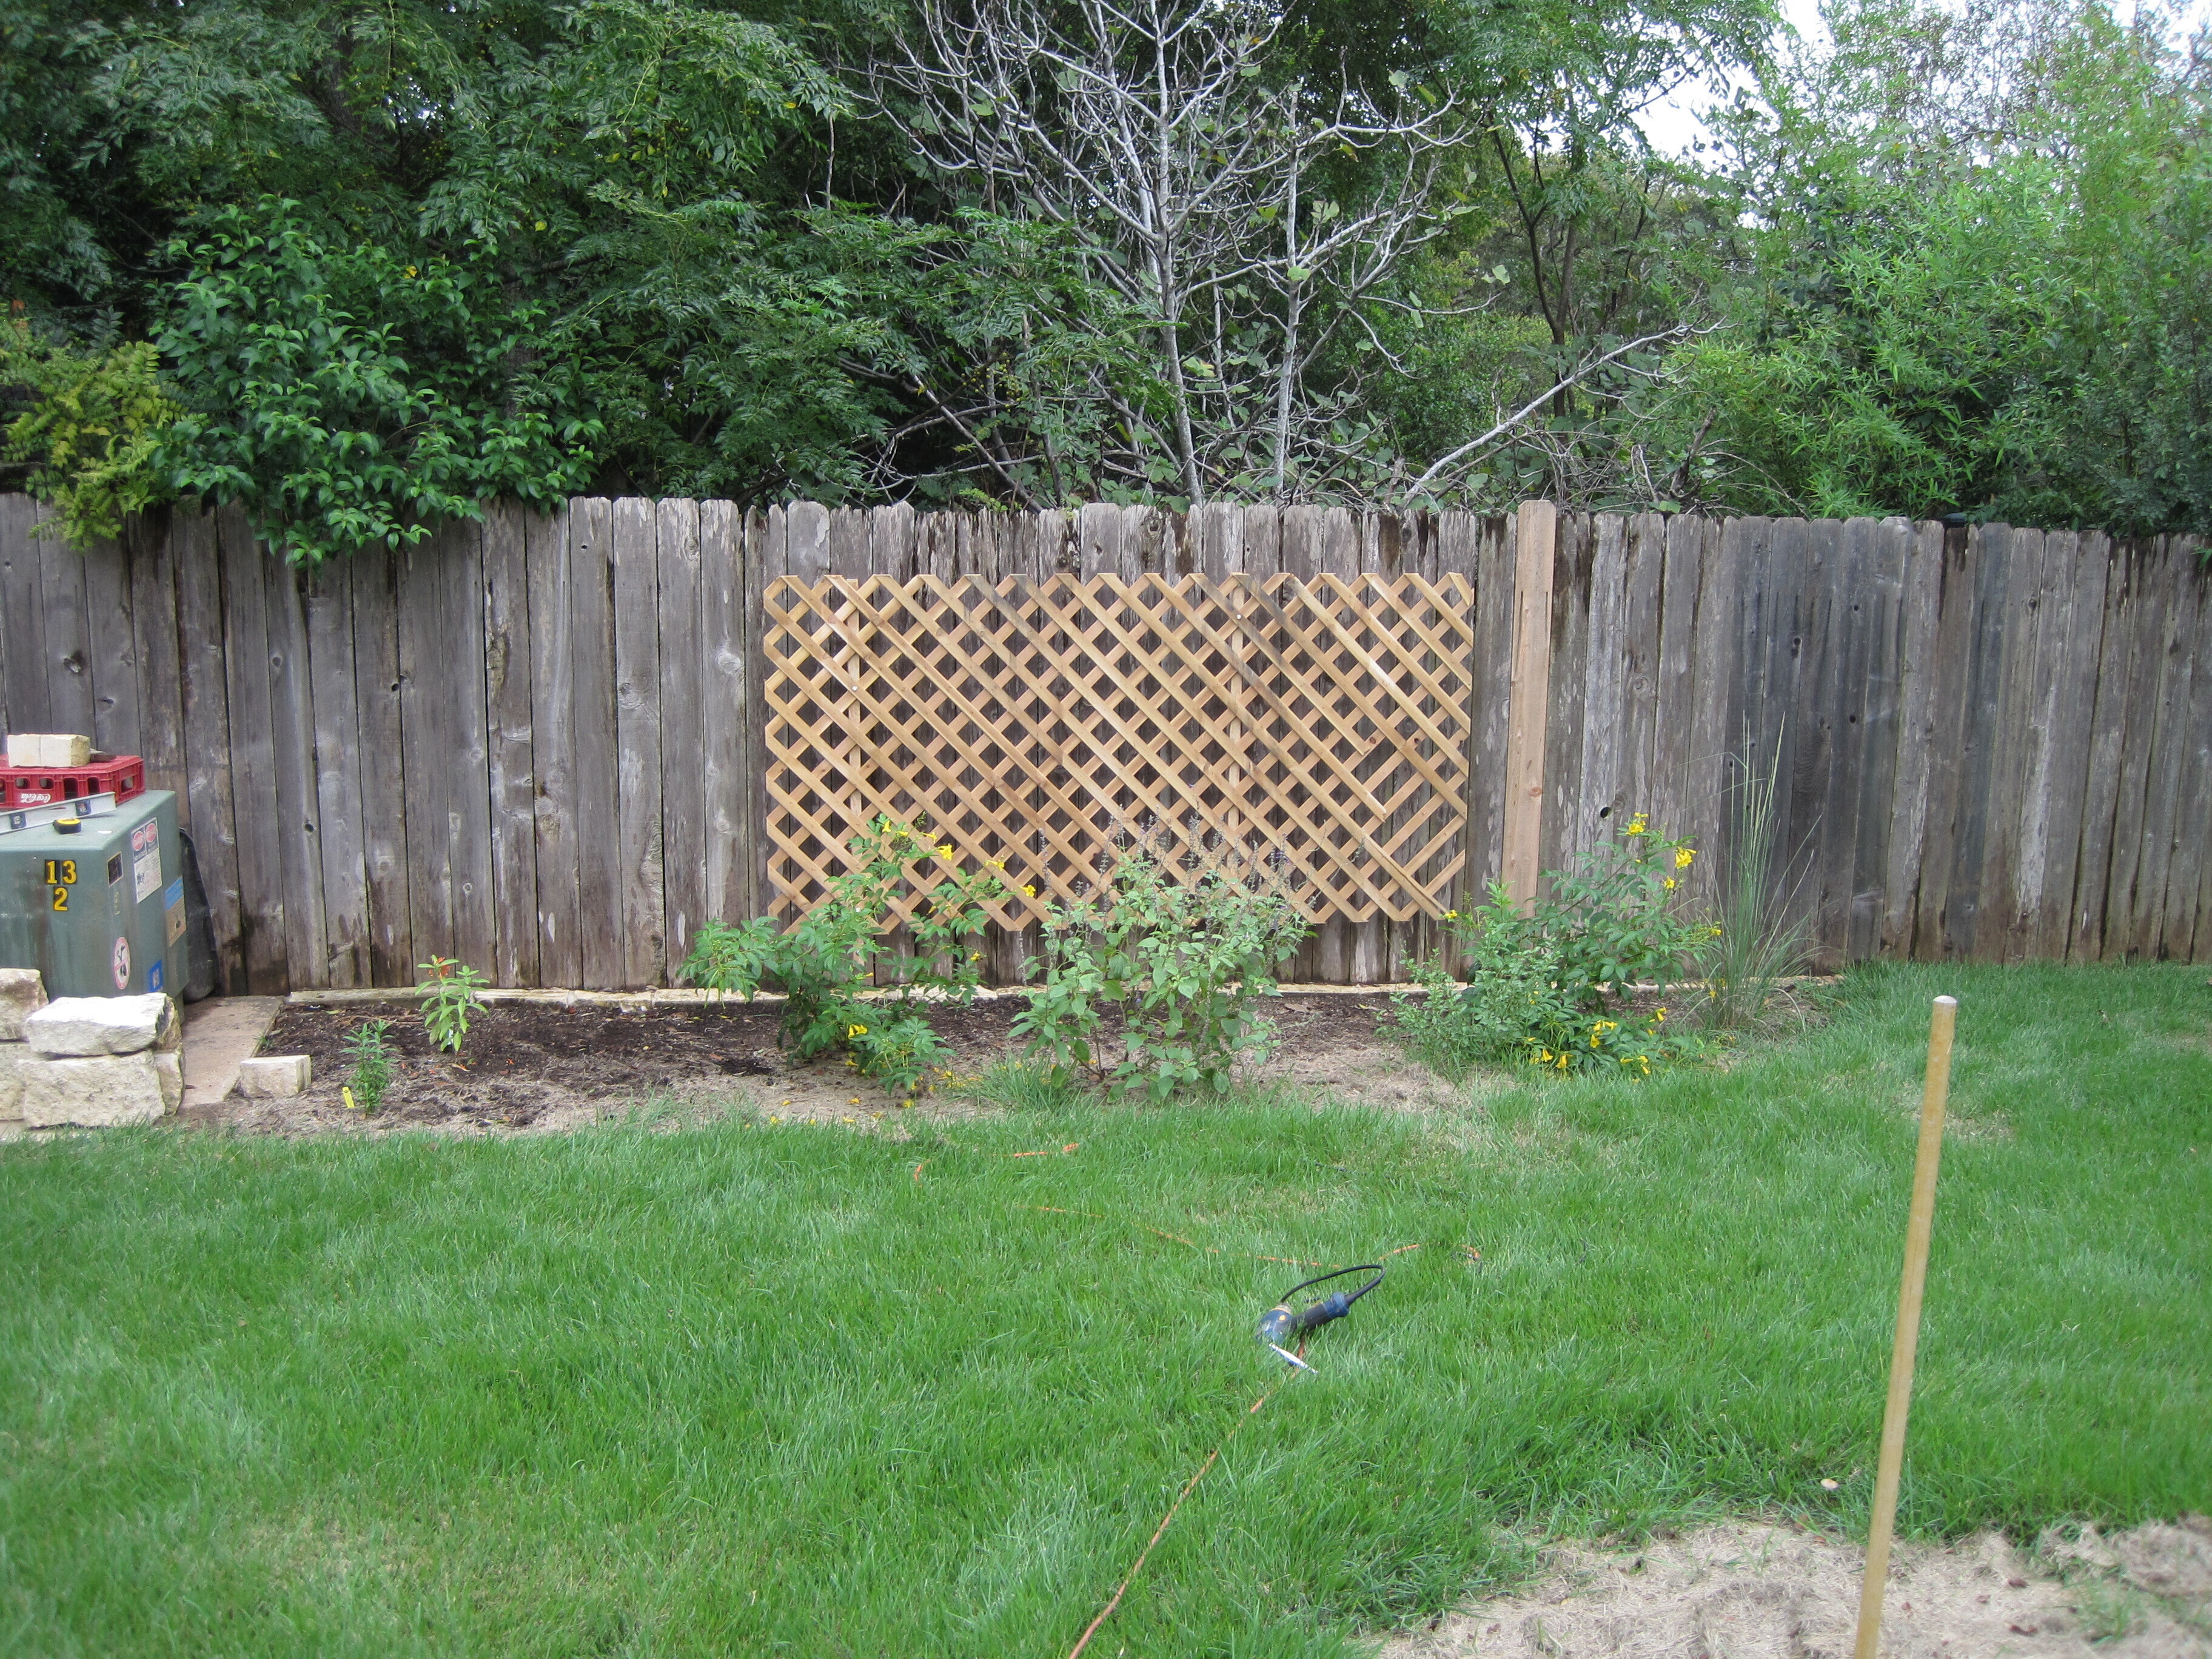
 Linda planted a passion flower vine to grow along the fence, but, it turns out, it also sends roots out into the yard and tries to pop up vines all thru the grass.  So our intention is to put a stone border around this bed, to keep the roots from getting into the yard.

The first step is to dig a trench around the bed.


Then, I tried to take it down deeper.  The design was to bury a metal barrier that would block any roots from going into or out of the bed, and then pour concrete on top of that and put limestone blocks -- the standard 4x4 ones -- on the top.

I bought some corrugated metal landscape edging.  Made by Dakota Tin, sold by Walmart $64.93.  Two pieces, each 10 feet long and 12 inches tall.  And a rubber mallet to hammer it into the ground partially below the concrete to be poured.


But digging down, we hit solid rock almost immediately.  Just barely 12 inches below the surface.  Apparently this section next to the fence was not excavated very far down.

We also uncovered two irrigation pipes leading into the bed -- one next to the concrete pad for the electrical box, and the other at the other end of the bed, next to the fence.

So the new design is to just use the metal edging as yet another part of the barrier -- forming one side of the concrete wall to be poured.  

The corrugated tin had to be shaped to fit around the irrigation pipes and the uneven rock at the bottom of the trench.  Then we bought the cement -- 15 bags.


 and we position the metal barrier in the trench.  


Then we pour the cement in the trench -- keeping the metal barrier to the inside of the cement pour.  We top it off with a line of 4x4 limestone blocks, put the dirt that we dug out back and it is done.


We have been pulling out any of the vine starts that we see in the yard for the last few weeks; we will probably need to do that for a couple months until the roots that are in the back yard now are exhausted and die.


Update: 25 July 2022.

The border seems to be helping with the vines growing out of the bed, but not with the grass growing into the bed.  The border was designed to be just at ground level, so we could mow the lawn with the tires of the lawn mower running along the top of the border. 

But Bermuda grass sends out runners, above ground, and these seemed to really want to just go right over the border and into the bed.  We need a higher border to stop the runners from just going right over the border.

So we got 20 feet of 4x4 limestone blocks from Whittlesey Brothers (27 June 2022, $36.90) and lined them up next to the border.


We bought a bag of mortar mix from Home Depot (25 July 2022, $8.64), and mortared the stones on top of the border.


This should keep the Bermuda grass out of the backyard bed.

It seems that after 3 to 4 months of pulling up every upstart vine we see in the back lawn, the roots have mostly stopped trying to send up more vines (unless they are just discouraged by the heat of a Texas summer, and lack of rain.)


Tuesday, March 29, 2022

More Sod for Back Yard

 The area where we took out the Monterrey Oak, and it's bed last summer and then added a Mexican Plum has been sitting since then.  So it seems it is time to finish it off.

First we spread more dirt, to even it out, as some of it has settled. 


Then we bought a half a pallet of Zoysia Palisades from The Grass Outlet.  $173.20. That is 80 pieces. We used about 50 to cover this area. 


There was another area just around the corner where the slope was too steep.  We added dirt to make it slope more gently, and then put another 20 sod pieces on it.


And the final pieces were put down at the bottom of the stairs to the back porch.  Stepping off the sidewalk at this point after coming down the stairs repeatedly has caused this section to sink below the sidewalk significantly, so new sod will help raise it up an inch or so.


These new pieces of the lawn will need frequent watering to keep them alive and get them established.  Part of the timing is they are predicting rain tonight.