Saturday, March 9, 2024

New Light Wiring in Attic

 Encouraged by the replacement of the Loft light fixture with an LED one, we want to replace the attic light fixtures (currently 4 foot fluorescent shop lights) with LED lights.  A couple of the fluorescent attic lights work poorly, or not at all.  We found some inexpensive replacement lights at Home Depot (4 ft. 88-Watt Equivalent Integrated LED Utility White Shop Light with Pull Chain, Bright White) for $19.97. 

These lights plug into an outlet; they are not designed to be hard-wired.  This seems a trend, so it seems advantageous to convert the current wiring to provide plugs for the lights.

There are 5 fluorescent light fixtures in the attic; 3 work poorly, so we start with those. First we do the one near the chimney and HVAC system.


We remove the old light fixture, to get a bare ceiling.  


The wiring box is not suitable for an outlet, so we install a new box to the side.  We run the wire that went thru the old box over to the side and down into the new box, and attach it to an outlet.

Plugging in the new fixure.


Then we move to the other end of the attic, to the center light, and remove it also.


We install a new box to the side of this spot, next to the living room ceiling.  In this case, the box for the old light seems to be a junction for wires going to many of the lights, so we leave that wiring and add a short new wire that runs to the box and the new outlet.  We cover the old junction box with a spare cover we had.

Removing the yellow outlet tester, and putting on a cover plate, we can plug in the new light fixture.


Finally, we do the same to the light fixture over the kitchen, removing the old fixture

and running the wire back over to the wall around the kitchen skylight, we install a new box and an outlet.

We can then plug the new light fixture into the outlet.

We see that all the new outlets work correctly under the control of the 3-way light switches near the attic access door into the loft and the stairs into the garage. 


Friday, March 8, 2024

Replace Loft Light Fixture

 The loft has two lights -- a low round fixture on the ceiling over the bookcases, and a long fluorescent light fixture in the wing that goes over the  back bedroom.  The fluorescent light fixture had a plastic bezel to disperse the light from the two fluorescent bulbs, but I often hit it as I was going by and it broken and fell off, leaving the exposed fluorescent bulbs.  So I thought to replace it with a low-profile LED light fixture.

I bought a new fixture at Home Depot -- Commercial Electric LED Ultra Low Profile Wrap Light.  42 inches long. 3400 Lumens. 4000 Kelvin (Bright White).  Says it will last  50,000 hours of use (up to 45 years).

The first problem is removing the old fixture.  Leaving the switch off, we remove the old bulbs.


That exposes the two screws that hold the fixture into the ceiling.  Removing those and disconnection the wiring leaves us with a bare ceiling with a metal box and the wiring.


Mounting the new fixture requires connecting the three wires -- power, common, and ground.  This is made easier by connectors on the light fixture which just requires the wires to be pushed into a hole.  Then we mark where the two screws go to attach the fixture to the ceiling, drilling the holes, inserting the sheetrock anchors, and screwing the two screws into place.  The light fixture is then put in place, pushing the mounting holes in the fixture over the screw heads and twisting slightly.  Then we can tighten the screws to hold everything securely.

We test everything by turning power on at the wall switch, and then clean up.


Tuesday, February 27, 2024

More Dirt and Expanding the River of Rocks

 I started by trying to mulch under the new Mexican Plum.  But some sedum had worked itself into the bed around the Mexican Plum, so I took it out.  But I like the sedum -- it's a succulent, and requires little effort to grow.  So I wanted to transplant it.  But where?

The best spot seemed to me to be along the back wall of the house, outside of the back bedroom and bathroom.  The strip of land along the wall seems to get little water; I think it is shaded from the rain by the roof overhang.  And it gets a fair amount of afternoon sun.  A succulent should do fine there.

But the soil there has compressed, so before moving anything to grow there, I wanted to build the soil level back up to the rest of the area around it.  Which is mainly the River of Rocks, as it splits and goes around the Shin Oak.  So I brought in more dirt.  I found what seems to be good dirt at Home Depot, Texas Native Enriched Topsoil, 40 pound bag.  I started with 10 bags.


That got me about half way, so I bought 14 more bags the next day.  But that was not enough, so I got 15 more bags the next day. So 39 bags at $2.67 each (plus tax).

As I filled in with dirt, I noticed that I had some flat-ish rocks that could be used to widen the Rive of Rocks.  While the River of Rocks was fine when it was built, the Shin Oak has sent up suckers to try to propagate, and filled the space left for it and at least leaned over to occupy the space above the River of Rocks.  So it made sense to either scootch the River of Rocks over, to allow more space for the Shin Oak and it's offspring, or to add another row of rocks on the outside -- between the Shin Oak and the house. 


We moved some Monkey grass out of where we have dirt and put them along the outside of the new edge of the River of Rocks.


Saturday, February 24, 2024

Fixtures for new Showers installed

The fixtures for the new showers have been installed.

For the Master Bathroom, this involves a valve in the middle of the wall that turns the water on or off, and selects the temperature.  The water comes out of one of the two shower heads.  By default it would be the fixed head.  But there is another valve, under the fixed shower head that will divert the water flow to a hand held spray shower head.  The hand held shower sits in a holder that can move up or down a vertical bar.  So even if it is not used as a hand held spray, we can have two shower heads at different heights (only one at a time).

 This is a Kohler Devonshire Pressure Balanced Shower System with Shower Head, Hand Shower, Valve Trim, and Shower Arm.  Model: KSS-Devonshire-Handshower-4-RTHS-BN (Vibrant Brushed Nickel). $1354.69 plus a Kohler Master Shower 2- or 3-way Transfer Valve. Model K-728-K-NA. $186.71.


The Center Bathroom has a similar set-up.  The primary difference is that the off/on/temperature selection is done at the front.  When the water is turned on it will by default come out of a spout into the tub.  The spout has a small lift button on it that will re-direct the flow of water to the showers, which then has a diverter for either the fixed shower head or the hand-held spray, which sits in a holder that can move up or down a vertical bar. 

This is a Kohler Devonshire Tub and Shower Trim Package with Single Function Shower Head and Rite-Temp Pressure Balancing Technology. Model K-TS395-4-BN. $196.76.  Plus a Kohler Devonshire Single Handle Diverter Trim with Lever Handle, Model: K-T376-4-BN. $191.48. Plus a Kohler Devonshire 2.5 GPM Multi-Function Handshower Kit with Master Clean and Katalyst, includes Slidebar, Hose and Wall Supply.  Model: Devonshire-Handshower-Kit-2.5-BN (Vibrant Brushed Nickel). $730.09.

The tub itself is a Kohler Underscore 60" by 30" Alcove Soaking Bathtub with Integral Apron, Integral Flange, and Left-Hand Drain. Model K-20201-LA-0, in White. $1026.00 plus a Kohler Clearflo 1-1/2" Tub Drain Kit with Overflow. Model K-7271-BN. $264.19.


Empirically, filling this tub takes 50 gallons.  Unfortunately, we only have a 40 gallon water heater, so we don't have enough hot water to fill it completely, in the best case.


And since the demo work is all done, and there is no more tile to cut and set, the dumpster becomes of limited use -- there is not much more to throw away.  So the dumpster is gone.


Tuesday, February 13, 2024

Tile is Set in Bathrooms

We were gone for the month of January, and now all the tile has been set.

In the master bathroom, the shower has been defined.


including an accent piece on the back wall


and niches around where the shower head will be


The wall at the end of the room has been completely tiled to match the shower wall tile.


That wall tile matches the new floor tile for the part of the bathroom floor that is not the shower.


In the Central Bathroom, we have a different floor tile


And a new tub -- slightly taller.  It's considered a soaking tub.


And a redo of the tile around the tub. with a niche and new plumbing.


Friday, December 22, 2023

Master Bath and Central Bath Remodel

 We remodeled the back bathroom back in 2004 and remodeling the other two has been on our list since then.  We are finally getting to it.  

One of the main problems is knowing what to do.  We looked for a company that could both do the work, and help with the design, and settled on Vintage Modern Design Build (VMDB). They came and took measurements and pictures and used that to create a computer model of the bathrooms which could then be modified to show us what was possible.

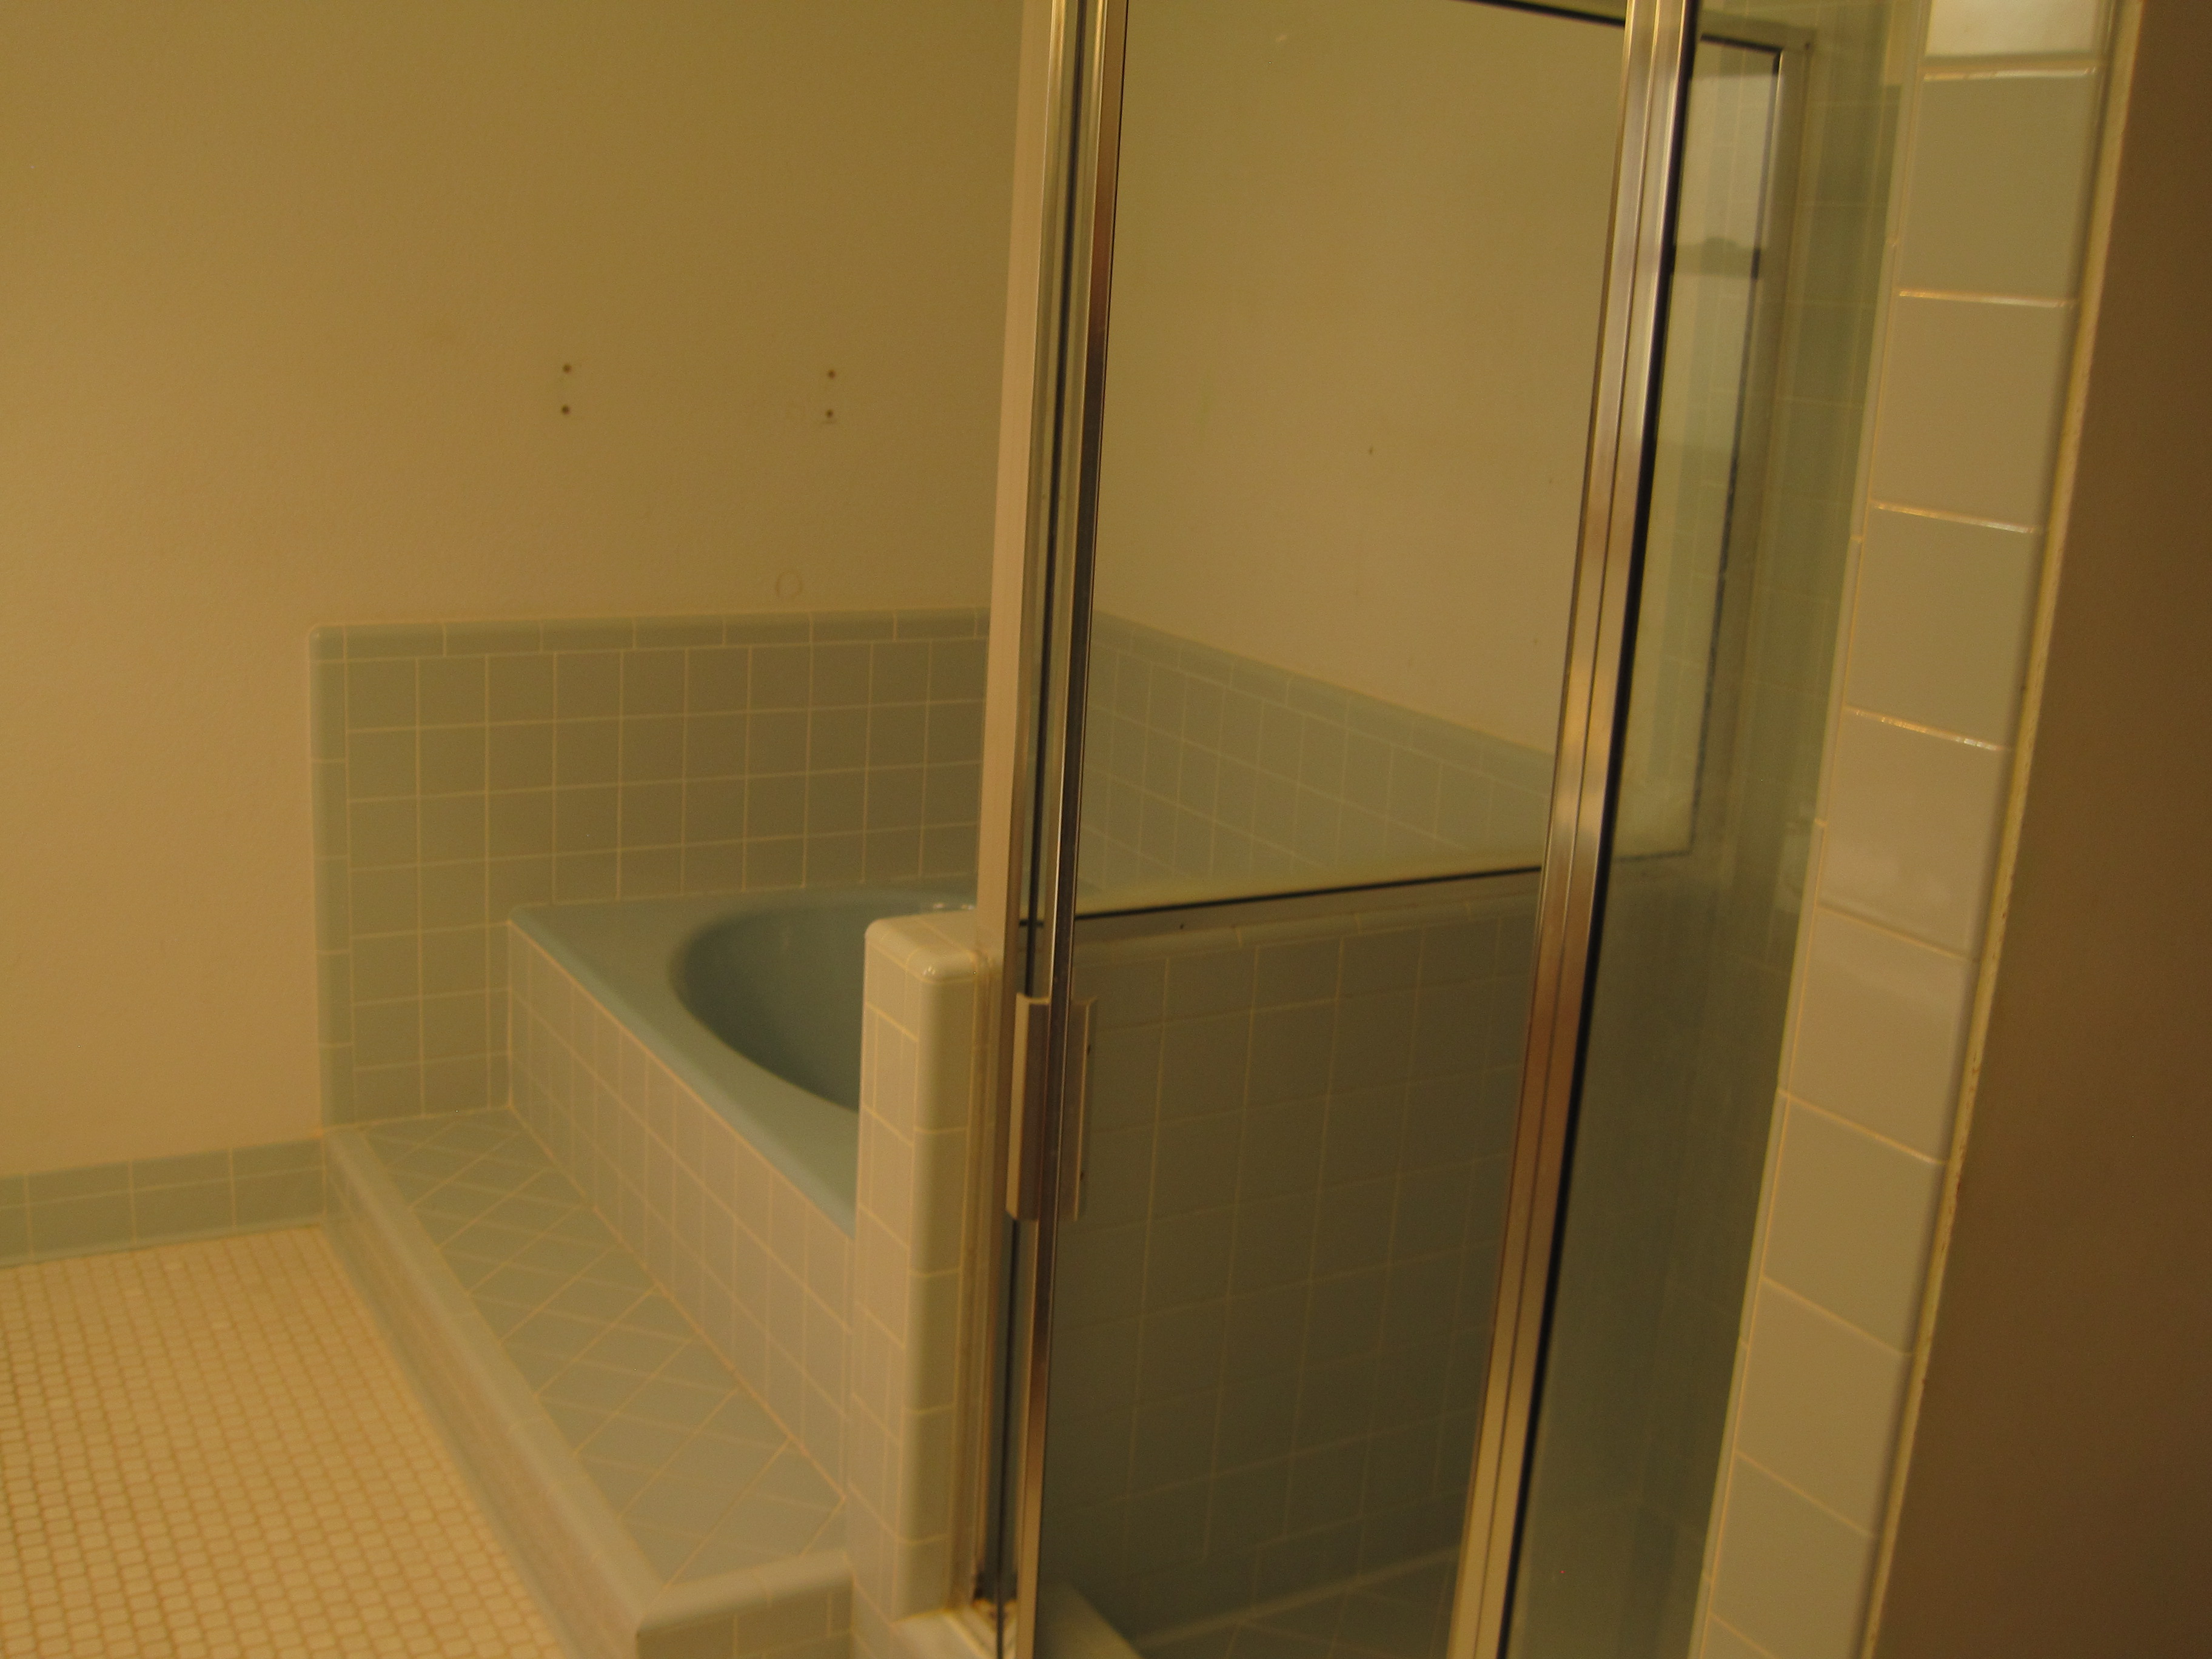
In the master bathroom, the plan is to remove the bathtub, and the current shower and merge them into one long shower area without a door.


And also replace the counter top, the sinks, all the fixtures.  And as long as all that is gone, we will update the cabinets too.

In the center bathroom, we will replace the existing tub with a deeper tub, replace the counter tops, the sinks, the fixtures, and the cabinets.  Oh, and the tile, both on the wall and on the floor.  


 Basically the only thing left in the two bathrooms will be the toilets.  (We've replaced all the toilets over time, and the current ones seem to work fine.)

Linda worked with VMDB to pick out tile and flooring, sinks, fixtures, counters.  They will remove all the old stuff, and put in the new stuff.  $75,190 for the master bath and $43,278 for the center bath.  They estimate it will take 3 months and will start the first part of December.  

They actually started on 7 December 2023, and within a week had finished "demo" (demolition) -- the removal of all the old stuff in both the master bath


and the center bath


Monday, December 4, 2023

Replace Hallway Hot Water Heater

The water heater in the utility closet off the hallway started leaking on Friday.  We were sitting at breakfast and Linda complained of a high pitch noise.  She tracked it down to the hallway, and looking inside the utility closet found the "Watchdog Water Alarm, Model BWD-HWA" making noise.  It sits in the drip pan under the water heater, and the drip pan had water in it. 


Examining the label on the water heater, it was from 7/2004.  So 19 years old.  Probably time to get a new one.

But it's Friday.  I don't have a plumber on call, so I have to search around.  Google suggested Home Depot, which I figured had the water heaters, so I called them.  They use ARS/Rescue Rooter.  When I called them, they had to come out to see what the problem was.  So by mid-afternoon, he had come, and gave me an estimate of around $4000.  I thought that too high, so back to the Internet.

Several other plumbing companies also wanted to come out and look before providing even a rough ballpark for the cost, but finally I found Blue Ribbon Cooling, Heating, Plumbing and Electrical who asked that I text them a couple of photos of the heater, the vents, and the label on the heater.  Then they quoted me from $2950 to $3250, depending.  That sounded better so I took it.  They could be out on Monday to do the remove and install.

Over the weekend, I heard that Wilson Plumbing did this for my ex-wife for a much lower price.  And on NextDoor people were suggesting "Cold is On The Right".   Rapid Plumbing was quoted as charging $2150.  So we were paying more than necessary.

The plumbers showed up Monday morning, around 9:30; they were gone by 12:30.

They removed the old tank


And installed a new one.

The new tank is, like the old one, a 40 gallon, natural gas unit.  Manufactured by A. O. Smith.  Model GCR-40 250, Serial 2343136304504, manufactured 10/25/2023.

In addition to the basics, they added a short extension to the gas pipe, so that any condensation or debris in the gas will drop into the extension and not interfere with the pilot light.  Sort of an appendix for the gas line.

And they added an expansion tank above the tank, to allow space for the water to expand in the hot water line.


The main problem for a hot water heater, of course, is a leak.  There is a pan under the tank to catch a leak from the water heater.  But our previous pan was sealed off. They put in a new pan, and tied it into the drain for the Air Conditioning condensation.


This involved first drilling a hole in the platform under the utility closet and into the return air plenum.  Then the PVC pipe was routed over and into the drain line that drains off any A/C condensation.


A red-handled ball valve was installed to allow this line to be shut off -- the fear is that if the drain line becomes stopped up, then the A/C condensation could flow up and into the water heater pan.  That would, of course, set off the  Water Alarm and (hopefully) alert us that something needs to be done.

 Total cost was  $3,254.06.

And of course, we replaced the 9-volt battery in the Water Alarm, and put it back in place, in the new water heater tank pan (on the right of the gas heater apparatus in the picture below.


Saturday, November 18, 2023

Fixing a leaky faucet in the Back Bathroom

We have a leaky sink faucet in the Back Bathroom.  By turning off the water supply for the cold and then the hot water  under the sink, we were able to identify that it was the hot water faucet leaking.

First we needed to get a replacement cartridge for the faucet.  It is an American Standard Amarilis Iris faucets, so we found a replacement cartridge for that


The first problem is removing the handle and escutcheon for the faucet.


 Normally there is a small set screw that holds the handle on, but I could not find any.  Going back and looking at the installation instructions, it suggests that it is under the ring that is at the top of the escutcheon. And sure enough, with some work, I was able to pry it up revealing a little groove under the ring, with a set screw.  


Once the set screw is backed out, the handle comes off and then the escutcheon, leaving only the mechanism. 

That is held in place with a large hex nut.  Removing that allows us to replace the cartridge.


And then we reverse everything to put it all back together.

Testing it, we have hot water and no leaks.


Thursday, November 16, 2023

Sasha


Sasha was Lauren's cat.  We got her over Spring Break 2004 so that Lauren could bond with her while out of school.  But she had to be spayed before she could come home, and spaying was done by the Vet students at Texas A&M -- which were on Spring Break!  So she came home a week or so after Spring Break.

When Lauren went off to College, and then eventually got a job, got married and had a kid, Sasha stayed behind at our house.  Although we got her Spring 2004, she was born the previous October, 2003.  And this year she turned 20.

Unfortunately she also developed a lump on the side of her face, which her vet says was Feline Oral Squamous Cell Carcinoma, a very aggressive form of cancer.

She is buried in the Iris Bed.

The Iris Bed has underground drip irrigation, on Zone 5, which loops around the outside of the bed, so we can dig just away from the edges.   We dug down in the corner by the house and the deck.


We dug down about 24 inches.  Sasha is in a box whose top is then about 15 or 16 inches down.


Once we had the dirt back on top

we replaced the irises and lilies that we moved out of the way to be able to dig.


And then, to match the other cats, we added a little brass plaque marking where Sasha is.