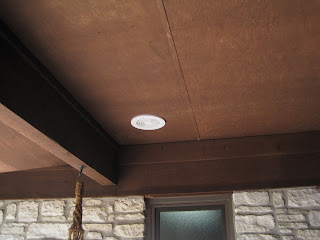
When the house was built, each of the three bathrooms had a heater installed in the ceiling, near the toilet. The heater was just an electric heater -- no fan or vent.
We have replaced the heaters in two of the 3 bathrooms with a fan vented to the outdoors. We wanted to do the same in the central bathroom. The other two were relatively easy, in that the bathrooms were on a gabled roof wall, and I could run the vent right out thru the side wall.
But the central bathroom was a different story. The closest outside wall is onto the deck, and so the vent would have to go thru the roof, or down onto the deck. I wanted to keep the roof as simple and clean as possible, so the deck seemed the best bet. I found a vent that would work. Home Depot, $15.62.
So I removed the heater to expose the wiring. I bought a new fan. Broan InVent A80 Ventilation Fan from Home Depot. $61.02
and cut a hole in the ceiling for it.
I also cut a circular hole for the soffit vent in the roof over the deck.
Now all I needed was a flexible duct to connect the two. I went upscale and got an insulated duct. Again Home Depot. $32.86 for a 4 inch by 12 foot flexible duct.
But try as I may, I was not able to get the duct up one hole and thru the attic to the other hole. There was a lot of insulation, plus ceiling rafters, roof joists, or is it ceiling joists and roof rafters. In particular, a valley rafter made it even more difficult.
But we were having the roof replaced at this same time, so I convinced the roofers to open up the attic from the roof for a short time after they had taken off the old roof, and before they started with the new roof.
That made it easy to see how the duct should be routed from the deck to the bathroom.
After the roof was done, I could then thread the duct thru the hole in the deck roof
cut the duct to the right length, and attach it to the soffit vent.
and then screw that in place.
The inside was a bit more work. It required fixing the sheetrock hole to fit exactly the size of the metal box for the fan, and removing the "popcorn" ceiling texture that had been left under the heater. So, sheetrock repair and re-texture.
Then, we could affix the metal housing for the fan.
Attach the duct to the duct connector, and wire the power to the wiring plate and attach those to the metal housing.
Then insert the fan blower and plug it into the wiring plate.
We could then caulk and reseal the box, do a bit more texture work on the sheetrock, and paint the ceiling to match the previous. Heavy Cream.
Wait for that to dry and attach the fan grille cover.


