Wednesday, June 28, 2023

Irrigation Rain Cut-off Switch and Gutter Guards

 A couple of minor things that needed to be re-done after having the roof replaced.

We have an automatic irrigation system to water the yard.  Controller is in the garage.  Eleven zones.  It is set to water on Wednesday during the summer; we turn it off during the winter.  But even in the summer, it is possible it will rain and there is no reason to run the system if if has just rained.  So we had a sensor that would detect rain and turn the system off until it was "dry enough".  The sensor is a cup that sits up high, and the rain fills the cup in, depressing a switch.  As the water evaporates, the cup raises back up, changing the switch back to on.  Our particular model is an Orbit Model 57059-20 r6, bought at Home Depot, $24.97


We installed it at the peak of the roof over the garage.


and then ran the wire from it to the controller down the front of the garage roof line to the corner, around to the side under the eaves and into a hole that goes into the garage wall  and down to the controller.


The controller has a spot to connect a sensor, but also I was told by an irrigation person that the sensor is just a switch -- normally closed, but open when it has rain water in it -- so you can also wire it in to the common wire which would cut power to all circuits (since they all use the same common wire).


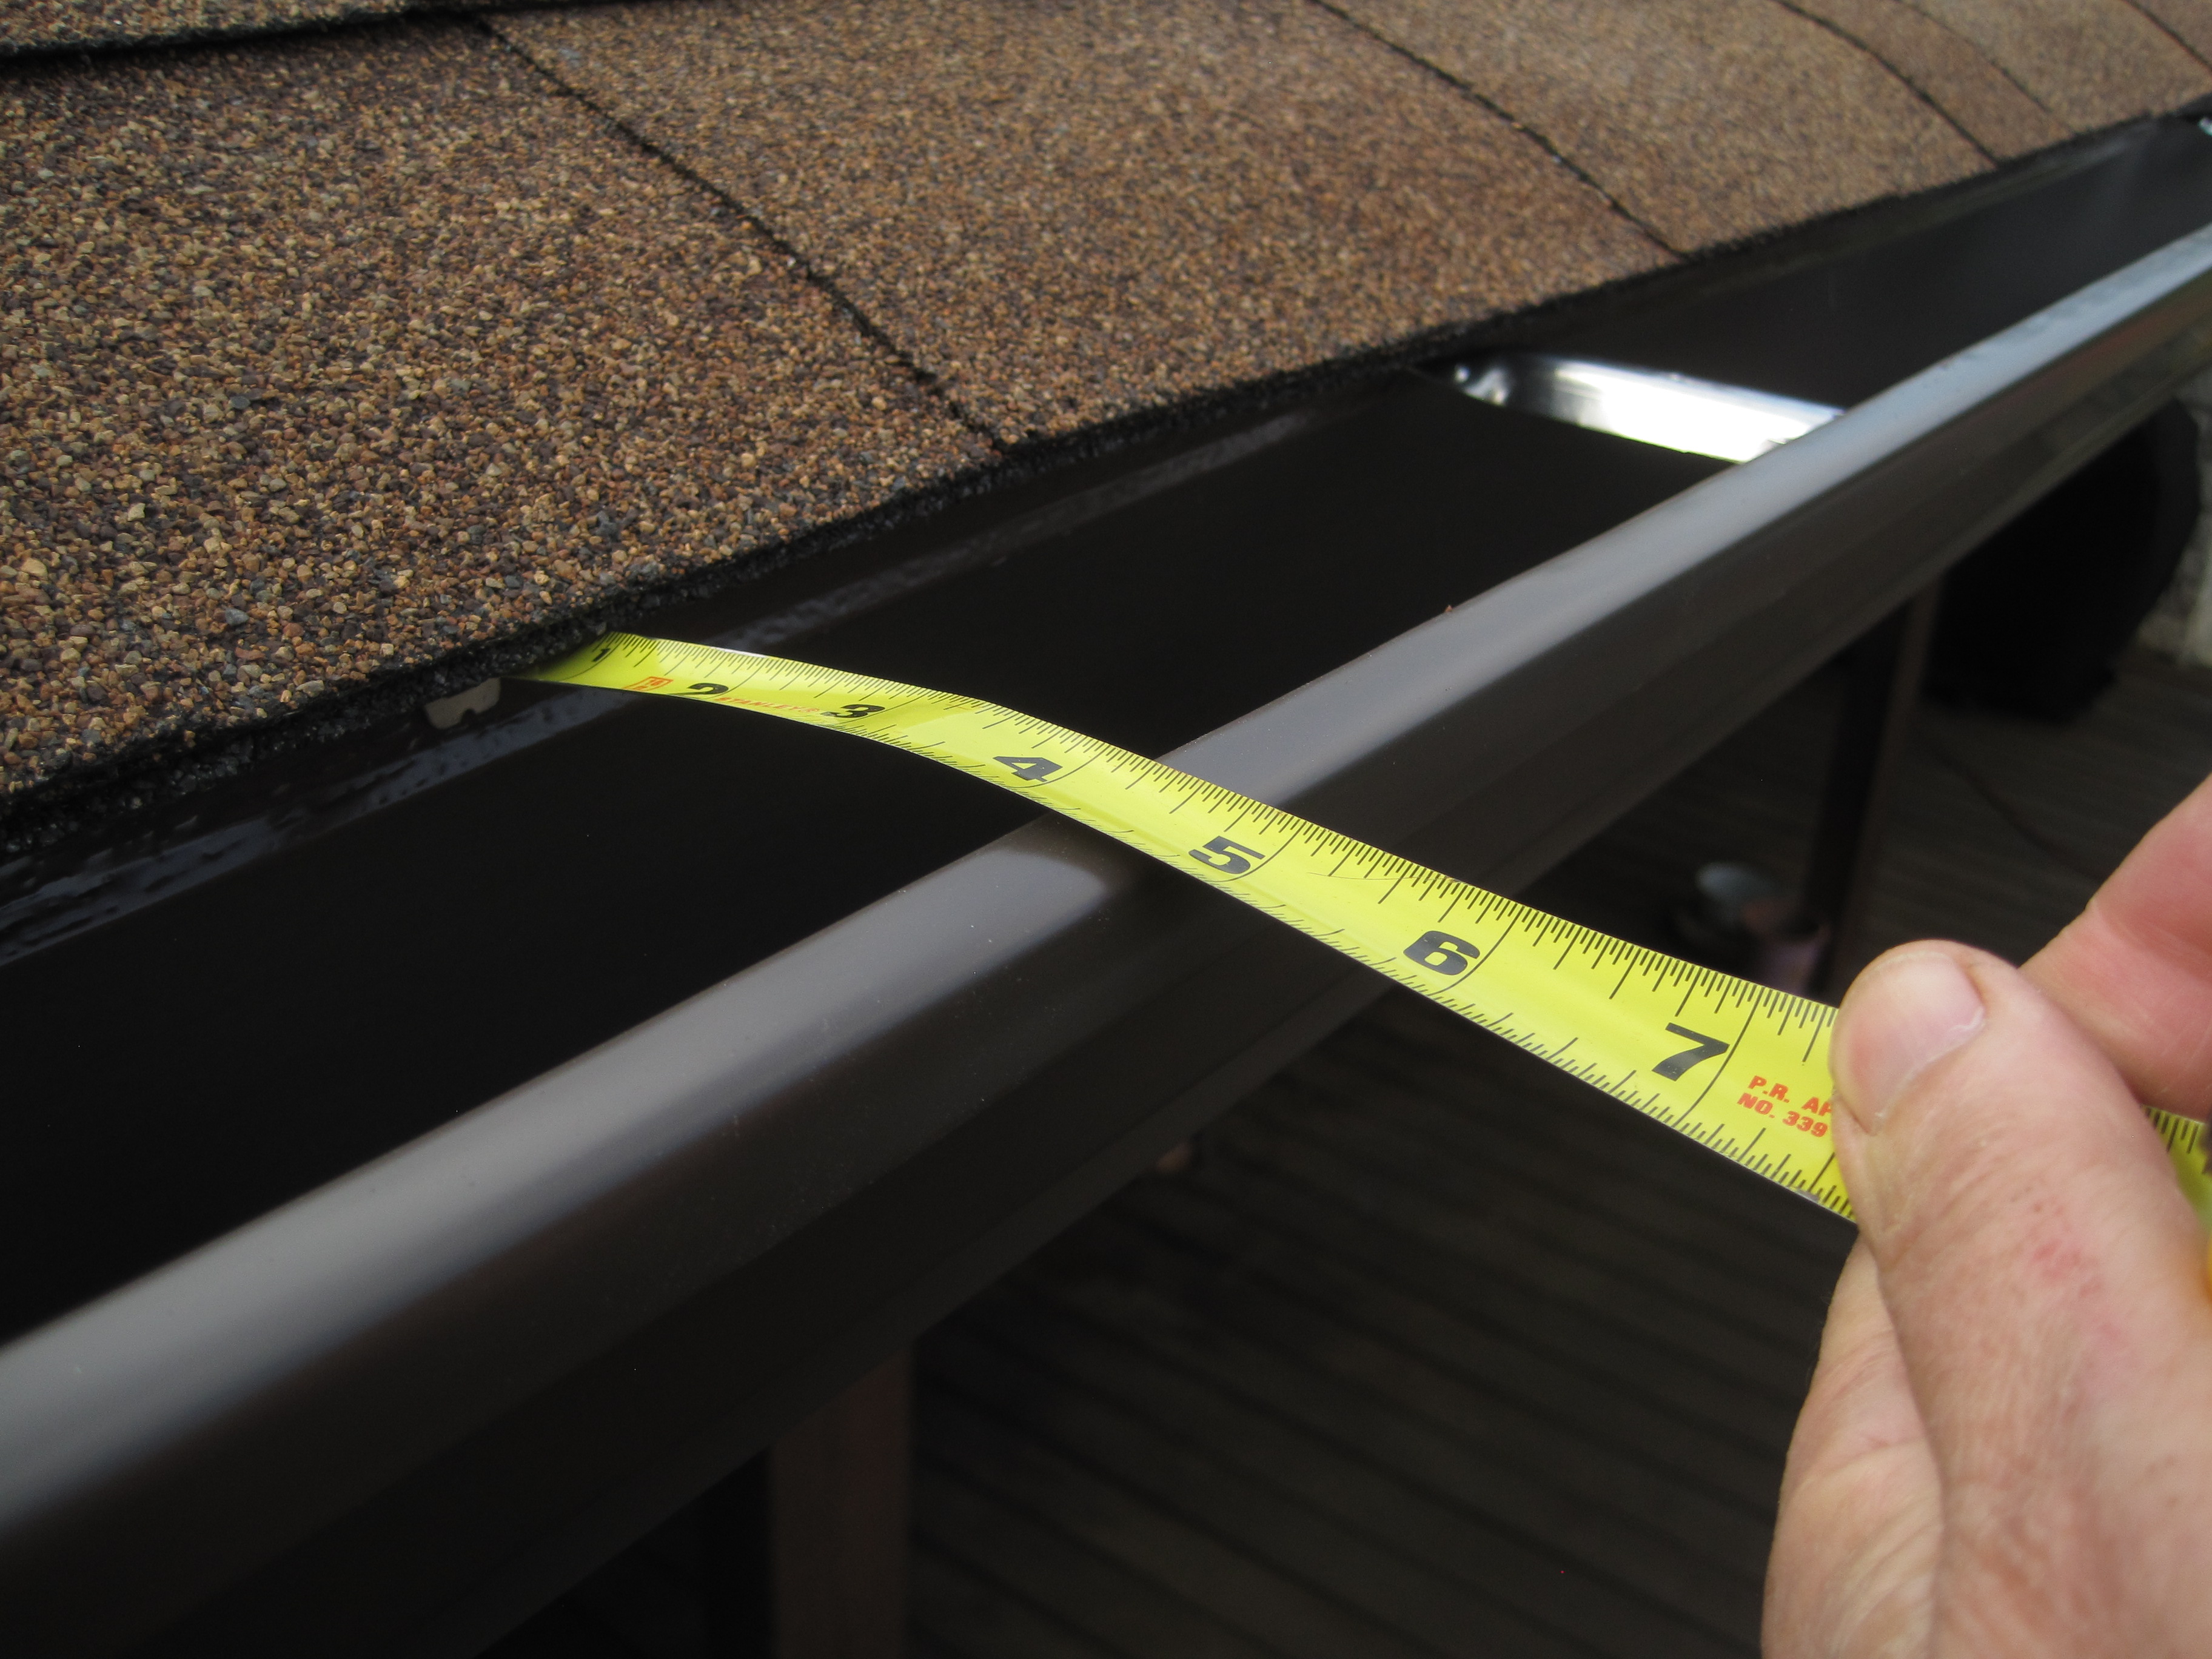
Also, I put gutter guards back in the two short gutters on both sides of the garage.  The two long runs -- along the front and back of the house -- are sort of tree-less, so they may not need them (as much), but the garage has crepe myrtle trees on both sides, so they tend to fill up with leaf debris.  


These particular gutter guards are the cheapest available.  One is a simple plastic (vinyl) guard that snaps into the front of the gutters and under the bottom row of shingles.  Each one is 3 feet long, and costs $1.54.  Home Depot.   The other side is a bit more upscale.  It's the same basic guard, but at $2.27 has a small mesh screen underneath. 


Wednesday, May 3, 2023

New Solar Panels on the New Roof

The reason we got a new roof was because we needed a new solar system.  Our 17-year-old solar system has been flaking out for months.  At random times, it would trip the circuit breaker for the PV system, and shut itself off.  I could not get anyone to come and fix the problem.  The company that installed it is long gone.  The equipment that was used 17 years ago is no longer what is used.  So it seemed the simplest fix would be to just remove the old system and put on a new one.

And that required a new roof.  Putting on a PV solar system is a major deal, and it goes on the roof.  You don't want to have to take it off, put on a new room, and then put it back up, if you can avoid it.  So if you want a PV solar system, it makes sense to make sure that the roof will be around a long time. 

To put on the new roof, we first took off the old solar system.  Then we got a new roof.  Then we installed the new PV solar system.

Originally we thought it might work best to have one company do both the roof and the solar system, but we could not make that happen.  Roofing companies want to do roofs, and solar companies want to install solar systems.  So we went with one company for the roof and another for the solar system.  We tried 4 different companies with bids from $15,159 to $23,098.  All the bids were for slightly different systems.

The main difference was in the panels.  Our original panels were about 26x56 inches, 30 pounds, for each of the 24 panels, generating 130 Watts.  The new panels are all 410 Watts, 41x74 inches, 50 pounds.  So 14 panels will generate about twice as much power in 20% more space.

Those numbers are for the QCell Q.PEAK-DUO-ML-G10+ 400 panels that we got.  The other bids were for panels from Axitech, Peimar, REC and other manufacturers running from 330W per panel to 410W per panel. 

We decided to go with Longhorn Solar.  They were not the least (or most) expensive, but the panels were very efficient and the contract easy to read and understand.  The contract specified the panels, the inverters and optimizers, monitoring system and racks, a complete "turn-key" system.  It also specified that it could take up to 150 days (5 months) to complete, because it all has to be approved by the City of Austin, and that can take result in long and ill-defined delays.

We signed the contract on 6 March.  The old solar system was removed on 8 March. The roof was replaced on 15 April. And the new solar system was installed on 1 May.

They showed up early, at 7:40AM, and started right in on the electrical part of the system.


They removed the old cut-off switch and PV meter box and put on new ones. Then installed the new inverter (a Solar Edge SE5000H model) and monitoring box.


They ran the conduit for the power from the roof up and thru the roof eave, rather than going around it.


In the meantime, another truck had arrived with the solar panels and such.

 and they went right to work putting up the rails that would hold the solar panels.

and the conduit for the electrical wiring.


Then they started putting the panels in place and wiring them together.


Two rows of 7 panels each.


By 3:45, the panels were all in place and we were generating solar power once again!

In the two days since it was put up, we have generated 50 kw.  Of course not all days will be as bright and sunny as these past two.


Tuesday, April 18, 2023

Gutters for the new Roof

As a part of getting a new roof, they took off the old rain gutters.  Then they put on the new roof.  Today we got the new rain gutters to replace the old ones.  That was part of the contract for the new roof.

The gutters are the seamless type that are created on-site.  They workmen first measured everything.  Then they constructed the gutters and put them on the driveway.


They installed the rain gutters on the house.


and then went back and installed the downspouts.


The last step was to attach special deflectors where the roof has a "valley" that focuses a lot of water into one spot.  The deflector stops it from shooting over the gutter.

These gutters are 4 inches across, which is what was there before, and works for almost all the rain we get.  The downspouts are 4 inches too.


Saturday, April 15, 2023

Fan Vent for the Central Bathroom

When the house was built, each of the three bathrooms had a heater installed in the ceiling, near the toilet.  The heater was just an electric heater -- no fan or vent.


We have replaced the heaters in two of the 3 bathrooms with a fan vented to the outdoors.  We wanted to do the same in the central bathroom.  The other two were relatively easy, in that the bathrooms were on a gabled roof wall, and I could run the vent right out thru the side wall.

But the central bathroom was a different story.  The closest outside wall is onto the deck, and so the vent would have to go thru the roof, or down onto the deck.  I wanted to keep the roof as simple and clean as possible, so the deck seemed the best bet. I found a vent that would work. Home Depot, $15.62.


So I removed the heater to expose the wiring.  I bought a new fan. Broan InVent A80 Ventilation Fan from Home Depot. $61.02


and cut a hole in the ceiling for it.


I also cut a circular hole for the soffit vent in the roof over the deck.


Now all I needed was a flexible duct to connect the two.  I went upscale and got an insulated duct.  Again Home Depot. $32.86 for a 4 inch by 12 foot flexible duct.  

But try as I may, I was not able to get the duct up one hole and thru the attic to the other hole. There was a lot of insulation, plus ceiling rafters, roof joists, or is it ceiling joists and roof rafters. In particular, a valley rafter made it even more difficult. 

But we were having the roof replaced at this same time, so I convinced the roofers to open up the attic from the roof for a short time after they had taken off the old roof, and before they started with the new roof.


That made it easy to see how the duct should be routed from the deck to the bathroom.


After the roof was done, I could then thread the duct thru the hole in the deck roof


cut the duct to the right length, and attach it to the soffit vent.


and then screw that in place.


The inside was a bit more work.  It required fixing the sheetrock hole to fit exactly the size of the metal box for the fan, and removing the "popcorn" ceiling texture that had been left under the heater.  So, sheetrock repair and re-texture.


Then, we could affix the metal housing for the fan.


Attach the duct to the duct connector, and wire the power to the wiring plate and attach those to the metal housing.


Then insert the fan blower and plug it into the wiring plate.


 We could then caulk and reseal the box, do a bit more texture work on the sheetrock, and paint the ceiling to match the previous.  Heavy Cream.

Wait for that to dry and attach the fan grille cover.


New Roof

After the last ice storm, I noticed some wear on the roof, particularly in the back, on the side near where the elm trees used to be.  Not sure when it happened, but it suggested that we may want to replace the roof.


 Also, as I mentioned in the post about removing the solar panels,  we have been having trouble with the solar panels, and are going to replace them.  Putting on new solar panels would require a new roof.

So we need a new roof.  

And as it happens, one of the neighbors was getting a new roof, and then another one, so I started with those two companies: Linear Roofing and Tarrant Roofing.  Both looked to be able to do a good job.  The main issue is cost.  But the neighbors were getting their roofs replaced partly by insurance, due to hail damage. We have a very high deductible for the house -- around $16K, probably 2% -- but the roof was coming it at $23K to $26K, so if we could get the insurance company to agree that we needed a new roof -- due to the same hail storm that damaged our neighbors roofs -- then our cost for the roof would be fixed at our deductible, and the insurance company would pay the rest, in which case the price difference, if any between the different companies would be irrelevant.  So we went with Linear.

Our insurer, State Farm, on the other hand, felt that although the roof of the neighbor up the street was totaled by the hail storm, we had minimal damage -- $1491 to be exact -- so they were not going to be paying anything for it.

The contract with Linear was for $26,700 to remove the existing roof and replace it with the same basic thing, plus gutters.

They sent a crew on 29 March 2023 to take down the old gutters.  Then another crew on 12 April to replace the roof.  They began by removing the old shingles.

Then they removed the old tar paper, getting down to the plywood roof decking.


This got us down to just the bare roof.


On this bare plywood, they put down new tar paper.


And then new shingles


The shingles are "Resawn Shake" color of CertainTeed Landmark brand Fiber Glass Asphalt Self-Sealing Shingles.

It took about a day to remove the old roof and put on the new roof.

New gutters to follow.


Saturday, March 25, 2023

Plants for the Front Lawn

We dug up the area between the sidewalk and the driveway, between Fuzzy and the house.  And then put down some old granite pieces to form a walkway from the driveway to the sidewalk.  But so far we have no plants to replace the lawn.  Linda decided that some Texas Sedge would do well there.


As it happens we still have one stump to dig up in the West lawn from one of the elm trees that died after the Big Freeze in 2021.  And that area generally has been planted with Texas Sedge (and Inland Sea Oats), and at the moment the sedge is doing really well.  But I'm going to need to destroy it to dig up the stump, so rather than destroy it, we decided to transplant it from the west lawn around the stump to the front yard near Fuzzy.

We dug up an area between one and two feet out from the stump.


and transplanted the sedge we dug up to the parts of the front lawn next to the bed edging near the house

and to the area closer to the wall that holds the dirt around Fuzzy.


Linda also got some Cedar Sage to put around the bed at the base of Fuzzy.

On both sides of the little rock wall.


And some Coral Berry plants for just in front of the bedroom, on the other side of the sidewalk.