Friday, July 29, 2022

Upgrading Zone 6 Irrigation Heads

 Zone 4 and Zone 6 are the two main lawn irrigation zones.  We upgraded zone 4 from the standard pop-up spray heads to a rotary head. Now we do the same for zone 6.


We first turn on the system and mark all the heads -- including the two hidden in the bed next to the fence.

Then we dig out around each head to make sure it is clear of any grass.

We go around and turn off each head by tightening the screw in the center of the top (clockwise).  Now when we turn the zone on, all the heads pop up, but no water comes out.  Checking the meter, we see it is still turning, slowly.  We remember there is a bubbler for the pecan tree, so we find it and turn it off.


The water meter is still turning and after some checking, we find a leak under one of the heads -- the nipple between the white PVC piping and the head has split.  So we dig that up, and replace the nipple and riser.  Now we can turn Zone 6 on and there is no water usage.

Next we remove the inside of each of the sprinkler heads, leaving only the exterior plastic shell.  (Well, except for the head that had the leak; we can easily replace that entire head.)  Turning the water on, we see that it flows freely from the shells close to the valve; those further away, not so much.


So we start installing the inside of the new rotary sprinkler heads, starting close to the valve, where the water is flowing freely.  As we plug those plastic shells, the water starts to flow to the other plastic shells, further from the valve.  As with Zone 4, we can install the heads in all the plastic shells except the last one.  We turn off the water, install the inside of that last plastic shell and then turn the water back on.

Now all the heads work, pretty much as designed.  We have to go to each head and adjust where it starts and where it ends.  Except for the 360 degree heads in the middle of the yard.  Those just need to be adjusted for the distance to throw the water.

Once all the heads are adjusted, we can run our 5 minute test and Zone 6 takes about 75 gallons.


Tuesday, July 26, 2022

Upgrading Zone 4 Sprinkler Heads

 While doing the maintenance for the irrigation system, and computing the amount of water that each zone takes, we figured we should switch out the heads for Zone 4 and Zone 6 (which are the Rain Bird 1800 pop-up spray heads) with the rotary heads that we used in the front, in Zone 10.  The rotary heads are supposed to be much more efficient than the standard pop-up spray heads.  I can swap out the heads, but all heads in a given zone should be the same.  So upgrading Zone 4 means replacing all 15 heads.

I ordered the heads thru Amazon, for both Zone 4 and Zone 6.  Twenty-three Rain Bird 8SAPROPR Pressure Regulating (PRS) High-Efficiency Pro Rotary Sprinkler, Hand Adjustable 45° - 270° Pattern, and Seven 8SAFPROPR 360 degree Full Pattern. $499.28.

To upgrade the zone, we first needed to find all the heads.  We ordered the right number of heads based on our plan for the zone.  We turned on the zone, and used left-over flags from gas and electrical line markings to mark where the heads were.  Mostly they popped-up, but a couple were held down by grass that had grown over them and were harder to find.

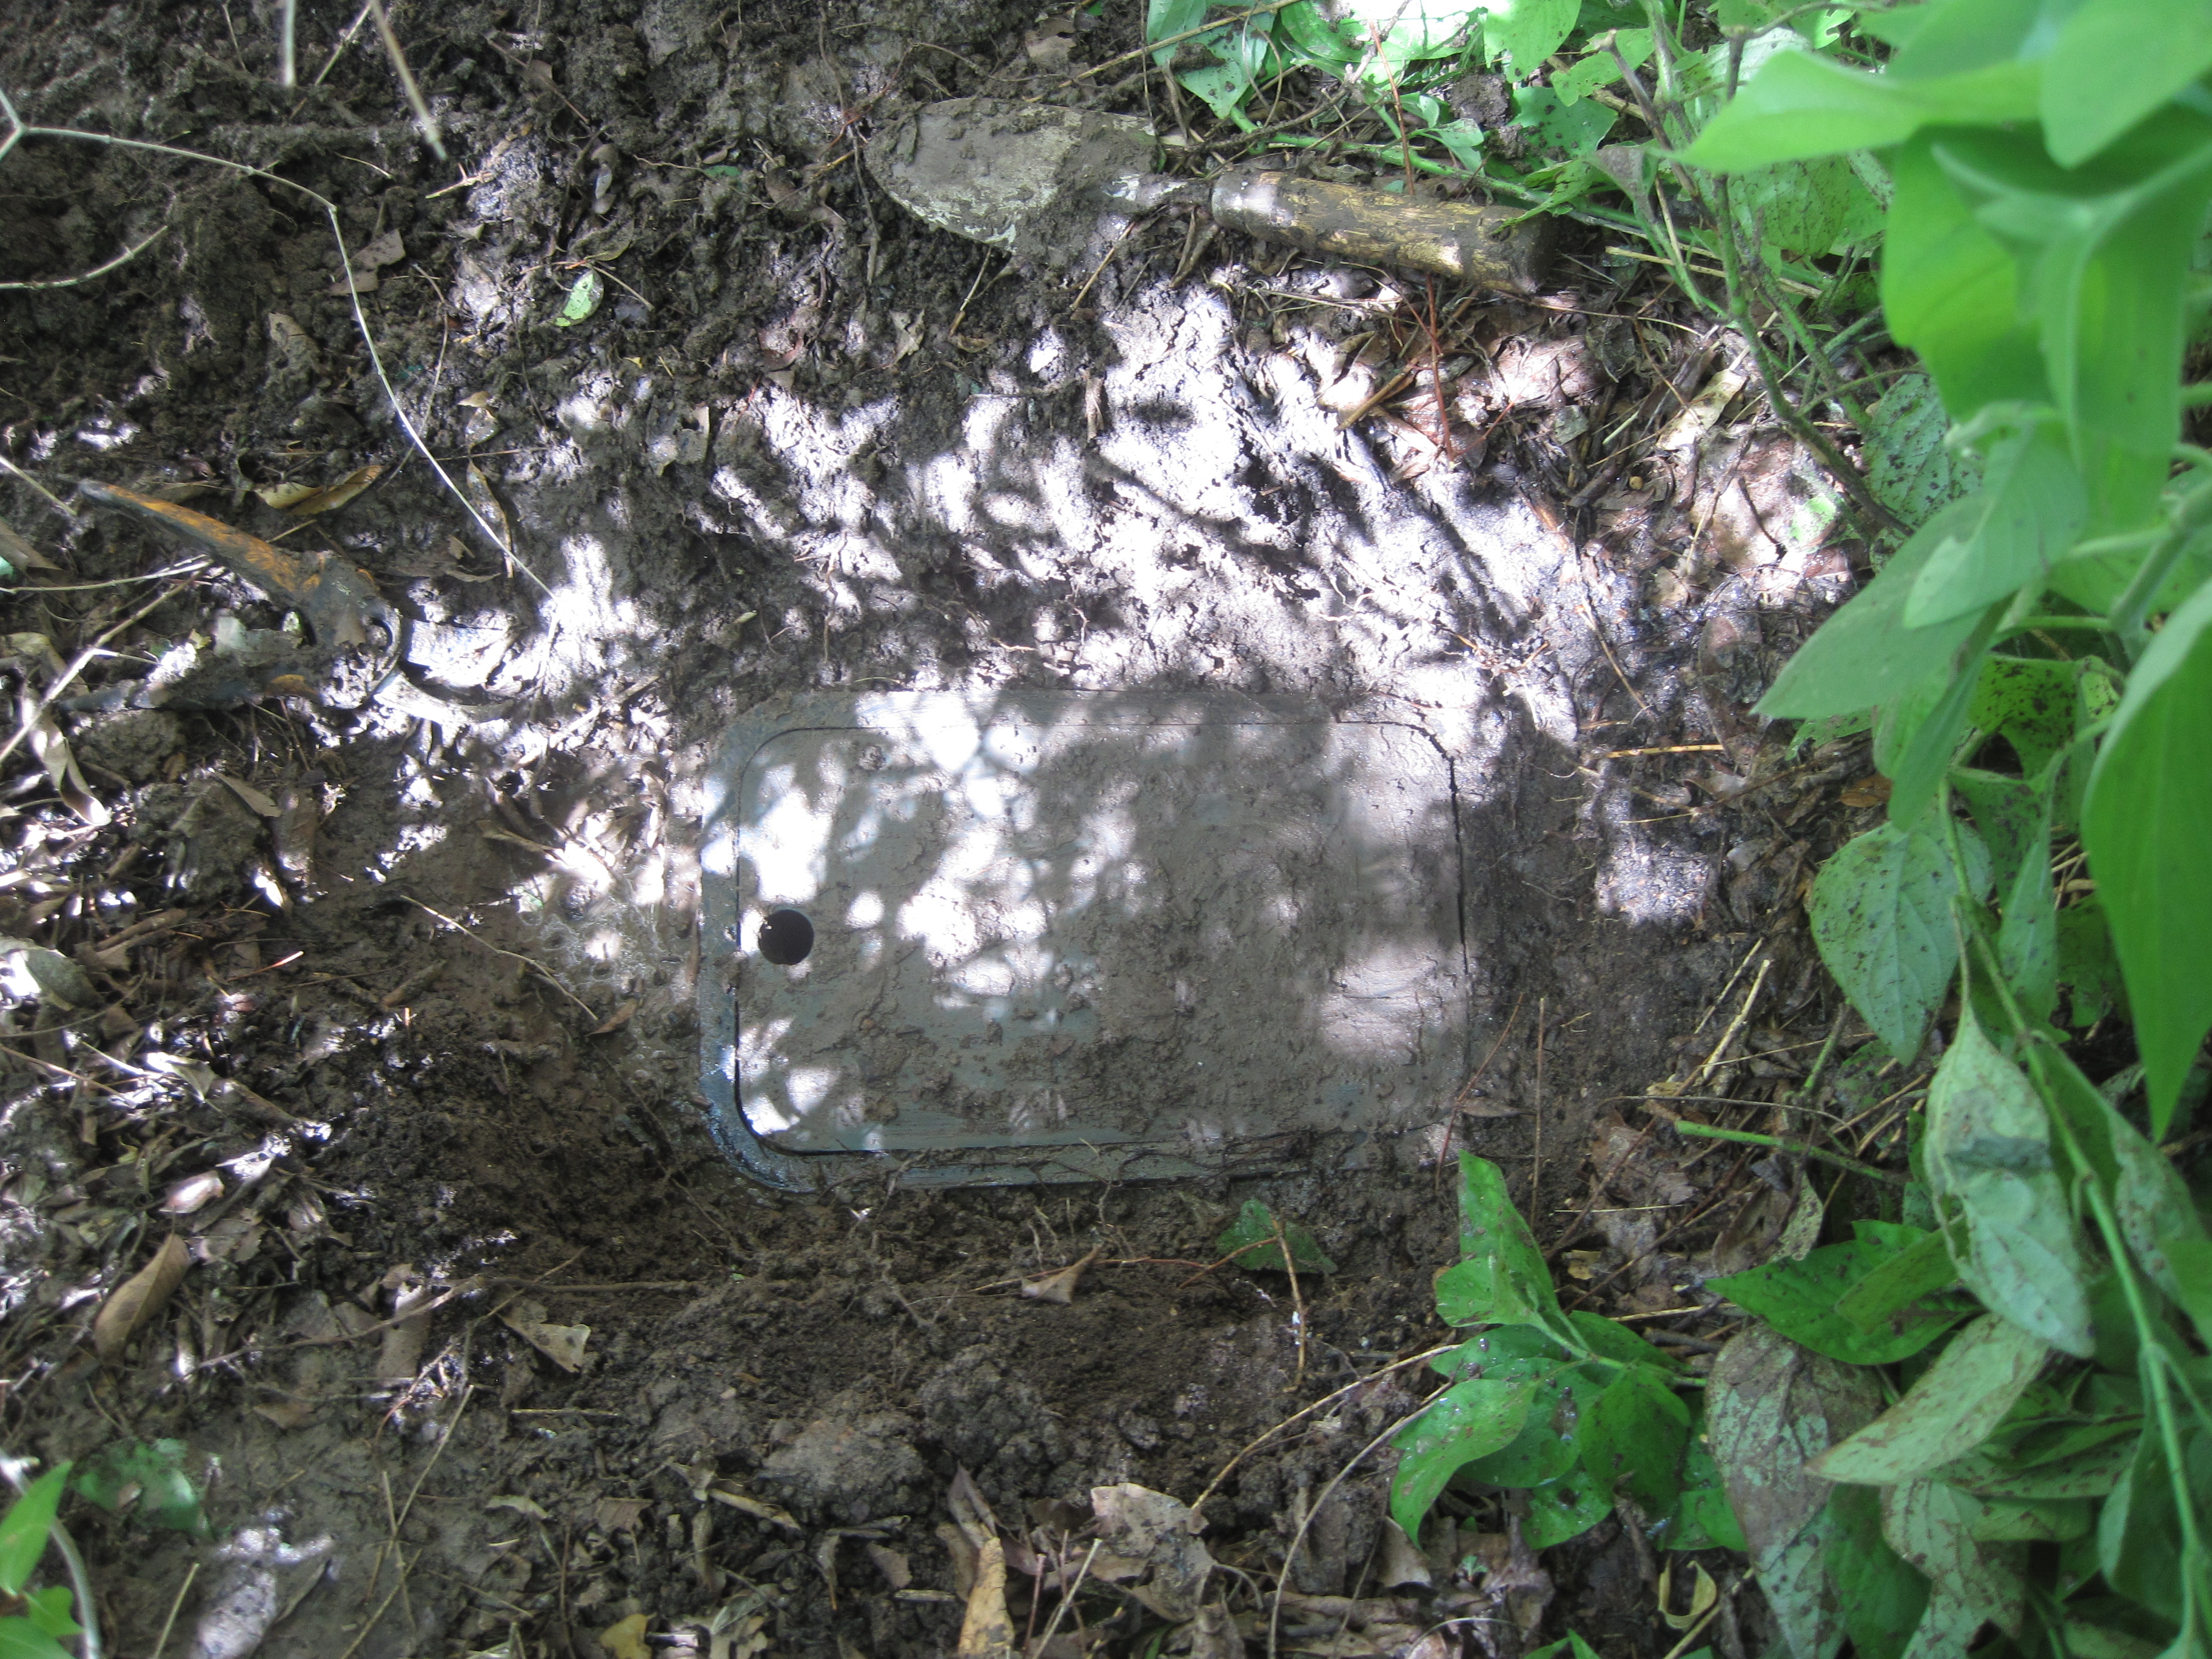
Then we dug out around each head, so that we could easily find it, and work with it.


Some of the heads were significantly down in the dirt and took some digging to find.  We would need to raise those up to ground level for either the new heads or the old ones, as we need to add to the riser underneath the head.


Some five heads were buried like this and needed to be raised up between 3 and 5 inches.  We had to go to both Lowe's ($8.44) and Home Depot ($$6.19) to get parts to replace the existing risers with the right heights

In addition, before we started doing anything else, we figured we should check for any leaks in this zone.  On each head, in the middle is a little screw, and turning the screw clockwise until it stops closes off the spray from that head.  So screwing down all 15 heads should cut off all water for the zone.

Doing that, and then checking the water meter at the street, we see that there is still significant water flow.  Going back and looking over each head, we notice that one is wet and getting wetter.  Digging down around it shows a break in the riser under that head.  So 6 heads need to be dug up and the risers replaced -- five for height and one to fix a leak.

When those 6 heads are dug out, the risers repaired and replaced, we went ahead and switched out the heads with the new heads at the same time.

For the other 9 heads, we noted that the plastic exterior for the heads is the same for the Rain Bird 1800 heads and the new Rotary heads.  So we could simply unscrew the old 1800 heads from the plastic exterior


remove the shaft and spring from inside the plastic exterior, and then unscrew the head from the new rotary head and put it in the 1800 plastic exterior, still in the ground.


Digging up a head, down to the riser, and replacing the entire thing takes about a half an hour (or more).  Switching out the insides takes just seconds. 

In fact, we removed all the old heads, and then turned on zone 4, so we had water flowing from the old plastic exteriors -- flushing out anything that was in the lines.  While it was flowing, we were able to go around and put the new heads into the old exterior plastic and screw them in place.  All until the last one.  The force of the water for the last one was too much.  At that point, we turned off the water, put in the last one, and then turned the water back on.

Because once the heads were all in place, they needed to be adjusted.  Almost all of them were adjustable (from 45 degrees to 270 degrees), so we had to go around to each and adjust them to the right angle and start position.  Mostly they were either 90 degrees (for corners) or 180 degrees (for running along a side), but we were able to adjust them to fit whatever we needed.

We did have one head that seems to rotate at about 3 times the speed of the others.  Most of the heads lazily rotate around, but one spins like mad.  I called Rain Bird customer service and they suggest switching out the part on the top that spins with another head, and if that doesn't work, then the whole unit.  Apparently you can buy (and replace) just the top spray part.  So apparently the fast spinning one is defective (although customer service would not come right out and say that; nor did they offer to replace the defective one with a good one.)  We have extra parts until we do Zone 6.

This whole process basically took all day.

Switching out the heads dropped the 5-minute usage for Zone 4 from 105 gallons to 54 gallons.


Saturday, July 23, 2022

Maintaining the Irrigation System

 The temperatures are at record highs, and our lawn irrigation system does not seem to be working right.  Zone 6, especially, is not putting up the pop-up sprinkler heads effectively.  The further from the valve, the less it will pop-up.

So I call an irrigation company -- Sprinkler Medics -- to come evaluate my system, especially zone 6.  He doesn't think it is the valve and eventually is able to find  a leak under one of the heads.

The nipple between the head and the PVC piping had broken, so all the water was leaking out down near the PVC pipe.  Apparently our dirt is now porous enough that the water all went down, so there was no evidence at ground level.

But we replaced the nipple, put things back together, and things were better.

At least for a little while.  Now it looks like zone 6 is not working well, again.  So maybe another hidden leak?

But what about the other zones?  To check, we ran all zones for 5 minutes each to see how much water they used. 

1 8
2 101
3 40
4 105
5 7
6 31
7 149
8 112
9 102
10 33

This seemed to show that zone 2 used a lot of water.  Which seems unreasonable, since zone 2 is strictly underground. And zone 3 is is about twice as big.

But, letting zone 2 run, we can identify a stream of water coming from the middle of the zone, and tracing that back brings us to the leak.  The leak is coming from the box that holds the valve and other controls for zone 2.  We found the box buried in what is now very wet mud.


and opening it, we can see the actual leak.

The leak is at the joint between the on/off valve and the filter for the underground lines.  It appears that the ground has settled and caused the lid of the box to press down on the filter, eventually breaking the connection to the on/off valve.  We buy another filter unit from Home Depot, and while we may be able to extract the broken piece from the end of the on/off value and reuse it, the on/off valve is relatively cheap and being underground, a pain to replace, so we get a new one of that too.


Putting that all together, we can then re-install the box and put zone 2 back  into use.

Before we do that, we should also flush out the lines, so we find the lower flush box which is now 8 inches deep, by the rain barrel.

The upper flush box is not as deep, but harder to find.  It is 11 inches out from the house and 27 inches from the corner of the house and the sidewalk (right under the corner of the fence.


Now zone 2 uses 15 or 16 gallons in 5 minutes.  More if the flush valves are open, then up to 46 gallons in 5 minutes.

When we upgrade zone 4 and zone 6 to rotary heads, we find each of these zones also have a leaking head with a broken riser.  So 4 underground leaks in our irrigations system (so far).