Thursday, March 16, 2023

Maintenance on the Sliding Door to the Deck

We noticed some time ago that the weather stripping on the sliding door to the deck from the living room was starting to come apart.


This is an Andersen Door, so we went to the Andersen web site to try to determine what piece needed to be replaced.  They call it a "gliding door", not a "sliding door".

According to their information, what we needed was the Interlock Weatherstrip.
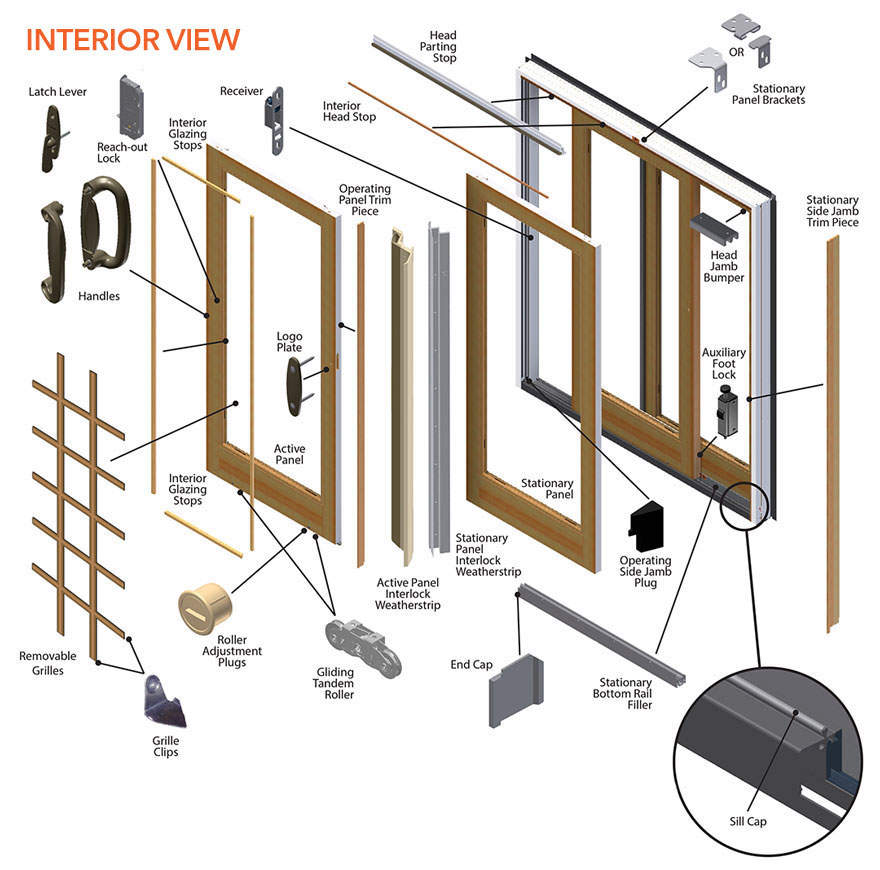

which comes as a kit, the Interlock Replacement Kit, which contains the Active Panel Interlock and the Stationary Panel Interlock.  $46.81 from their parts department in Minnesota.  To make sure that we get the correct set, there is a set of numbers in the upper track that identify what we have:


Unfortunately, their computer system could not understand these numbers, so I had to call and talk to someone.  He took the order.  The only issue was what color.  I know the inside is an Oak, but the outside is sort of a grey?  That was fine, we got the order.  Turns out there are two greys.  A light grey Sandtone, and a darker grey Terratone.  We have Terratone, and they sent Sandtone.  But it is almost not visible, so we went ahead.

They seem to have redesigned the Interlock, so both pieces have to be remove and the two new pieces put on.  And a small part of the stationary door needs to be modified to allow the new design to be installed.  There is a very well done video showing how to replace the Interlock, called "Replacing an Interlock Weatherstrip on Gliding Patio Doors (Frenchwood and Narroline) | Andersen" on Youtube, that shows the whole process.  Plus there is a printed guide that comes with the Interlock Replacement Kit.  It is almost enough to understand how to do the work.

The main work is with replacing the two pieces on the stationary and active panels.  Since the new pieces use the same screw holes as the old pieces they can be positioned pretty easily.  But there are little plugs and pads that go on the top and the bottom which are more problematic.  The video and instructions basically say, remove the old plugs and pads and install the new ones, but do not give a detailed picture or video view of how that should be done.  The head dust pad, for example can go on the door panel or on top of the interlock piece, and it is not clear which it should be.  Similarly they send two Sill Dust Plugs -- one for a right hand door and the other for a left hand door, but really do not indicate how to tell which one to use.  It goes at the base of the stationary panel, which can be on the left or right depending on whether you are looking out from the inside or in from the outside.  Since all the work is done from the inside, I assumed we have a left hand door.  Oh wait, does the left/right refer to the stationary door or the active door? 


There were other unstated issues.  Since the active panel needs to be taken off, the door is open for the time it takes to do the repair.  We picked a warm day, so that there was no heating/AC issue, and although it does not say so, you can leave the screen door on all the time, which takes care of the bugs. 

The instructions say to take off the oak trim on the active door, but if you look, you see that the only reason you have to do that is because the interlock piece wraps around the corner and under the trim.  Since the old and new interlock pieces are the same thickness at that point, I could just pry the old piece out from behind the trim and jam the new piece under the trim, without removing it.

Also, the door was unfinished under the old interlock piece, so we took the opportunity to apply a coat of poly-urethane to finish it.

The whole process took about 3 hours. 

But it also exposed that the weatherstripping on the other side -- the jamb side -- of the sliding door also needed replacement.


There are two pieces of weather stripping -- the exterior one and the interior one.  I thought I only needed to replace the exterior one, but for some reason ordered the interior one (Andersen Windows part 264140, $23.37 including the new glue plus shipping), so I had to go back and order the exterior one (Andersen Windows,  part 2641416, $17.71), and figured I may as well replace them both at once.   The description of doing that is easier than the practice of doing so.

First you remove the old weatherstripping.  It is glued on, so I used a putty knife to get it started and then just pulled it off. 

Then while the instructions said to remove any excess glue, it was not clear how to do that.  They said to use a clean cloth and alcohol, but that just seemed to clean it -- nothing seemed to remove the old glue.

Then it is simply applying the vinyl to vinyl adhesive to the weather stripping and putting it in place.  That was not too bad for the outside piece -- the main problem was trying to hold the weatherstripping while also applying the glue to its entire length while not touching it to anything, and then slipping it into place.

The interior piece was more difficult.  Not having paid quite enough attention to how the previous piece was attached, there were at least two ways to place the new piece, one of which looked right until it was in place and then was clearly wrong.  In addition the interior weatherstripping is less complicated, hence lighter weight and tended to keep slipping down the door as I tried to apply it.  Maybe I should have started at the bottom and went up, instead of at the top and went down.  And there is always the question of whether I am putting on too little or too much of the glue, which is only revealed by it not sticking well enough, or having too much glue oozing out as it is pressed in place.  In the meantime, it becomes apparent that the glue dissolves both pieces of vinyl, at least a little, to bond them as the solvent evaporates, so this will not be easy to repeat.

But it is done and is definitely a tighter fit, enough to make the door harder to open and close.


Compost and Nematodes for Back yard

There are spots in the back where it continues to compress and sink, and just as a part of taking care of the lawn, I figure it's good to put compost on the lawn.  So I ordered 3 cubic yards of dirt.  Professional Mix from Whittlesey.  Total was $309.92.  That was $148.50 for the dirt and the rest sales taxes and delivery.


They dumped it in the driveway.  I then carted it in the wheelbarrow around to the back yard.


Then in the afternoon, I spread the dirt from the little piles to more or less evenly cover the back yard.  The aim was to get 1/4 of an inch of topsoil/compost.


This was timed to try to take advantage of some rain that should be coming.

And another way to use the rain is to help spread beneficial nematodes.  We bought a container from Barton Springs Nursery, and sprayed it all around the front and back yards. 


Wednesday, March 8, 2023

Removing the Solar Panels

 For over a year now, we have had problems with our Solar Photo-Voltaic system.  Every now and then, for no apparent reason, the circuit breaker in the electrical panel is tripped, disconnecting the solar system from our electrical system and effectively turning off the solar system.  The only explanation I can come up with is a transient fault with the inverter.  I can find no one to confirm this, and no one to replace it with a new inverter.  So we have decided to just get a new solar system.

But to do that we have to take off the old system.  The system consists of 4 basic parts -- the panels, the inverter, and the two cut-off switches.  Everything was installed in 2006, so it's all 16 years old, but the panels still seem to be turning out electricity just fine.  So I posted on Craig's List what I have and that I would give it away to whoever would be able to use it and would help me take it off the roof.


 I got a reply from Dr. Danger who lives down in Lockhart on a cattle ranch.  He had been "studying solar" for a year or so and has a small off-grid system, so he should be able to put it to good use.

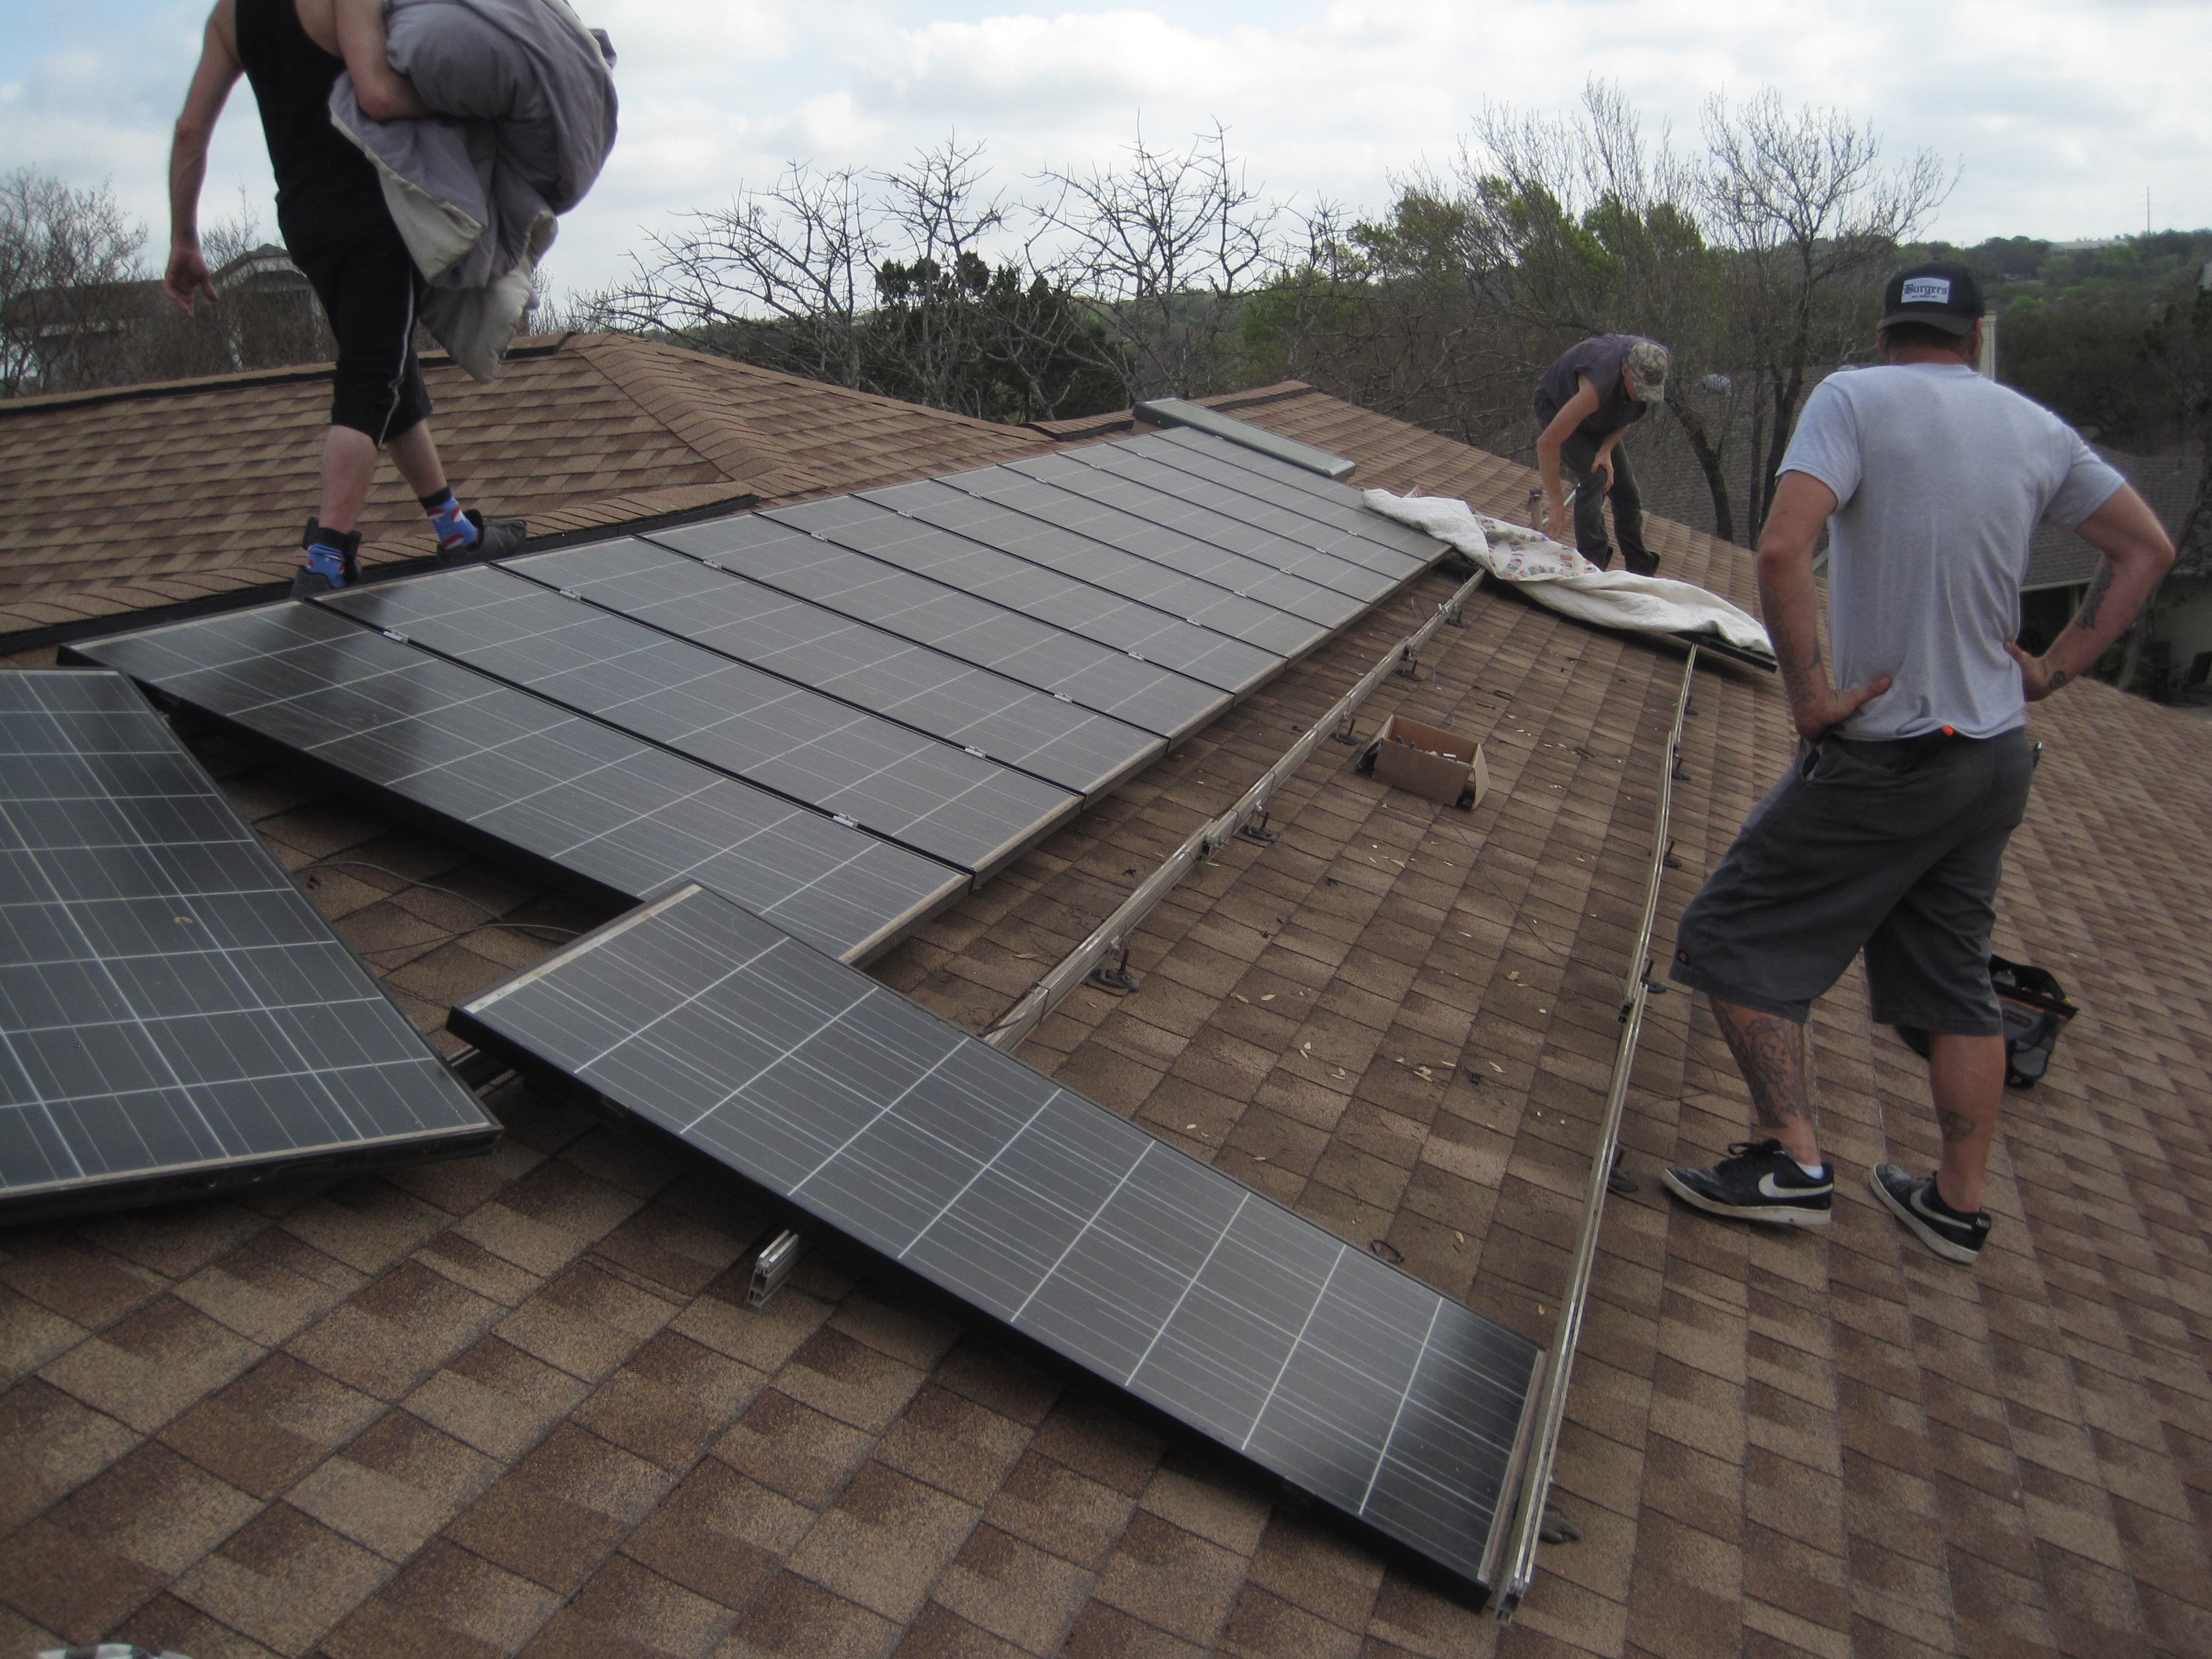
Dr. Danger and two of his friends showed up this morning.  First thing we did was to use both cut-off switches to disconnect the system from our electrical system.  Then we went up on the roof and after some experimenting, figured out how to take off the panels.

The panels are in two rows, wired in series.  They are held down onto the rails by 4 clips, two on each side, near the top and the bottom. In addition, they have a copper ground wire and a power wire running from panel to panel.  The ground wire is held in place by a set-screw, so we back that off, and the power wire from one plugs into a plug on it's neighbor.  So starting at one end, we can run down the panels, removing the clips that hold them in place, then lifting up the bottom end to get access to the wiring at the top, removing the ground wire and unplugging the power wire.  The panel can then be moved off the roof.

After removing all the panels, the framework is held in place by nuts and bolts, so removing those allows the rails to be removed.

Down at ground level, we have the switches and the inverter.


With the two cut-off switches in the OFF position, the wires can all be disconnected and the inverter and the first cut-off switch removed.  This leaves the second cut-off switch, the two City of Austin electric meters and our circuit breaker box.


Now the house looks pretty much like the solar system has been completely removed.


But there are little brackets that held the rails that are embedded into the roof.  These will need to be removed when the roof is redone, but removing them now might cause the roof to leak, so we just leave them for now.


Tuesday, March 7, 2023

New Light Fixture for Kitchen Table

 It seems to me that the light provided by the kitchen table light fixture was fading -- it was probably my eyesight, not the light -- so we got a new light fixture.  And my (adult) children said it looked really dated.  It was from 1985.

The new light fixture was from Costco, a OVE Decors Joakim 5 Light Chandelier. $179.99 (plus tax).

It took about an hour to replace. Once it was working, it has five light LED bulbs, each of which puts out 500 lumens, so we have a total of 2500 lumens.

The work to replace it first required cutting the circuit breaker for the lights -- circuit 36.  Then I could safely remove the old fixture, leaving just the wires and electrical box in the ceiling.


Then I could wire up the new light fixture and put it in place.  It comes with 3 extensions that allow the fixture to hang low (or from a tall ceiling), but we just used one of them to make it as short as possible.


Once the fixture was up, I could put in the light bulbs and the glass surrounds.  The glass surrounds actual hang onto the light bulb, and are not attached to the fixture, so if we need to change a light bulb, unscrewing the bulb also will remove the glass surround. 


But the bulbs are supposed to last 13.7 years, so that may not be a common problem.  If we need to replace the bulbs, it will probably be because they put out a "warm" light at 3000K and are listed as "amber tinted" bulbs, which gives the overall appearance a yellowish -- amber -- tint.


Monday, February 6, 2023

Ice and Power Lost

Starting Monday, 30 January 2023, the temperatures dropped to around freezing and it rained.  The result was an ice storm and the build-up of up to 3/4 inch of ice on everything exposed to the outdoors, specifically trees and power lines.  This added a lot of weight to the trees, breaking many of the branches, which in the rest of Austin, fell on the power lines, disrupting the electrical system for the City.


Our power lines are all underground, but apparently they come from somewhere.  We lost power starting at 3:44 AM on Wednesday.  Power stayed off all Wednesday, Thursday, and Friday until about 10:30 PM, so almost 3 days without power, while the temperatures outside stayed at about freezing. It fell to about 56 degrees inside the house, as we coped without power for heat (we have a gas furnace, but it uses an electric fan to force the heated air around the house) or cold (the refrigerator ice started melting by Thursday) or lights (except for flashlights and candles).

Once the ice melted and we got power back, the temperatures warmed up and the sun came out, we were able to survey the damage. The big elm tree in the neighbors front yard took a real beating, losing a lot of limbs.


On our side, we lost some limbs from the remaining Drake Elm near the bathroom.  In fact one of the limbs that fell, tore the screen on the Master bathroom window.


But the main loss was in the back, in the Shin Oaks by the Back Bedroom/Bathroom and in the Jungle. Compare the Shin Oaks from July 2015


with what is left of them now.


But since the loss of tree limbs is massive across the entire City, we are told to just put the limbs out by the curb and the City will be around to pick them up.  This creates a rather large pile in front of our house, with similar piles all up and down the streets.


Monday, January 30, 2023

New Water Meter

 The City of Austin, which provides our water and electricity, is moving to using "Smart Water Meters" instead of the old analog ones that they installed when the house was built 35 plus years ago.  This provides (at least) daily updates to how much water has been used by sending the meter reading directly to a box on a utility pole somewhere and from there to the City's computers.  This eliminates the need for an actual person to come around once a month and read the meter, and should then mean that meters are read on time and accurately.  The City has had an ongoing problem with getting the meters read accurately.

The information from the City said they would send us a post card saying when they would be out to exchange meters, but I happened to notice there was a guy at the meter about 9:15 AM.  By 10:00 AM he had switched out both meters -- ours and our neighbors -- which are under our water meter cover.

He switched out ours first.  I turned off the water to our house using the homeowners switch.  He turned off the water on the City's side.  Then he undid two nuts holding the meter in place, took out the old meter, replaced a washer and put in the new meter.


He turned the City's switch back on; I turned on our switch, and there was water running to the house again, but now thru the new meter.  

He did the same to the neighbor's meter.

Then he plugged the "Meter Transmission Unit" into the new meter, and screwed it down on the underside of the new cover for the meters.  The new cover is plastic, since a metal cover like we used to have would prevent the radio waves from going from the MTU to the Data Collection Unit (where ever that is).


That set everything up and running.

Unfortunately, the MTUs mounted on the bottom of the cover mean that it needs an inch or two of clearance, and we don't have that.  Specifically, our meter, and the nut and cut-off valve on the City's side of the meter stick up too high and prevent the cover from closing.  I think this is because the tree root under the meters have lifted them up (just as it has lifted up the driveway at this point).

So he closed the cover as best he could, I put a traffic cone on top of the cover, and he said he would report the problem and they would send out another crew to raise the support box for the meters, so that there would be enough clearance.


I made sure to capture the meter before it was removed; just to prevent not knowing the meter reading (6134480) when it was replaced.  The new meter is supposed to start over at 0000000.


Friday, December 9, 2022

Digging out the First Elm Tree Stump, Part 2

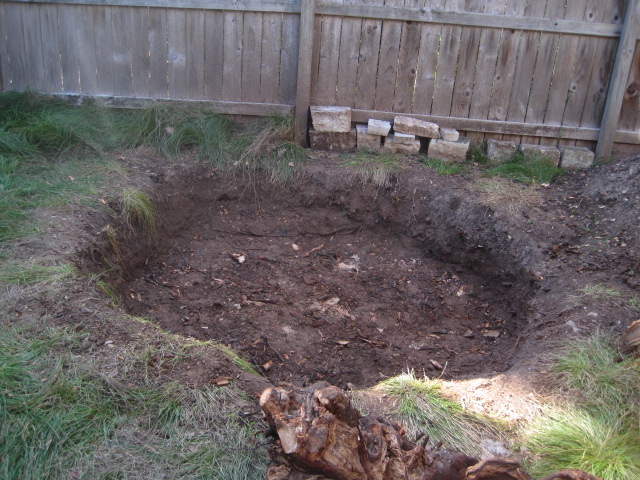
 Once we had the stump out of the ground, we were able to dig down below where it had been.  We found a layer of rock -- limestone rocks mixed with dirt.  The limestone was fairly flattish rocks for about 4 to 6 inches, and then we hit bedrock. We dug out the entire hole that we had needed to get the stump out.


The question then is what this layer of bedrock consists of, and how deep does it go.  An hour of jack hammering showed the limestone bedrock to be hard and solid at least 6 to 9 inches down.  It does not break easily, but with repeated work can be reduced to dust and rubble -- taking a lot of time for very little result.


As it is we have a pit that is 24 to 30 inches deep, 6 feet across, which seems as good as we can do without a major effort.

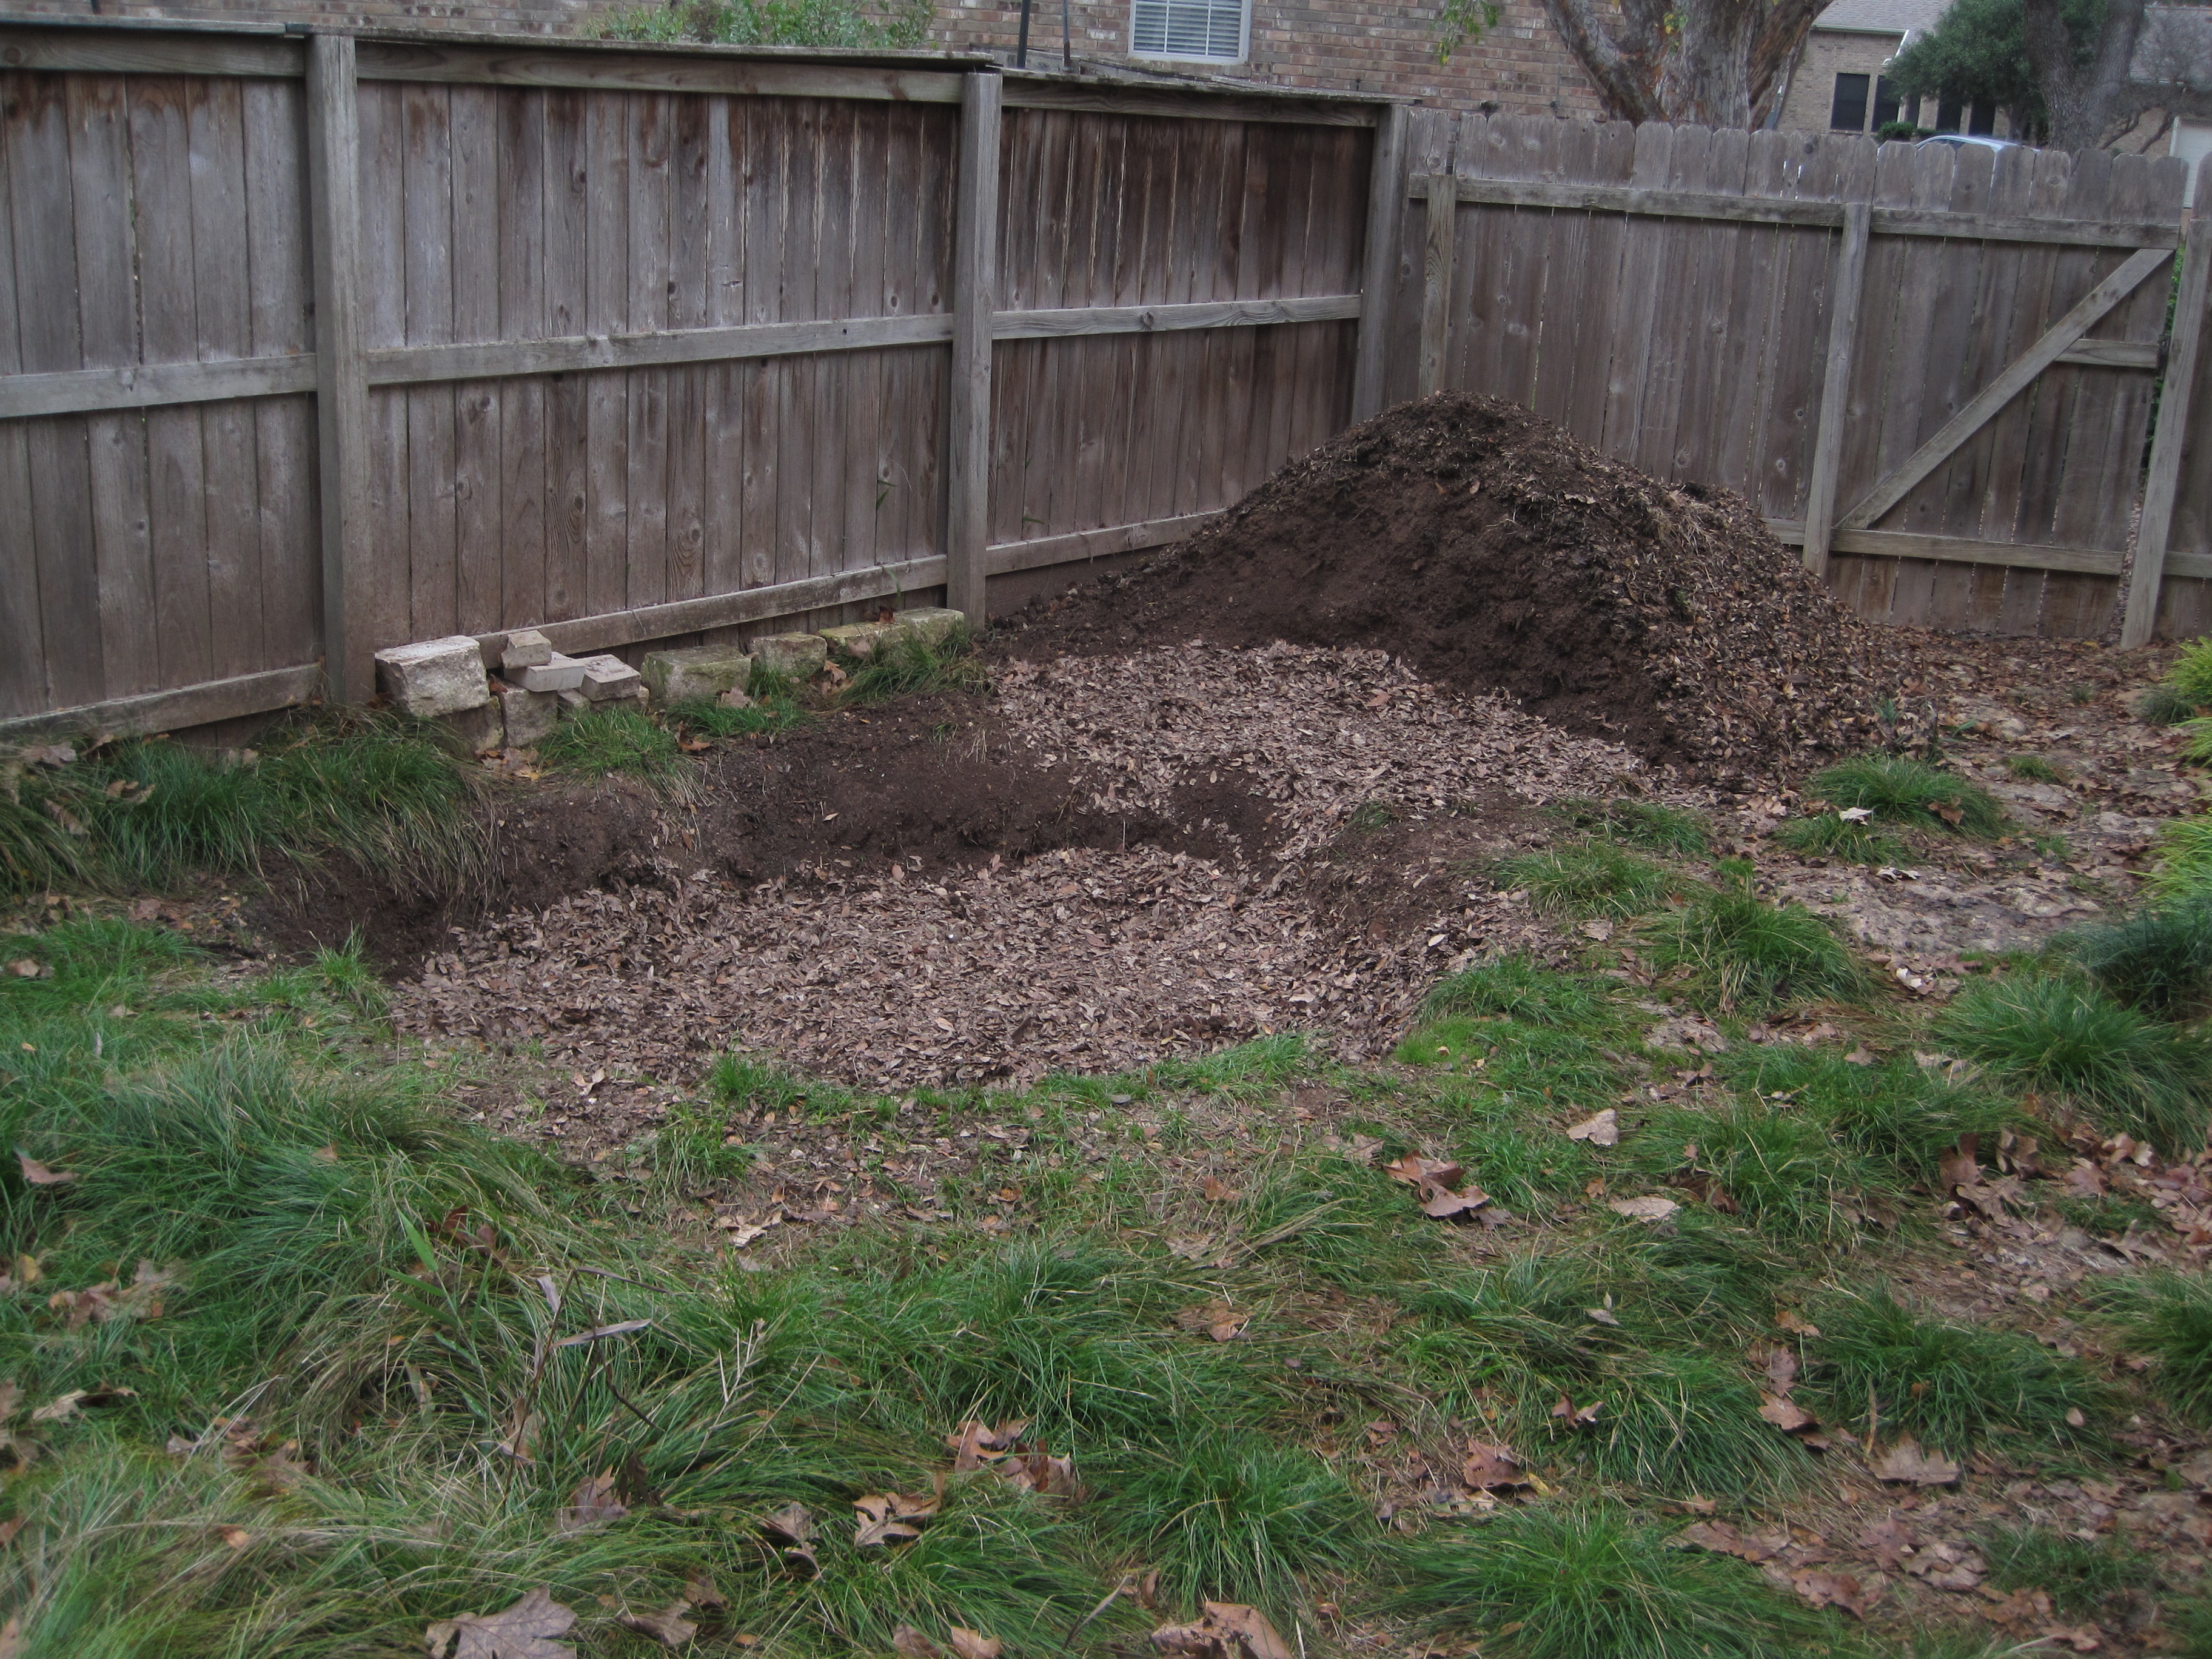
 At this point, we can fill the pit back in.  We want it to be good soil that will be easy to work with, and have plenty of composed material for whatever is planted.  And we can easily bury anything we need to get rid of.  So we rake up all the seed droppings from out Chinese Pistache tree and put them at the bottom of the pit.


That was 4 wheelbarrows full of droppings.  Then we start shovelling dirt from the pile into the pit.  After about a third of the pile is in the pit, we spread leaves over the dirt.


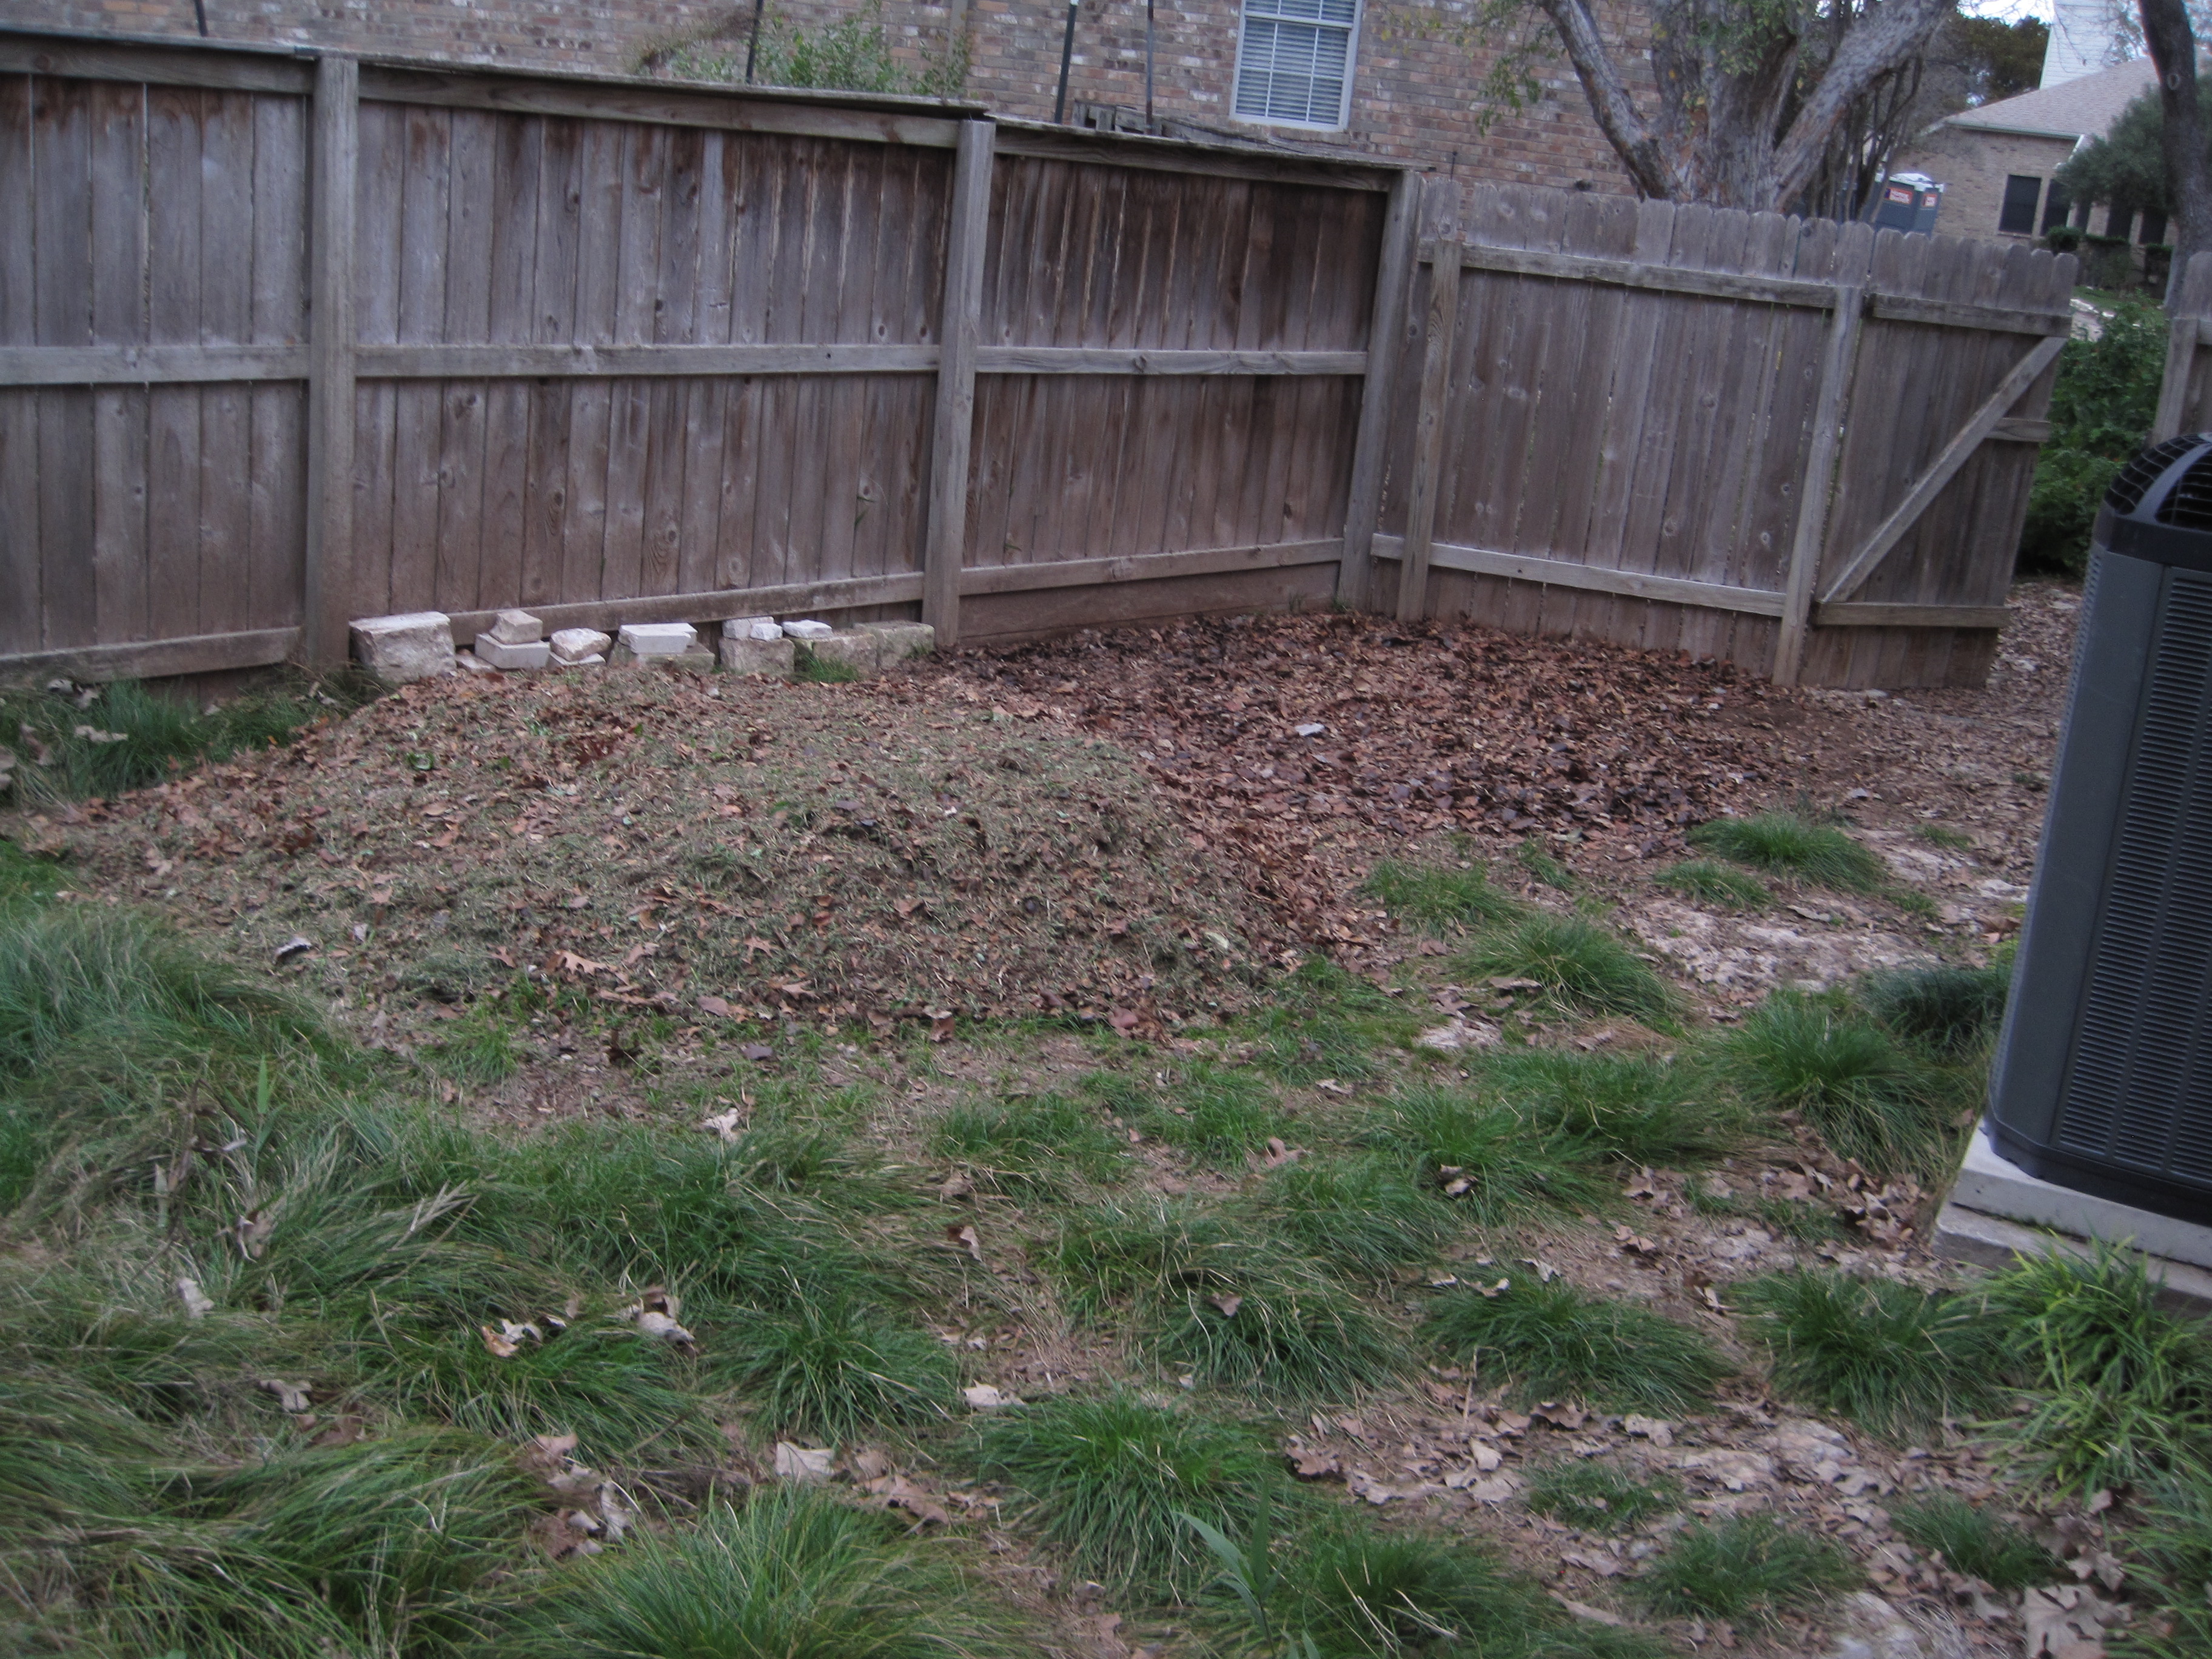
After a couple more days of shoveling dirt from the pile into the pit, mixing in leaves at intervals, we have the pile gone, and the pit filled in.

Actually, the pit is more than filled in.  The dirt leaves a mound about 9 inches high.  Since all of the dirt that used to be in the pile came from the pit, plus we pulled out the stump and a lot of rock, it seems that over time, the dirt will settle and probably be lower than the surrounding ground. 


Monday, November 7, 2022

Protecting the Pecan Tree from Squirrels

 The two pecan trees are doing very well.  The first one was planted in 2015; the second one in 2017.   Both are now producing nuts.

The first one is very close to other trees, so there is no practical way to keep the squirrels off -- they can jump from other trees or from the fence.  And as a result, they have consistently stripped the tree of any nuts before they are ready for us to pick them.

The second one, on the other hand, is still fairly small and distant from other trees and the fence.

To keep the squirrels off of it, we tried first a collar (like a cone for a dog or cat) on the trunk, but that didn't stop them.  So now we have put a metal stove pipe over the trunk. 


We bought a 5 foot (length) by 4 inch (diameter) and then cut it down to 46 inches in length, to fit between the lowest branch and the trunk flare at the bottom.  Its slippery surface should prevent squirrels from climbing up the trunk.

If this works, then we will have pecans!


Wednesday, October 19, 2022

Digging out the First Elm Tree Stump

We lost two Elm trees and had them cut down in 2021.   This left us with two stumps in the west side yard.


We did not have time to work on those in 2021, so we buried them under dirt leftover from part of the front yard digging.

So to dig these stumps out, the first thing we need to do is move the dirt off it, to expose the stump.

Once the stump is exposed, we can start digging down around it.  The plan is to encircle the stump with a trench, cutting off roots as we go around and down until the stump is disconnected and can be removed.

We start digging down on one side.


We can then extend that around the stump.


It would be easier to dig, if we knew where the roots were and how big they were.  The air spading that we did in the front yard to find the roots for Fuzzy would be really useful here.  But that was very expensive.  As an alternative, we have the high pressure washer.  We used that to tunnel under the front sidewalk.  So we tried that around the stump.


That seemed to work reasonably well, although it then takes days for the water to soak into the surrounding dirt and dry up.  So it's not a fast process.

Once the soil mostly dries out, we can go back to digging out around the stump.

 The process is pretty simple.  Try to remove the dirt.  Find a root.  Cut thru the root, both close to the stump and at the edge of the pit we are digging.  Smaller roots, we can use a pair of branch clippers -- a bypass lopper.  Bigger roots, we use our grubbing hoe-axe combo.


After a couple of days, with rain coming, we try the high pressure water spray again, to clear the dirt off the last set of roots.

Once this (and the rain) dry, we can cut thru as many of the roots as we can see, dig down to get more, until we have the entire stump encircled with the trench, going down to rock, cutting all the roots off.

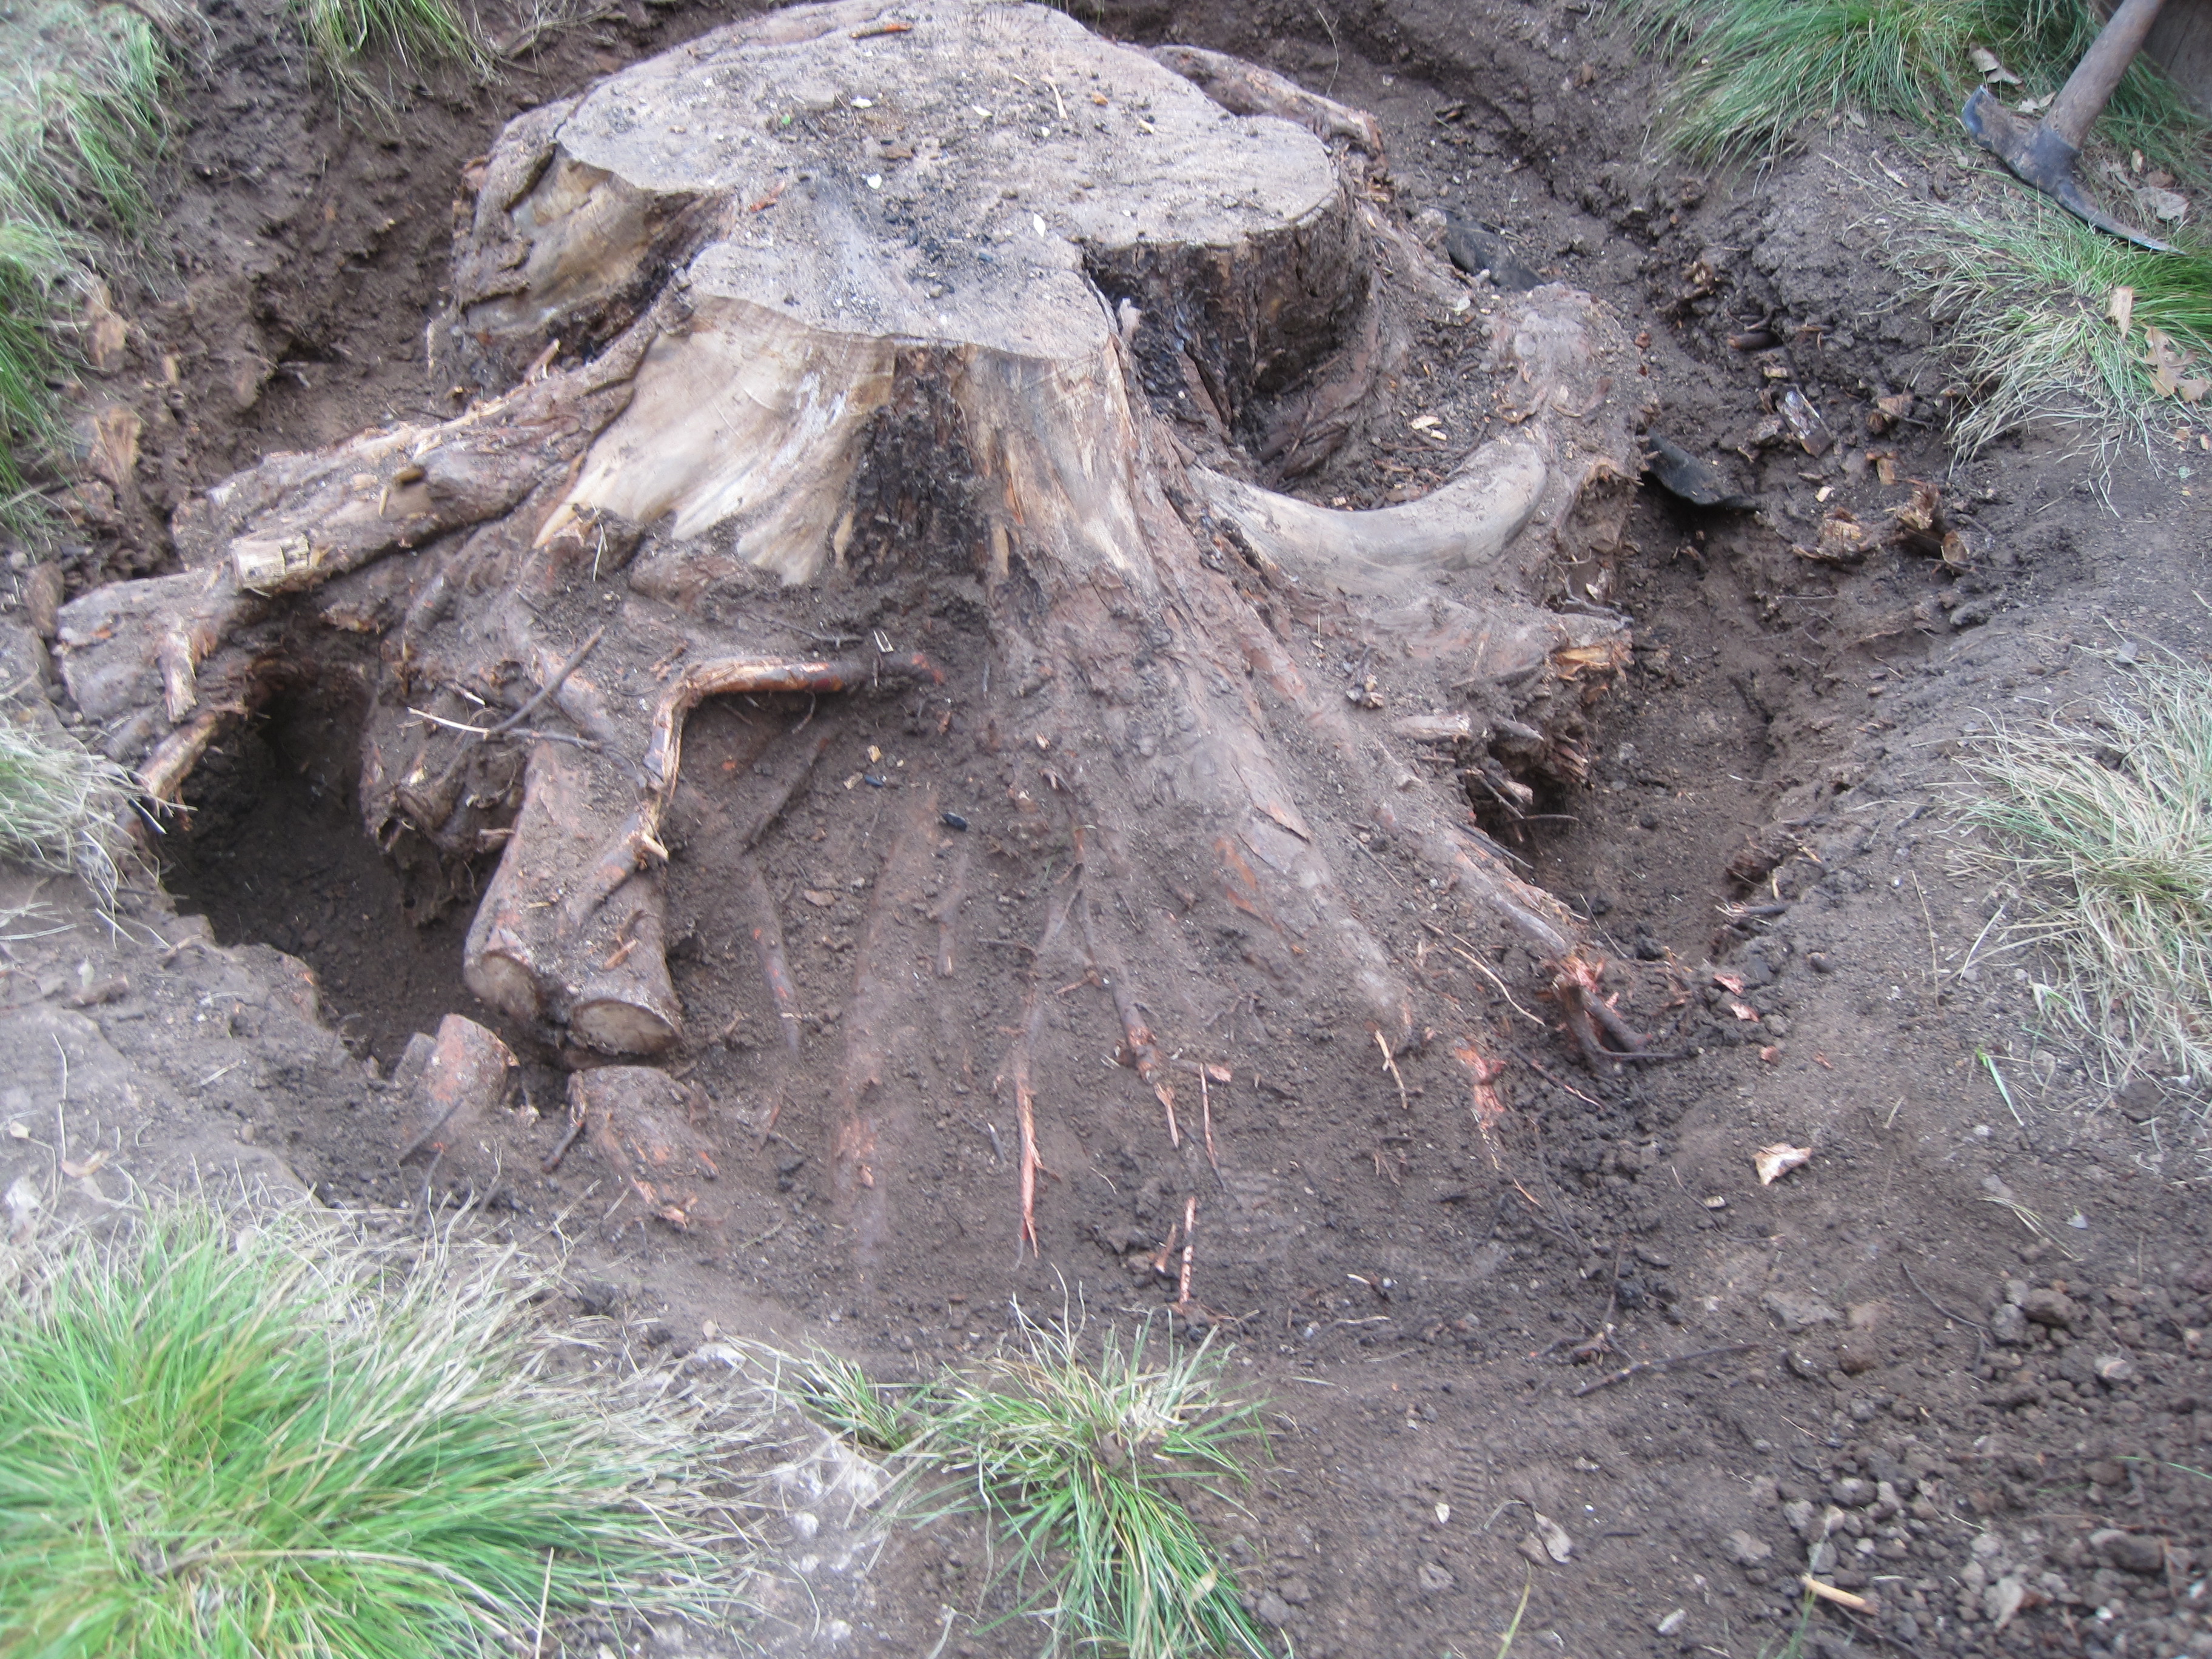
We left a couple of big roots sticking out from the stump, so that we could get under them and use them to try to lift the stump up.  For that we use a bottle jack that we purchased for this purpose.

We position the jack on a rock under a big root and lift it up as high as we go.  Then we stack rocks under the root and lower the jack down.

As we repeat this around the stump, it is clear that the stump is loose from the ground.  The problem now is: how do we get it out of the pit and dispose of it?

The stump, with all it's attached roots, and the dirt packed in on the bottom, weighs a lot.  I can barely move it; I certainly can't lift it.  So as with large rocks that we uncover, we will have to break it down into smaller pieces.

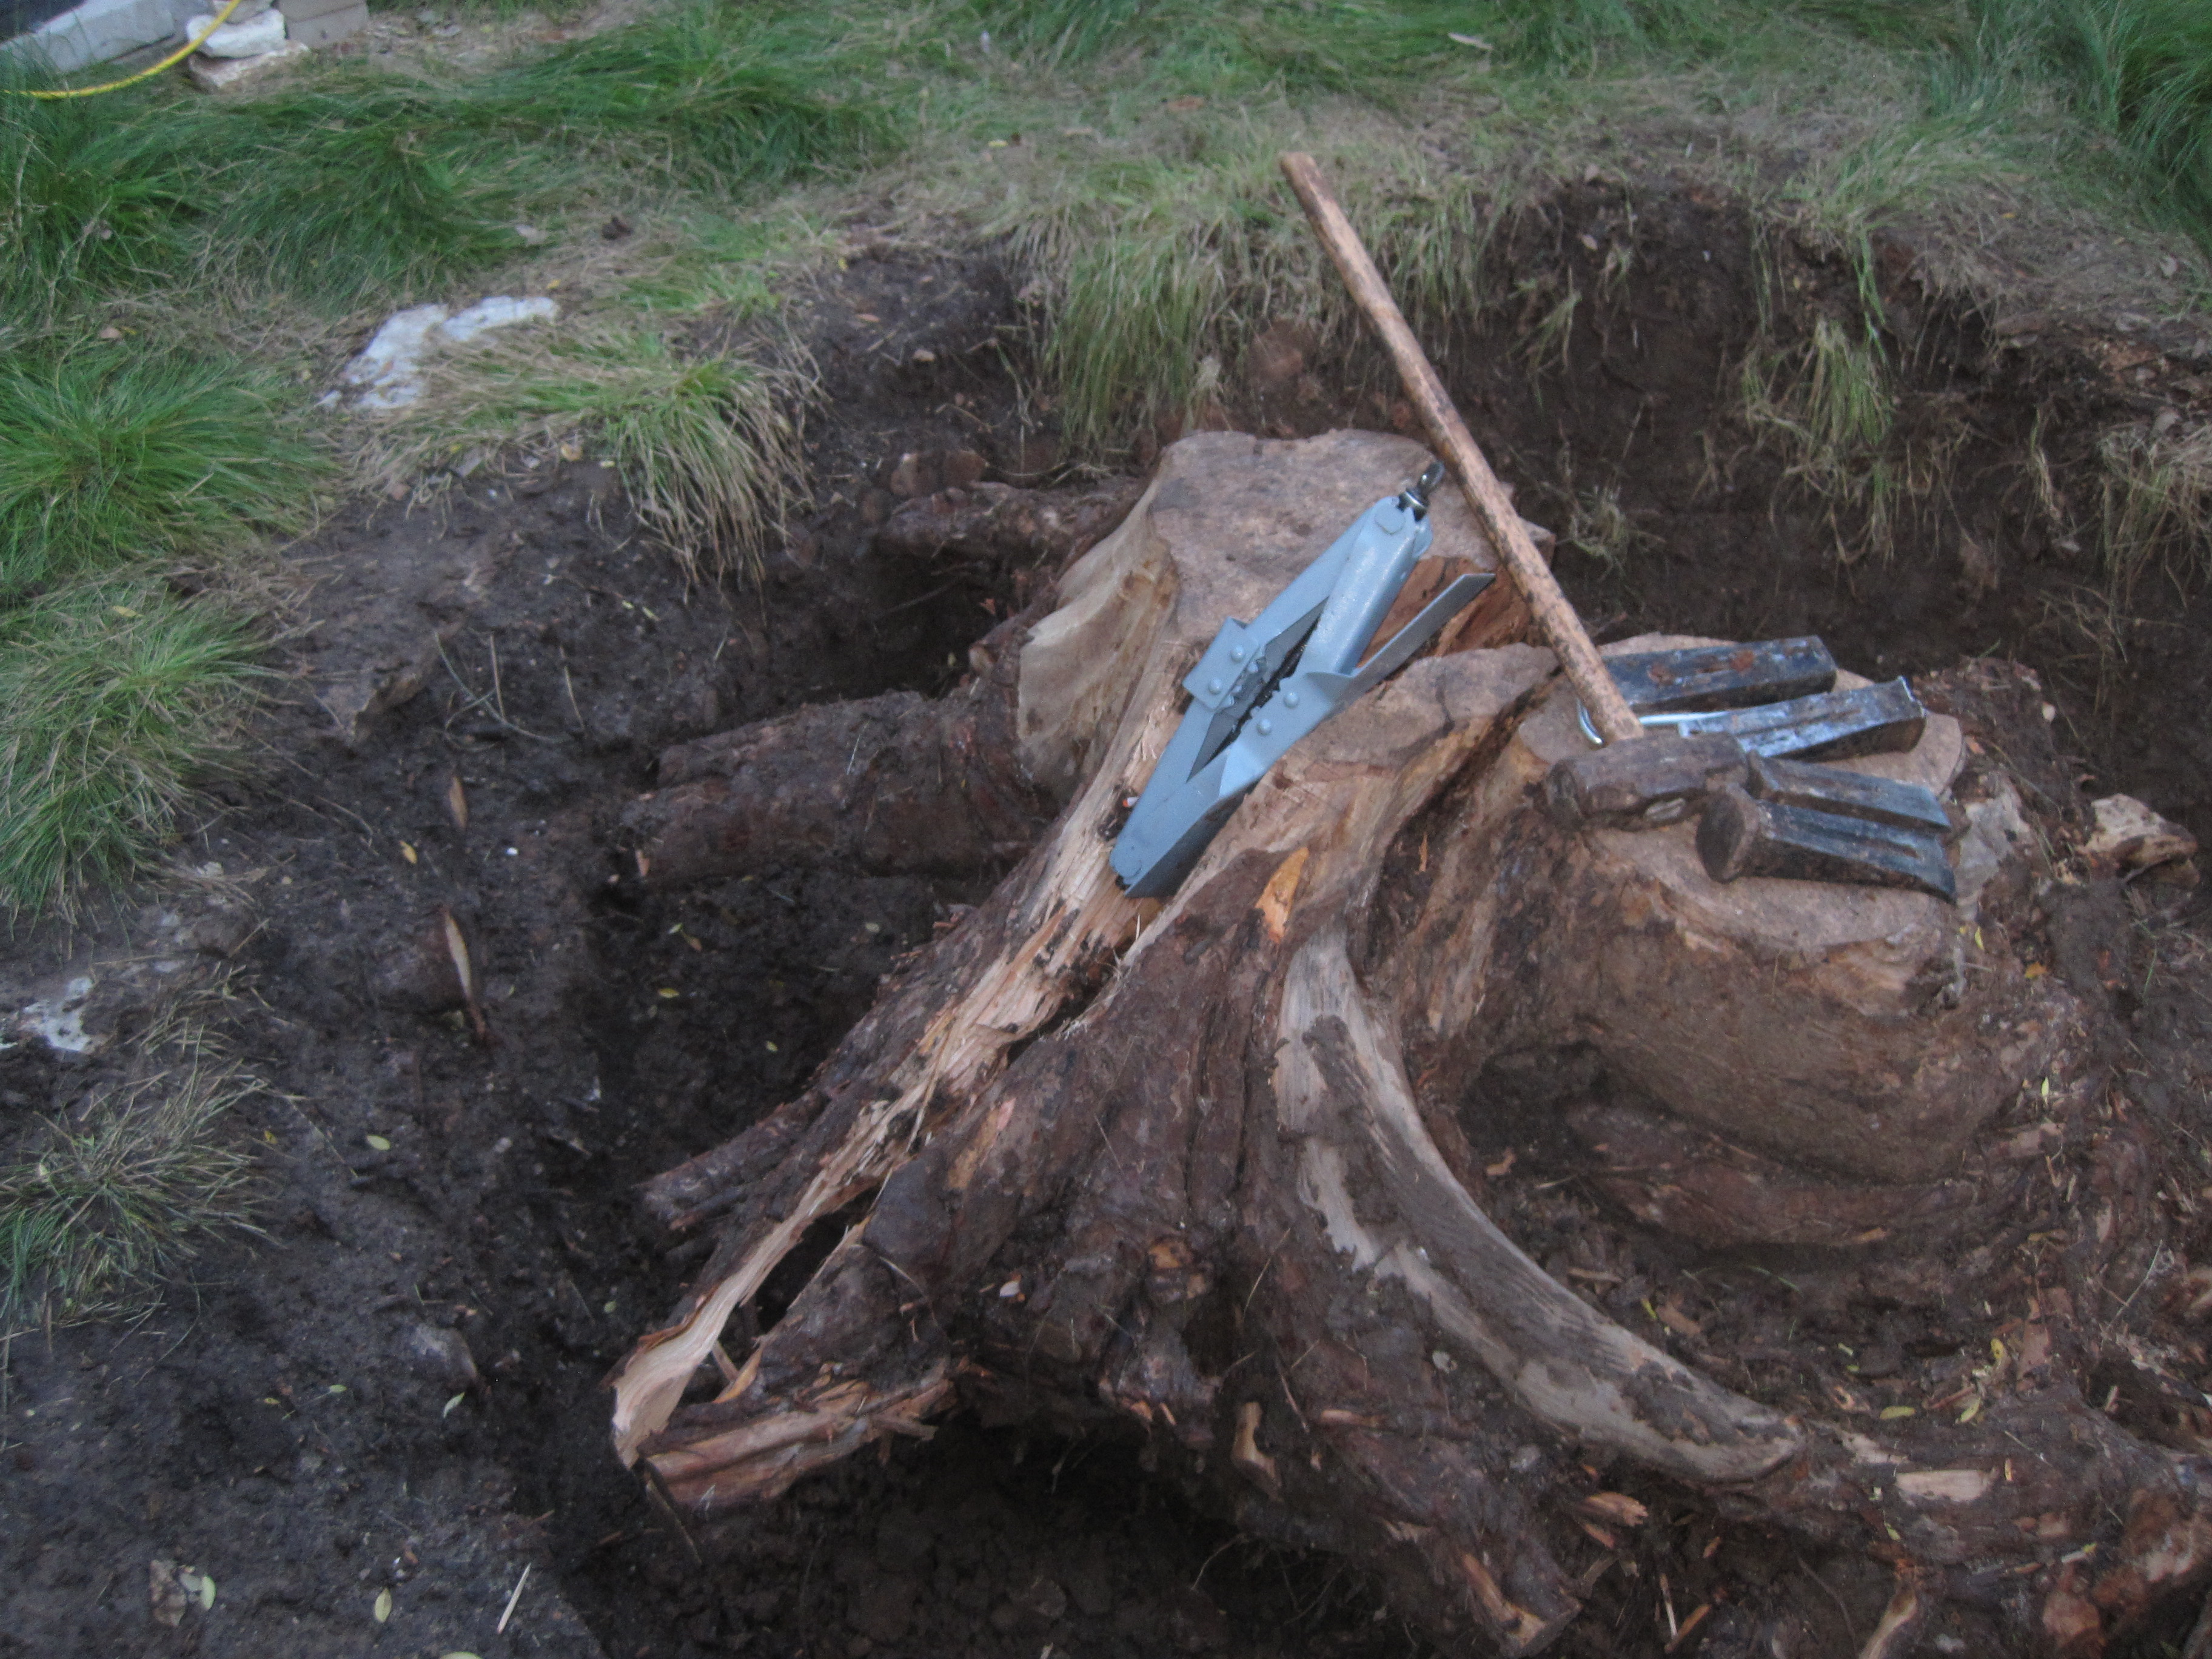
The approach we take to that is to try to split pieces of it off using a sledge hammer and a set of wedges.  Select a piece that looks sort of separate, and insert a wedge in a crack.  Hammer the wedge into the crack, making the crack grow larger.  


Use other wedges to continue to grow the crack, until the piece separates and can be removed.  

With luck, this creates a set of additional cracks, which we can then go back and use the wedges and the sledge hammer to further crack apart the stump.

Sometimes the wedges can only go so far and separating off a section takes a wider crack than the wedges can make.  A wedge is only about 2 inches, and even putting two wedges together only gets to about 4 inches.  You can move the wedges down the crack to widen it at the middle, instead of just at the top, but still there are limits.

In those cases I went for a jack.  The bottle jack that helped lift the stump up and separate it from the earth is a vertical structure, so it needs 8 to 10 inches, and then only adds another 6 inches.  So I use a scissor jack that is normally used to change a tire on a car.


A scissor jack starts out fairly flat -- mine starts at 4 inches -- and can be cranked to over a foot. You do have to be careful in case thing slip, and there are limits on how much pressure you can apply without damaging the jack.

But if by keeping at it, wedging, jacking, sticking large rocks in gaps to keep them open, I was able to continue to pare down the remaining intact part of the stump.


Until eventually the part of the stump that was left was small enough 


that I could wrangle it out of the pit, leaving an empty hole


and a selection of large pieces of what used to be the stump.