Wednesday, July 22, 2015

Trimming the Trees

We had our trees trimmed yesterday.  We have this done occasionally.   It's not cheap.  Looking back we did this in

10/21/2001    Arbor Tech                              $503
4/27/2005      Arbor Tech                            $1300
3/2/2010        Crawford Tree Service           $750
7/21/2015      Better Price Tree Service       $900

So it looks like we do this about every 5 years.  This year was much like other years -- 3 or 4 people show up and swarm over the trees, trimming off dead limbs and keeping the trees away from the house.  We like trees, so our objective is to keep the trees alive and happy, otherwise we are not trying to control the trees.

And what are our trees?   The live oak out front is "Fuzzy".


The other large tree in the front is "The General", a Spanish Oak.


Nestled under The General, at the corner of the house is a small Mountain Laurel.


In addition, in the front yard, we have two ornamental Bradford Pear trees that shade both our driveway and the neighbor's driveway.


and behind the Bradford Pears are a stand of Crape Myrtles (Watermelon Red).


There is one more Crape Myrtle (Dallas Red) between the garage and the front door.


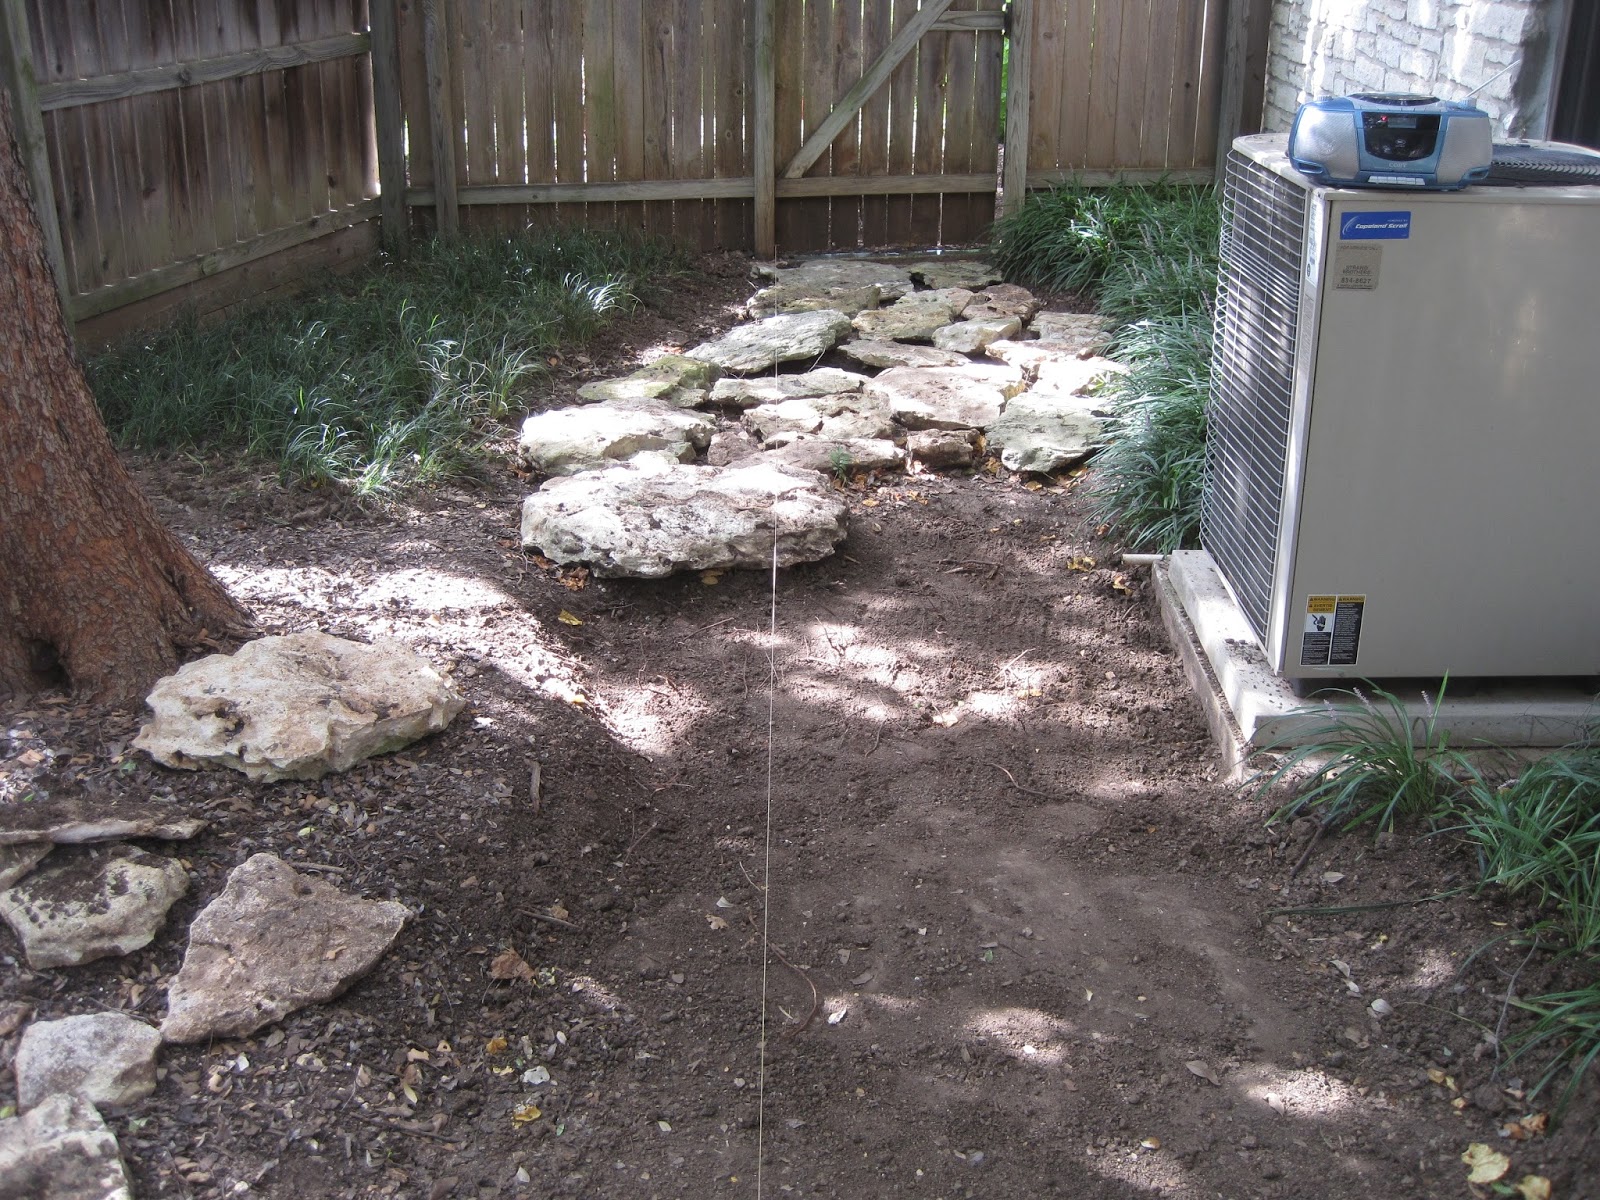
If we go into the back yard, over by the River of Rocks, we have the "Three Sisters" Drake Elm trees.


And back a little further in the back yard is another Live Oak


We also have a few Shin Oaks left from before the house was built.  One sits right in the middle of the River of Rocks in the back yard.


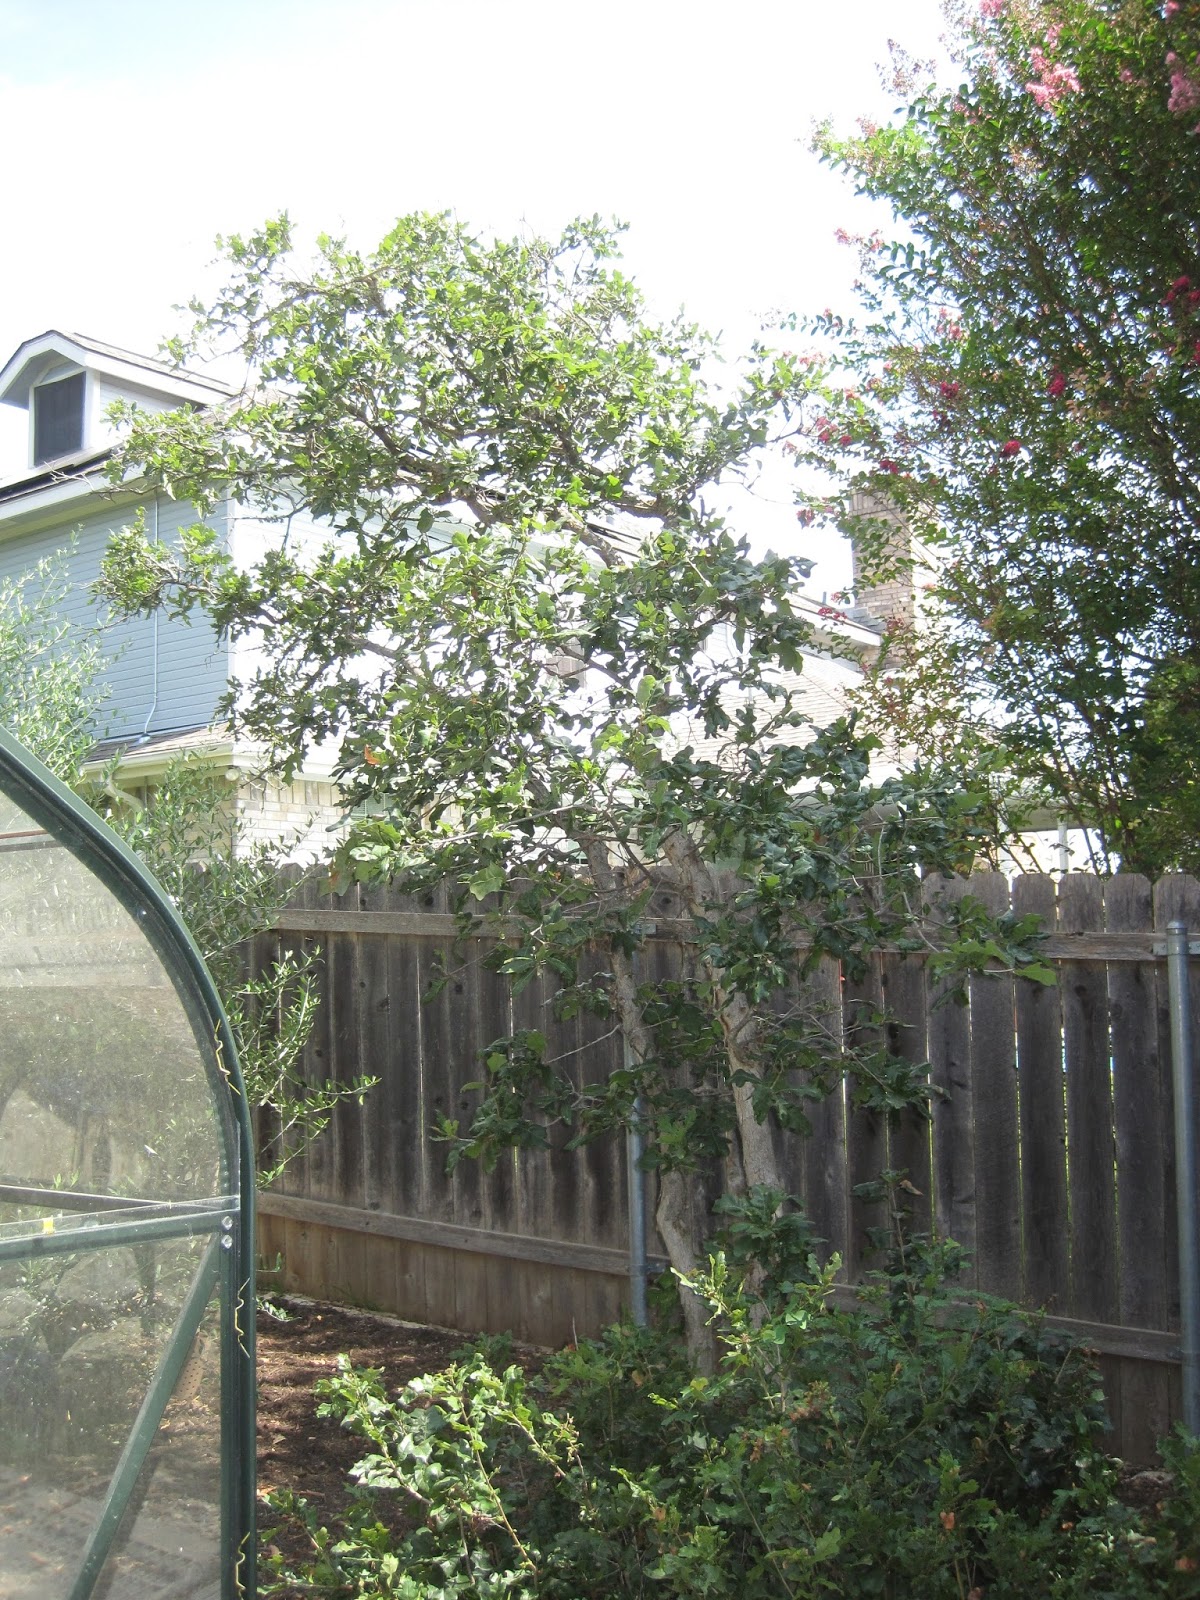
There are more Shin Oaks in the Jungle, plus a couple of other trees -- one a White Oak.  It's difficult to get a picture of any of these trees individually, what with the Bamboo Grove and the other plants in the Jungle.


We have two other Shin Oaks, in the other corner of the back yard.  These were originally in the middle of the back yard, but we moved them, and they seem to be happy in their new location.


On this East side of the house, the Monterry Oak  is the largest tree.


Its companion outside the kitchen window is the Chinese Pistache.


Of course, we also have our two Olive trees (which may or may not work out with our cold weather winters):


And our latest addition, intended to provide shade for the middle of the back yard, our Pecan tree.


Friday, July 17, 2015

Actually building the River of Rocks (Part One)

The idea of the River of Rocks is fairly simple; the actual construction of it has been much more difficult.

First I have had to scrape out the path for the River of Rocks, digging down enough to make the path level.  Then I put the rocks in place, to see how they would fit together.


I'm using a string here to help me keep the rocks level.  Some of the rocks are thicker and some are thinner.  Each rock has to have the dirt under it dug out to accommodate that specific rock, so that it lies flat and stable and at the correct height, so that the path is (mostly) level.


Once that is done, I poured dirt over it and raked the dirt down into the spaces between the rocks. Then I saturated the entire area with water, to get the dirt to settle down, and flow under the rocks.  I think there are a couple of the smaller rocks that will need to be "raised" up a bit (probably less than half an inch) once everything settles, but for now it's looking pretty good.


This is thick, rich dirt which we have been saving from the truck load that went into the raised garden.  It should be excellent dirt for the mondo grass to be transplanted into.  The mondo grass will fill the spaces between the rocks (after everything settles and dries).

This is the first section of the River of Rocks.  Since this process seems to be working, I will continue it from the A/C compressor down to the end of the house.

Saturday, July 4, 2015

Liriope and Monkey Grass Beds for the West Lawn

When the cable people tore up the Monkey Grass by the greenhouse, it seemed that we should replant what we can over in the West Lawn.  That is closer to what was intended; planting it by the greenhouse was supposed to be just temporary.

The first step is to build up the bed that we dug up.  It has the native dirt, mixed with leaves, grass and compost, but it will settle.  So we first put on a thick layer of the good dirt we are storing in the backyard.


Then we can transplant the Liriope that was left on the wrong side of the river of rocks up by the fence into this bed.  It's a little sparse, but should fill in over time.


That leaves the area on the other side of the river of rocks by the fence empty.


We can build this up with better dirt from the backyard pile and then plant the monkey grass that was torn up by the cable people.


Thursday, July 2, 2015

Cable Repair

 One of the neighbors had problems with their cable service.  The cable company (Time Warner Cable) came out and ran a cable down the fence as a temporary fix.

Yesterday (July 2), a crew came out to bury the cable.  The cable company has taken a longer-term approach and the current policy is to bury a 2 inch plastic conduit (at least 18 inches underground), and then run the cable thru that conduit.  Same sort of thing that we did to run the cable from their cable box/pedestal to our house.

So the plan was to bury a conduit from our current cable box/pedestal the entire length of the backyard to the neighbor's yard.  This of course tears up the grass (Zoysia Palisades) that we planted (last year?), has to go under the stone wall, thru the South bed, under the monkey grass by the greenhouse, and then thru the concrete wall under the stone edging.


 The lawn part went pretty well.  They avoided the sprinkler system along the fence.  As the photo shows, this really tore up the lawn along the fence; we will have to see if it fills back in.


 We disassembled the stone wall to allow them to lay the conduit underneath.  They helped put it back together, but the rocks are in a different order.

The South bed was more difficult.  It has an underground drip irrigation system.


and although they may have avoided destroying the lines themselves, they broke the connections to the lines.  I will need to repair those lines.

Plus the monkey grass was dug up.  It seems this should be taken as an opportunity to move it to the West Lawn, at least the parts that were dug up.


And we will need to repair the cement wall, now that the conduit is in place.


Trying to put things back after they were gone, I discovered that they broke one of panes of the greenhouse.


After we poured new concrete to repair the cement wall, and topped it off with new mortar work to hold the white limestone blocks in place, we turned our attention to the underground drip irrigation lines that were broke.


 There were two lines that were broke, one East of the greenhouse and the other West of the greenhouse.  Both were broken at the T-junctions where the underground drip lines intersect the water supply line.


So we replaced the T-junction piece and the line in-between the two T-junctions.


I'm not sure how we would detect if there are other places where the underground drip lines are broken, but at this point we think we have repaired them all.

At this point we can put all the dirt back.  Now we just need to water the plants to try to get them to re-grow and repair the bare spots and lines.


Note: the cable company finally came out and put the line thru the conduit in February 2016.


Wednesday, June 10, 2015

Sprinklers for the beds by the River of Rocks

We have dug out a bed by the A/C compressor.  Doing so exposed a sprinkler head that is currently on zone 8.  The other bed, on the other side of the A/C unit, is on zone 9.  We will convert zone 9 to cover all the beds.


So we need to remove this head from it's current water supply and tie it into the water supply for zone 9.  Zone 9 covers the heads in the other bed, so let's dig down and tie into that line.  Although the paperwork of this other bed shows the line going from one end to the other, next to the house, once we dig it out, it is clear that it must run down the middle of the yard and then send a pipe over to the head.


So to tie the new bed onto this, we cut the line to the head in the other bed, and put in a t-union.  Then run a pipe in front of the A/C unit.  We cut the head in the new bed off of it's supply and attach it to the new pipe from zone 9.  


We need to dig back as far as we can on the zone 8 supply line and cap it off.


Then we can extend this new water supply to another head at the other end of the new bed.


This gives us sprinkler heads at both ends of the new bed.


And we can extend this around the corner of the house to the other new bed between the River of Rocks and the house.


Grab Bars for Middle Bathroom Shower

With Linda's Mother moved into the guest bedroom and using the central bathroom, we figured it would be prudent to install grab bars to help with getting in and out of the bathtub.

I bought a 24 inch and two 12 inch bars, from Amazon, and installed one of the smaller ones.


I want to install the other at the other end of the tub and the longer one against the wall in the bathtub/shower.  But I am unsure where the studs are behind the tile.  My stud finder does not seem to work reliably in finding a stud behind the tile, grout, and tile-board.  So I am waiting to install the other two until I can get a better stud sensor, or we replace the tile (and I can see where the studs are behind the tile before they put the new tile on).

4 February 2016

Was reminded that falls are the most common problem for older people, and most falls are at home.  So I went ahead and installed the second, longer grab bar.

I marked where the studs were, as best as I could tell, and then positioned the bar where I wanted it.  That should give me three holes for each end in the stud; the installation document says we need at least two.

Using a masonry bit to drill thru the tile.  First use a hammer and a point to make a dent where I want the hole, then drill.  It seems that the glaze on top of the tile is hard, but once I am thru that, it drills easily -- red clay dust.  Of the 6 holes, 5 of them hit the stud.  The inside one on the left misses the stud just a bit.  So we have two solid screws on the left and three on the right.


From there it is fairly easy.  Use clear silicone caulk on the holes to seal them from the water.  Put in the 5 screws. Put the covers over the screws.


Clean up the dust from the drilling.

This may seem to be high, but normal use now is with a bath seat, and it is not too high for standing from a bath seat.


Tuesday, June 9, 2015

Mulching the trees and beds

It has been a year since we finished most of the beds in the East Lawn, and we normally put down mulch around the trees in the Spring.  So it seems like the time to mulch the yard.  In addition, the City is actually offering a rebate to encourage mulching (to cut down on water usage).  The City wants us to use at least 2 cubic yards.


We looked at doing that in bags (27 bags at 2 cubic feet per bag at $3 a bag) but it is more cost effective to get it in bulk ($23.50 a cubic yard).  So we borrowed a pick-up and loaded it up with 2 cubic yards, put a plastic sheet over it and held the sheet in place with 4 bags (one in each corner).


We dumped that all out on the driveway so we could return the pick-up.


Then we started distributing it around.  First the trees in the front yard, starting with Fuzzy.


And then the large Spanish Oak in front of the house.


 The Chinese Pistache in Zone 2.


 And the plantings in Zone 2.


The bed at the base of the Monterrey Oak.


And finally the new pecan tree in the back yard.
 

Amazingly that was the full 2 cubic yards (plus the extra 8 cubic feet from the 4 bags).  We still didn't get to mulch the peninsula between the driveways, nor the North bed nor South bed on the East side of the house, nor the beds in the front of the house, nor the Elms on the West side of the house, nor the Oak tree.  This would take at least as much more.

Addendum, 28 June 2015

Home Depot is having a sale on its mulch -- $2.00 a bag for the Native Austin Hardwood Mulch that Linda likes.  So I bought 51 bags of it -- took 3 trips in my car -- 15 bags, 18 bags, 18 bags ($110.43 including sales tax).  That gives me 102 cubic feet, or more than 3.5 cubit yards.

I was able to cover the South beds, on both the right of the greenhouse (which took 12 bags)


and on the left side of the greenhouse (which took 10 bags)


and the peninsula between our driveway and the neighbors (which took 26 bags)


That leaves us 3 bags for the North Bed.  We had some Mexican Feather grass in one corner of it, but after two years, it has failed to thrive.  I want to put more dirt in this area, to raise the level some (I think it has settled some), and then I will put mulch over it for now.