Monday, October 9, 2023

Planting a Lacey Oak

Having lost two trees on the west side of the house, from the storms that killed them, having them cut down, and digging out their stumps, we now have a mostly exposed West Side of the house.  So it seems reasonable to plant a new tree (or trees) to replace them.  We want something that will be big enough to shade the side of the house, but not so tall as to shade the solar panels on the roof.  Plus we want a resilient, native tree that can tolerate the cold of winter and the heat of summer.  A Lacey Oak seems to fit our needs. 


 Lacey Oaks will grow to 25 to 35 feet tall.  It is drought-tolerant, oak wilt-resistant and can grow in poor soil.

We found one at Lawns (Leander Area Wholesale Nursery Supply) Tree Farm in Leander.  Ours was a one-year-old 1-gallon container, for $10. 

First we needed to pick a spot.  We tried to put it midway between the last remaining Elm, at the front corner of the house, and the big oak tree in the back -- about 30 feet from both.  


 We dug a hole, much too deep and wide, then filled it back in until it was the right depth for the little tree.  Planted the tree, and filled the hole back in with the dirt we dug out.  


Then we bought a bag (one cubic foot) of top soil to spread around the tree, and covered that with a bag (two cubic foot) of hardwood mulch.


The tree is currently about 15 inches tall.


Wednesday, September 13, 2023

Foundation Parge

I noticed that the cement covering over the foundation on the West side of the house was coming off.  We had this problem once before.  The covering is called "parge" and is basically just a layer of masonry mortar to cover the raw cement foundation.


So I called  Dean's Plastering and Stucco Repair (which I found listed on NextDoor), and asked if this is something they can fix.  They came out a couple days later to fix it.

First thing they did was remove the part of the old parge that had separated.


That showed the extent and cause of the problem.


The cause of the problem was rusting rebar in the cement foundation.  Apparently it is too close to the edge of the foundation, and water had caused it to rust, causing it to expand.  The pressure from the expansion then fractured the outer layer of the foundation and the old parge.

So they removed all the old fractured concrete and parge, and treated all the exposed rebar with an anti-rust agent.  Then they applied a layer of mortar mix (cement and sand, Type S) over the top to recreate the foundation.


After letting that dry a bit, they then topped the entire area with a new coat of mortar mix to create the new parge, blending it with the pre-existing parge.


The cost came to $400.


Wednesday, July 26, 2023

Slow Closing Toilet Seat for Central Bathroom

 After mainly using the toilet in the Master Bathroom, the few times we used the toilet in the Central Bathroom, the noise of closing the seat was jarring.  So we decided to replace the seat with a slow closing (quiet) seat.


 Of course, the seat is not just a standard white one, but Linen colored, so we needed to special order the correct replacement seat.


Amazon.com had one, $64.61.

The old toilet seat was held on by a couple of plastic screws under the snap-close covers, so taking it off was easy.


The new one was pretty much the same, but with plastic washers, and the snap-close covers over the screws open the other way.  But basically the same, and the appearance differences are subtle.  But it does close slower.  And quieter.


Sunday, July 23, 2023

Master Bathroom Shower Changes

 For a number of years, we have been using an adjustable shower extension to allow the shower head to be moved up and down easily, since Linda and I are of different heights.  But they break easily -- the bolts that allow the extension to be adjusted just do not hold up.  So after this most recent failure, we replaced the shower head mechanism completely.


The new scheme has a hand held shower head on a hose.  In our case, a WaterPik Model #SRXPP-763M from Lowe's.  It has a hand shower with a 6-foot metal hose that can sit on an adjustable height holder on a metal bar.  The bar is held to the shower tiles with pieces of 2-sided tape. 

The hose attaches to a shower diverter  that allows either the hand-held head or the normal fixed head to be used.

There is also a slot in the diverter to hold a hand-held shower, but the WaterPik hand-held shower head is too big and will not fit in the slot in the diverter.

This arrangement is meant to be a temporary solution until we remodel the bathroom completely.  We will try to learn from it what works and what does not.


Thursday, July 13, 2023

Pest Control

While we were gone during January 2023, our daughter stayed in the house.  She was uncomfortable with the level of insect life in the house, so she called a pest control company to treat the outside and inside of the house. 

That seemed to work pretty well, but over the past couple of weeks, we noticed more silverfish in the pantry and random cockroaches in the house, so, it being 6 months, we figured we would try treating again.

The company used was Research Pest Control, in Cedar Park.  They came out today and sprayed the outside and inside of the house, with TEMPRID FX (Imidacloprid 21.0% Cyfluthrin 10.5%) and also sprinkled some Permethrin granules around the outside.  It took about 30 minutes for the spraying, and cost $135.31 ($125 plus tax).

Update: September 2023.  Daughter noticed a few ants in the shower of the central bathroom.  It seemed they were coming from the central valve of the shower, so I sprayed a little Raid in the opening in the wall, resulting in a deluge of ants (mostly dead or dieing) over the next few days.  These were little ants, with wings.  Which I did not know.  So I called Research Pest again.  They sent a guy out that said they were acrobat ants.


He sprayed something into the wall of the shower (turns out there is an easy opening to it in the cabinet under the adjacent sink).  When I mentioned that they were also falling onto the window sill in the back bedroom, he then went up in the attic over that window and misted it with some powder spray.


Wednesday, July 12, 2023

The Second Elm Tree Stump

 We lost two Elm trees due to the cold weather in February 2021.  They were cut down in October 2021 and I dug out the first stump in October 2022.  Now we are starting on the second stump.

In the year plus since the tree was cut down, it was pretty well over grown with inland sea oats and texas sedge, as well as trying to re-grow itself by suckers growing out of the stump itself.

So the first problem is to expose the stump and clear out the overgrowth.


We continued this excavation around the stump exposing 8 or 9 major roots.


The dirt is hard and dry.  We will try to dig down between the roots, with an aim of digging under them and separating them from the soil both at the stump and at the exterior edge of the ditch, so that we can cut thru them and isolate the root.

Digging down between the roots, after a couple of days, we isolated many of the roots.  This allowed us to use a chainsaw to cut thru four of them and disconnect about 3/4 of the way around the stump.


With a gap between these major roots and the edge of the hole we are digging, we can dig out more dirt, going deeper, until we hit rock.  We then bring in our own blocks of limestone and our bottle jack.  Putting the bottle jack on the bedrock and under a root, we can jack up that side of the stump.  Once we have the stump up as far as the bottle jack will go, we can stack rocks under adjacent roots to support the stump, allowing the bottle jack to be removed.

We then put a 6x6 limestone block under where the bottle jack was used and can now lift the stump another 6 inches, allowing another 6 inches of stone to be put on the stacks holding up the adjacent roots.  Using this approach, we can lift one side of the stump significantly, allowing us to dig the dirt out of the center of the stump and to work on the roots that have not yet been cut.


Excavating under the roots that have not been cut, and then cutting them, frees the stump from the earth, and allows us to prop it up on one side.


We can then tilt the stump up out of the hole, onto a hand truck and trundle it out to the curb.


This leaves a big hole, with a layer of rock around the edges above the bedrock.


Using the pry bar and a rock as a fulcrum, we can pry the rock around the edges out.


leaving us with a big hole (about 6 feet in diameter and 28 inches deep), rock free, down to bedrock.


and a pile of dirt.


Putting the dirt back in the hole leaves us with two barren spots, both without stumps.


This whole process took about a month.


Wednesday, June 28, 2023

Irrigation Rain Cut-off Switch and Gutter Guards

 A couple of minor things that needed to be re-done after having the roof replaced.

We have an automatic irrigation system to water the yard.  Controller is in the garage.  Eleven zones.  It is set to water on Wednesday during the summer; we turn it off during the winter.  But even in the summer, it is possible it will rain and there is no reason to run the system if if has just rained.  So we had a sensor that would detect rain and turn the system off until it was "dry enough".  The sensor is a cup that sits up high, and the rain fills the cup in, depressing a switch.  As the water evaporates, the cup raises back up, changing the switch back to on.  Our particular model is an Orbit Model 57059-20 r6, bought at Home Depot, $24.97


We installed it at the peak of the roof over the garage.


and then ran the wire from it to the controller down the front of the garage roof line to the corner, around to the side under the eaves and into a hole that goes into the garage wall  and down to the controller.


The controller has a spot to connect a sensor, but also I was told by an irrigation person that the sensor is just a switch -- normally closed, but open when it has rain water in it -- so you can also wire it in to the common wire which would cut power to all circuits (since they all use the same common wire).


Also, I put gutter guards back in the two short gutters on both sides of the garage.  The two long runs -- along the front and back of the house -- are sort of tree-less, so they may not need them (as much), but the garage has crepe myrtle trees on both sides, so they tend to fill up with leaf debris.  


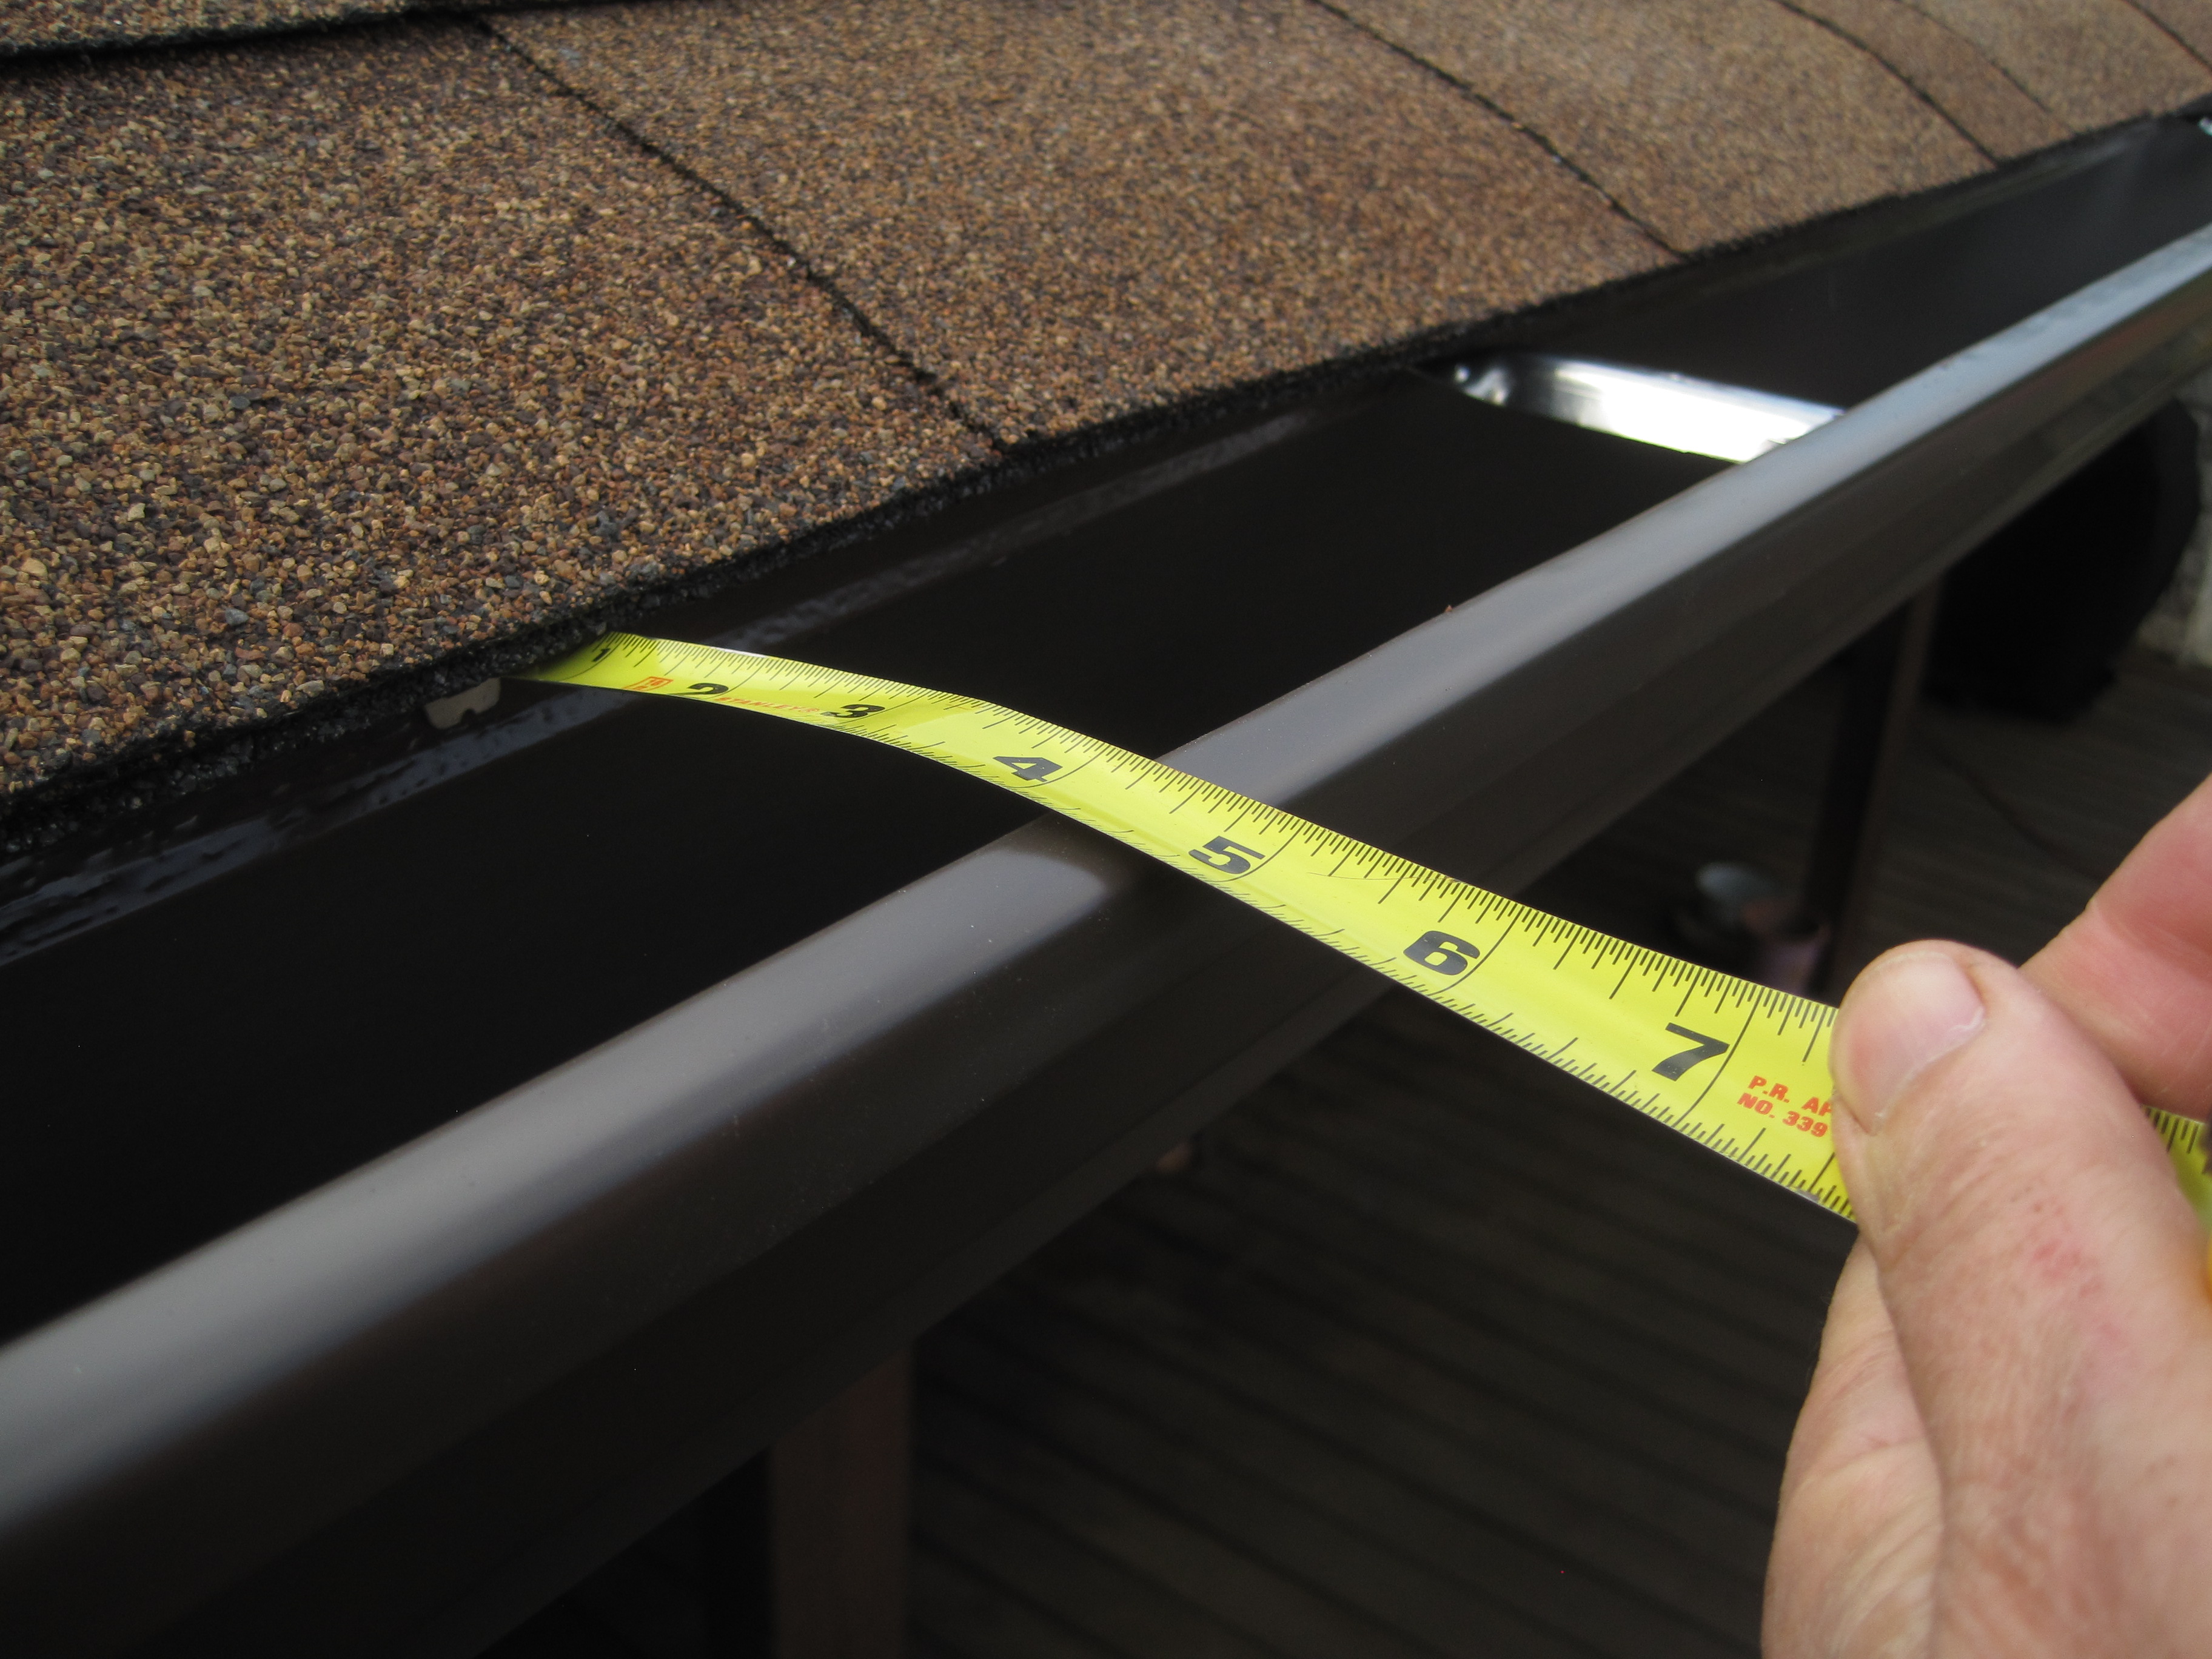
These particular gutter guards are the cheapest available.  One is a simple plastic (vinyl) guard that snaps into the front of the gutters and under the bottom row of shingles.  Each one is 3 feet long, and costs $1.54.  Home Depot.   The other side is a bit more upscale.  It's the same basic guard, but at $2.27 has a small mesh screen underneath. 


Wednesday, May 3, 2023

New Solar Panels on the New Roof

The reason we got a new roof was because we needed a new solar system.  Our 17-year-old solar system has been flaking out for months.  At random times, it would trip the circuit breaker for the PV system, and shut itself off.  I could not get anyone to come and fix the problem.  The company that installed it is long gone.  The equipment that was used 17 years ago is no longer what is used.  So it seemed the simplest fix would be to just remove the old system and put on a new one.

And that required a new roof.  Putting on a PV solar system is a major deal, and it goes on the roof.  You don't want to have to take it off, put on a new room, and then put it back up, if you can avoid it.  So if you want a PV solar system, it makes sense to make sure that the roof will be around a long time. 

To put on the new roof, we first took off the old solar system.  Then we got a new roof.  Then we installed the new PV solar system.

Originally we thought it might work best to have one company do both the roof and the solar system, but we could not make that happen.  Roofing companies want to do roofs, and solar companies want to install solar systems.  So we went with one company for the roof and another for the solar system.  We tried 4 different companies with bids from $15,159 to $23,098.  All the bids were for slightly different systems.

The main difference was in the panels.  Our original panels were about 26x56 inches, 30 pounds, for each of the 24 panels, generating 130 Watts.  The new panels are all 410 Watts, 41x74 inches, 50 pounds.  So 14 panels will generate about twice as much power in 20% more space.

Those numbers are for the QCell Q.PEAK-DUO-ML-G10+ 400 panels that we got.  The other bids were for panels from Axitech, Peimar, REC and other manufacturers running from 330W per panel to 410W per panel. 

We decided to go with Longhorn Solar.  They were not the least (or most) expensive, but the panels were very efficient and the contract easy to read and understand.  The contract specified the panels, the inverters and optimizers, monitoring system and racks, a complete "turn-key" system.  It also specified that it could take up to 150 days (5 months) to complete, because it all has to be approved by the City of Austin, and that can take result in long and ill-defined delays.

We signed the contract on 6 March.  The old solar system was removed on 8 March. The roof was replaced on 15 April. And the new solar system was installed on 1 May.

They showed up early, at 7:40AM, and started right in on the electrical part of the system.


They removed the old cut-off switch and PV meter box and put on new ones. Then installed the new inverter (a Solar Edge SE5000H model) and monitoring box.


They ran the conduit for the power from the roof up and thru the roof eave, rather than going around it.


In the meantime, another truck had arrived with the solar panels and such.

 and they went right to work putting up the rails that would hold the solar panels.

and the conduit for the electrical wiring.


Then they started putting the panels in place and wiring them together.


Two rows of 7 panels each.


By 3:45, the panels were all in place and we were generating solar power once again!

In the two days since it was put up, we have generated 50 kw.  Of course not all days will be as bright and sunny as these past two.


Tuesday, April 18, 2023

Gutters for the new Roof

As a part of getting a new roof, they took off the old rain gutters.  Then they put on the new roof.  Today we got the new rain gutters to replace the old ones.  That was part of the contract for the new roof.

The gutters are the seamless type that are created on-site.  They workmen first measured everything.  Then they constructed the gutters and put them on the driveway.


They installed the rain gutters on the house.


and then went back and installed the downspouts.


The last step was to attach special deflectors where the roof has a "valley" that focuses a lot of water into one spot.  The deflector stops it from shooting over the gutter.

These gutters are 4 inches across, which is what was there before, and works for almost all the rain we get.  The downspouts are 4 inches too.