Excavating the West Lawn Bottoms is part of the solution, but we also need to put it back together. If the Bottoms grass area is going to be (mostly) level, the stone work along the fence needs to be mostly level too. It is currently far from level, it slopes down with the fence and the original slope of the land.
And making the side stone work level will require another course of stone work along the border between the Bottoms and the Blue Rock Pool. Two trips to Whittlesey Landscape Supplies gets 720 pounds of rock ($62.35).
which we can mortar into place.
We will probably need to continue the stone work, but for now we have a start on that, let's look at the larger picture of what we have excavated.
We have a lot of large stone pieces, and we want a stone retaining wall along the left of the above picture, to hold the dirt back around the base of the Oak tree. So we will stack the rocks that we have, to form a stone retaining wall. After a day of trial and error, we have a start.
Now we need to dig out more rock, to continue the wall, and dirt, to fill in the pit in front of the wall.
Continuing on this digging, we move all the dirt over out of the way, and continue to dig away. That exposes a large rock in the lower left corner of the photo below.
Further work exposes the entire piece.
It's much too large to work with, so we break it down into four pieces.
And we can use those rocks to extend the retaining wall.
Monday, August 17, 2015
Wednesday, August 5, 2015
Excavating the West Lawn Bottom Zone
We want to install a retaining wall, to level the dirt level in the West Lawn both for the big live oak tree and for the River of Rocks as it comes around the corner of the house and heads to the back deck. The area between the retaining wall and the Jungle will be a lower level as a bed or grassy area, which, since it is at the bottom of the West Lawn, we will call the Bottom Zone. I have tentatively outlined where I think the retaining wall will go.
We will want to excavate this entire area, so that there is plenty of good dirt for the roots of whatever we end up planting there (grass like the East Lawn, for example). So we begin by digging up all the dirt, down to bed-rock.
This will take days or weeks.
Two days later, we have a start. We have stripped the dirt off the top of the section near the fence. We can not go too far down in a section, because of the French Drain that runs along the fence and ends in the Blue Rock Pool.
But once we are past that point, we can dig all the way down to rock.
On the left it's 17 inches to rock; on the right, it's 21 inches. It's 8 feet from the left to the right. All we have to do is extend this excavation to the East. We have the first 9 feet done; only about 30 feet more to go.
I had almost forgotten how this is done. First I dig a hole or trench to get down to the depth that I want to be at. Then I can dig sideways by standing in the trench and extending it to the adjoining area. For example, we start from this position, and expose a bit of the rock buried under the lawn.
We continue to remove the dirt from the rock, exposing more and more rock at the save level.
The dirt is mixed with leaves and grass and put in the wheelbarrow and taken away to be saved. When the rock is all removed, the dirt is brought back.
As we did out the rock, there are smaller rocks. These we put aside in a bucket until we have enough to wheelbarrow all of these smaller rocks around to the front for disposal. We are trying to improve the soil quality by removing the rocks and adding organic material (leaves, grass, compost), as well as replacing the volume of the rock with better quality dirt.
With enough digging, we can expose an entire rock. Most of our rock is broken down into pieces smaller than the kitchen table, although occasionally we will get even larger pieces. If the rock is too large to be rolled around, I will need to break it into smaller (large) rocks.
The result is a pile of large rocks (too large to lift, but small enough to be rolled around).
and a pile of dirt which is put off to the side for later. We can get a big pile of dirt from these holes (fluffed up by leaves and grass and air).
We will want to excavate this entire area, so that there is plenty of good dirt for the roots of whatever we end up planting there (grass like the East Lawn, for example). So we begin by digging up all the dirt, down to bed-rock.
This will take days or weeks.
Two days later, we have a start. We have stripped the dirt off the top of the section near the fence. We can not go too far down in a section, because of the French Drain that runs along the fence and ends in the Blue Rock Pool.
But once we are past that point, we can dig all the way down to rock.
On the left it's 17 inches to rock; on the right, it's 21 inches. It's 8 feet from the left to the right. All we have to do is extend this excavation to the East. We have the first 9 feet done; only about 30 feet more to go.
I had almost forgotten how this is done. First I dig a hole or trench to get down to the depth that I want to be at. Then I can dig sideways by standing in the trench and extending it to the adjoining area. For example, we start from this position, and expose a bit of the rock buried under the lawn.
We continue to remove the dirt from the rock, exposing more and more rock at the save level.
The dirt is mixed with leaves and grass and put in the wheelbarrow and taken away to be saved. When the rock is all removed, the dirt is brought back.
As we did out the rock, there are smaller rocks. These we put aside in a bucket until we have enough to wheelbarrow all of these smaller rocks around to the front for disposal. We are trying to improve the soil quality by removing the rocks and adding organic material (leaves, grass, compost), as well as replacing the volume of the rock with better quality dirt.
With enough digging, we can expose an entire rock. Most of our rock is broken down into pieces smaller than the kitchen table, although occasionally we will get even larger pieces. If the rock is too large to be rolled around, I will need to break it into smaller (large) rocks.
The result is a pile of large rocks (too large to lift, but small enough to be rolled around).
and a pile of dirt which is put off to the side for later. We can get a big pile of dirt from these holes (fluffed up by leaves and grass and air).
Monday, August 3, 2015
A Larger Picture of the Bottom part of the West Lawn
The bottom part of the West Lawn is mainly dominated by the big live oak tree. That and the turn of the River of Rocks, around the corner of the house and over to the steps coming down from the deck.
In trying to define the River of Rocks, it seems that this area slopes downhill quite a bit. There are big roots for the live oak that run along the ground, and we have had a significant problem of dirt being eroded and washed down into the pool of blue rocks and the Bamboo Grove.
It appears to me that it can be significantly improved by putting in a terrace wall. A terrace wall would allow me to add dirt to the base of the live oak tree, while at the same time keeping the ground mostly level. There should be less run-off erosion with level ground. And the River of Rocks would be able to decrease slowly from the corner of the house to the back deck, rather than decrease a lot and then come back up some.
We thought about building it from 6x6 limestone blocks, like we used for the raised garden, but Linda suggests using natural rock instead. So we need to come up with a short rock wall of native rock. A terrace wall of about 24 inches seems like it would work best.
This would partition the bottom part of the West Lawn into two pieces -- upper part around the base of the live oak, and continuing over to the River of Rocks, and a lower part that would stretch from the fence between the Jungle on one side and the terrace wall on the other back to the center of the back yard.
This tongue of yard should be fairly level, from side to side instead of it's current slope down. We have already excavated the part closest to the fence, but will still need to dig down for most of it. If we encounter the rocks that we would expect, as we have found in the rest of the yard and in the part near the fence, we should be able to use those big rocks for the terrace wall. And we need the terrace wall to define the level of the soil behind it, from the terrace wall around the live oak tree and back up to the main West Lawn. And we need that level before we can put in the irrigation lines for this section (Zone 8).
So it seems this is the next part of the yard to dig up. Then define the terrace wall. Then fill in the ground behind the terrace wall. Put in the new Zone 8 irrigation lines and heads. Then continue the River of Rocks around the corner of the house to the deck sidewalk.
In trying to define the River of Rocks, it seems that this area slopes downhill quite a bit. There are big roots for the live oak that run along the ground, and we have had a significant problem of dirt being eroded and washed down into the pool of blue rocks and the Bamboo Grove.
It appears to me that it can be significantly improved by putting in a terrace wall. A terrace wall would allow me to add dirt to the base of the live oak tree, while at the same time keeping the ground mostly level. There should be less run-off erosion with level ground. And the River of Rocks would be able to decrease slowly from the corner of the house to the back deck, rather than decrease a lot and then come back up some.
We thought about building it from 6x6 limestone blocks, like we used for the raised garden, but Linda suggests using natural rock instead. So we need to come up with a short rock wall of native rock. A terrace wall of about 24 inches seems like it would work best.
This would partition the bottom part of the West Lawn into two pieces -- upper part around the base of the live oak, and continuing over to the River of Rocks, and a lower part that would stretch from the fence between the Jungle on one side and the terrace wall on the other back to the center of the back yard.
This tongue of yard should be fairly level, from side to side instead of it's current slope down. We have already excavated the part closest to the fence, but will still need to dig down for most of it. If we encounter the rocks that we would expect, as we have found in the rest of the yard and in the part near the fence, we should be able to use those big rocks for the terrace wall. And we need the terrace wall to define the level of the soil behind it, from the terrace wall around the live oak tree and back up to the main West Lawn. And we need that level before we can put in the irrigation lines for this section (Zone 8).
So it seems this is the next part of the yard to dig up. Then define the terrace wall. Then fill in the ground behind the terrace wall. Put in the new Zone 8 irrigation lines and heads. Then continue the River of Rocks around the corner of the house to the deck sidewalk.
The Old Irrigation Zone 8
Zone 8 of the irrigation system is sort of the area of the West Lawn. We are going to re-purpose it so that it is specifically the West Lawn, west of the River of Rocks. Zone 9 will take care of the beds between the River of Rocks and the house.
All of this area is supposed to be put over to native, drought-resistant, shade tolerant plants. I think it is sedges and native grasses. The landscape plan says it is 11, 12, and 13 which are horse herb/wedelia, meadow sedge/texas sedge, and inland sea oats/chili pequin. I'm assuming that all these have the same watering needs, so I intend to run one line of heads next to the fence, spraying in to the yard, and another line of heads next to the River of Rocks, spraying the other way, so that we cover the entire area.
So the first problem is to remove the old Zone 8 piping. It seems to go every which way. Turning on Zone 8 and marking which heads pop up shows a couple along the fence, one by the corner of the house, and a couple in the middle of the yard. We want to remove all of these, and (eventually) replace them with new piping and heads.
We start with one of the heads. Dig down and see where the piping is.
We dig along the pipe across the yard, until we get to the River of Rocks.
At this point, it would appear that it runs to a line that runs next to the main irrigation water supply line, which we don't want to disturb, so we cap this line off.
and go on to repeat this for the other heads.
The next group of heads leads us back to the Zone 8 Valve.
which we dig up carefully.
We can see that it is nestled in the turn of the main irrigation supply line. The main must be one-inch PVC. Zone 8 taps off of that and sends water in two directions -- one small pipe (1/4 inch) towards the corner of the house, a larger (1/2 inch) pipe goes back to the main supply line and tees into one line going along the main (this is the one that we have capped off all its heads), and another that continues across the yard (which is the one we followed back to find the value).
So we need to dig up this last head for Zone 8, and then clip the existing lines off and attach the lines that will define the new Zone 8, with sea oats and sedges.
As we were digging up the last sprinkler head and PVC line for Zone 8, we had the problem that the Zone 8 line was positioned next to the main irrigation water supply line. So naturally, we put our pick axe thru the main supply line.
You cannot patch these lines; you have to replace this part. But replacing a small piece in the middle of an existing line, with both ends fixed in place, is difficult to impossible. So I replaced a much larger piece, from where the break was down to the corner and up a piece from there. This includes the section that provides water to the Zone 8 valve, and we decided to move the Zone 8 valve to the outside of the main supply line, instead of it's previous position inside the main supply line.
We replaced the previous Schedule 20 PVC with Schedule 40 PVC, which has much thicker walls.
The main irrigation water supply line is 1.5 inch PVC. The lines going into and out of the Zone 8 valve are 1 inch PVC. We will probably end up with two 3/4 inch lines going from the Zone 8 valve, and then step those down to 1/2 inch for the actual heads.
But for now, we are done with this section of the West Lawn, and so we can cover the irrigation lines over, remembering where the Zone 8 valve is, so we can come back to attach to it later.
All of this area is supposed to be put over to native, drought-resistant, shade tolerant plants. I think it is sedges and native grasses. The landscape plan says it is 11, 12, and 13 which are horse herb/wedelia, meadow sedge/texas sedge, and inland sea oats/chili pequin. I'm assuming that all these have the same watering needs, so I intend to run one line of heads next to the fence, spraying in to the yard, and another line of heads next to the River of Rocks, spraying the other way, so that we cover the entire area.
So the first problem is to remove the old Zone 8 piping. It seems to go every which way. Turning on Zone 8 and marking which heads pop up shows a couple along the fence, one by the corner of the house, and a couple in the middle of the yard. We want to remove all of these, and (eventually) replace them with new piping and heads.
We start with one of the heads. Dig down and see where the piping is.
We dig along the pipe across the yard, until we get to the River of Rocks.
At this point, it would appear that it runs to a line that runs next to the main irrigation water supply line, which we don't want to disturb, so we cap this line off.
and go on to repeat this for the other heads.
The next group of heads leads us back to the Zone 8 Valve.
which we dig up carefully.
We can see that it is nestled in the turn of the main irrigation supply line. The main must be one-inch PVC. Zone 8 taps off of that and sends water in two directions -- one small pipe (1/4 inch) towards the corner of the house, a larger (1/2 inch) pipe goes back to the main supply line and tees into one line going along the main (this is the one that we have capped off all its heads), and another that continues across the yard (which is the one we followed back to find the value).
So we need to dig up this last head for Zone 8, and then clip the existing lines off and attach the lines that will define the new Zone 8, with sea oats and sedges.
As we were digging up the last sprinkler head and PVC line for Zone 8, we had the problem that the Zone 8 line was positioned next to the main irrigation water supply line. So naturally, we put our pick axe thru the main supply line.
You cannot patch these lines; you have to replace this part. But replacing a small piece in the middle of an existing line, with both ends fixed in place, is difficult to impossible. So I replaced a much larger piece, from where the break was down to the corner and up a piece from there. This includes the section that provides water to the Zone 8 valve, and we decided to move the Zone 8 valve to the outside of the main supply line, instead of it's previous position inside the main supply line.
We replaced the previous Schedule 20 PVC with Schedule 40 PVC, which has much thicker walls.
The main irrigation water supply line is 1.5 inch PVC. The lines going into and out of the Zone 8 valve are 1 inch PVC. We will probably end up with two 3/4 inch lines going from the Zone 8 valve, and then step those down to 1/2 inch for the actual heads.
But for now, we are done with this section of the West Lawn, and so we can cover the irrigation lines over, remembering where the Zone 8 valve is, so we can come back to attach to it later.
Continuing the River of Rocks (Part 2)
Continuing the River of Rocks from the A/C compressor down to the corner of the house is a repeat of the first part. First level the path, and layout the rocks.
Then, each rock has to be individually fitted with a hole suited for that rock, to make it level and stable.
The hard part is trying to see if things are level or not.
And then we add dirt to fill in the spaces between the rocks, and let it sit, to try and settle before we put mondo grass between the rocks.
While we are waiting for this to settle, we can work on the next section of the River of Rocks -- going around the corner, and on the rest of the West Lawn.
Then, each rock has to be individually fitted with a hole suited for that rock, to make it level and stable.
The hard part is trying to see if things are level or not.
And then we add dirt to fill in the spaces between the rocks, and let it sit, to try and settle before we put mondo grass between the rocks.
While we are waiting for this to settle, we can work on the next section of the River of Rocks -- going around the corner, and on the rest of the West Lawn.
Wednesday, July 22, 2015
Trimming the Trees
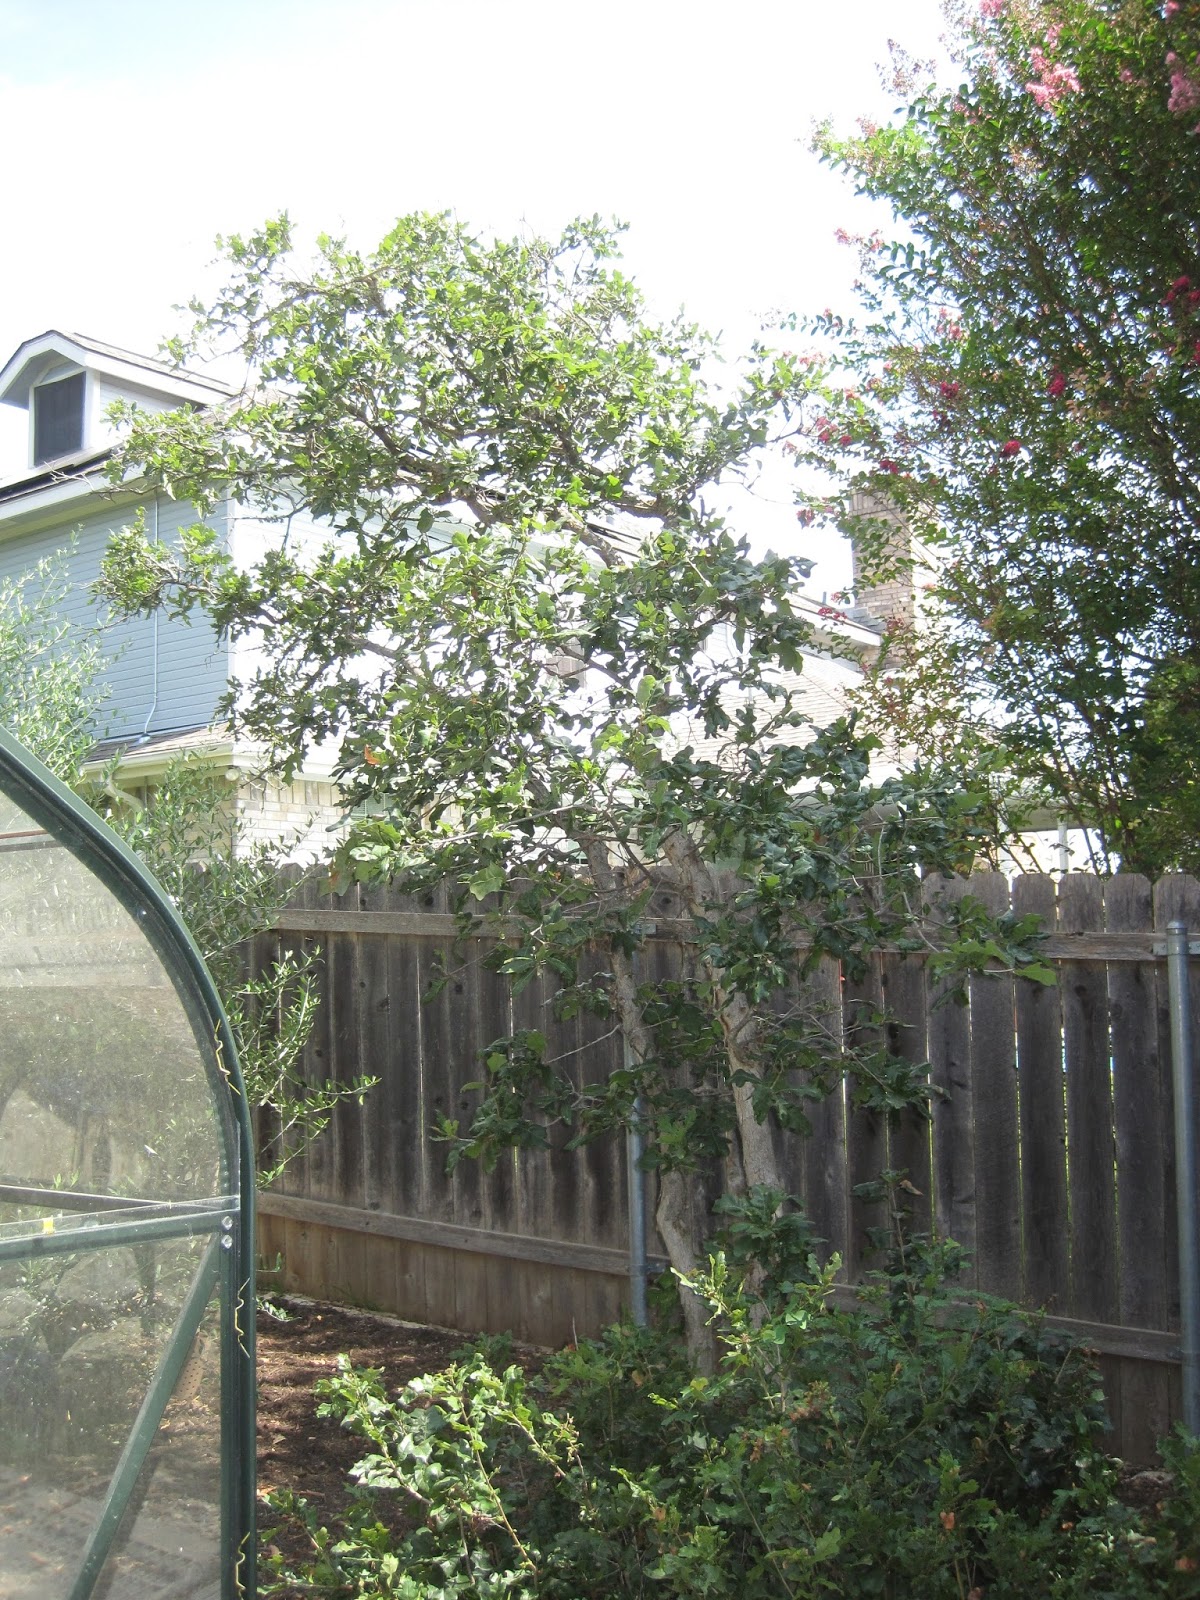
We had our trees trimmed yesterday. We have this done occasionally. It's not cheap. Looking back we did this in
10/21/2001 Arbor Tech $503
4/27/2005 Arbor Tech $1300
3/2/2010 Crawford Tree Service $750
7/21/2015 Better Price Tree Service $900
So it looks like we do this about every 5 years. This year was much like other years -- 3 or 4 people show up and swarm over the trees, trimming off dead limbs and keeping the trees away from the house. We like trees, so our objective is to keep the trees alive and happy, otherwise we are not trying to control the trees.
And what are our trees? The live oak out front is "Fuzzy".
The other large tree in the front is "The General", a Spanish Oak.
Nestled under The General, at the corner of the house is a small Mountain Laurel.
In addition, in the front yard, we have two ornamental Bradford Pear trees that shade both our driveway and the neighbor's driveway.
and behind the Bradford Pears are a stand of Crape Myrtles (Watermelon Red).
There is one more Crape Myrtle (Dallas Red) between the garage and the front door.
If we go into the back yard, over by the River of Rocks, we have the "Three Sisters" Drake Elm trees.
And back a little further in the back yard is another Live Oak
We also have a few Shin Oaks left from before the house was built. One sits right in the middle of the River of Rocks in the back yard.
There are more Shin Oaks in the Jungle, plus a couple of other trees -- one a White Oak. It's difficult to get a picture of any of these trees individually, what with the Bamboo Grove and the other plants in the Jungle.
We have two other Shin Oaks, in the other corner of the back yard. These were originally in the middle of the back yard, but we moved them, and they seem to be happy in their new location.
On this East side of the house, the Monterry Oak is the largest tree.
Its companion outside the kitchen window is the Chinese Pistache.
Of course, we also have our two Olive trees (which may or may not work out with our cold weather winters):
And our latest addition, intended to provide shade for the middle of the back yard, our Pecan tree.
10/21/2001 Arbor Tech $503
4/27/2005 Arbor Tech $1300
3/2/2010 Crawford Tree Service $750
7/21/2015 Better Price Tree Service $900
So it looks like we do this about every 5 years. This year was much like other years -- 3 or 4 people show up and swarm over the trees, trimming off dead limbs and keeping the trees away from the house. We like trees, so our objective is to keep the trees alive and happy, otherwise we are not trying to control the trees.
And what are our trees? The live oak out front is "Fuzzy".
The other large tree in the front is "The General", a Spanish Oak.
Nestled under The General, at the corner of the house is a small Mountain Laurel.
In addition, in the front yard, we have two ornamental Bradford Pear trees that shade both our driveway and the neighbor's driveway.
and behind the Bradford Pears are a stand of Crape Myrtles (Watermelon Red).
There is one more Crape Myrtle (Dallas Red) between the garage and the front door.
If we go into the back yard, over by the River of Rocks, we have the "Three Sisters" Drake Elm trees.
And back a little further in the back yard is another Live Oak
We also have a few Shin Oaks left from before the house was built. One sits right in the middle of the River of Rocks in the back yard.
There are more Shin Oaks in the Jungle, plus a couple of other trees -- one a White Oak. It's difficult to get a picture of any of these trees individually, what with the Bamboo Grove and the other plants in the Jungle.
We have two other Shin Oaks, in the other corner of the back yard. These were originally in the middle of the back yard, but we moved them, and they seem to be happy in their new location.
On this East side of the house, the Monterry Oak is the largest tree.
Its companion outside the kitchen window is the Chinese Pistache.
Of course, we also have our two Olive trees (which may or may not work out with our cold weather winters):
Friday, July 17, 2015
Actually building the River of Rocks (Part One)
The idea of the River of Rocks is fairly simple; the actual construction of it has been much more difficult.
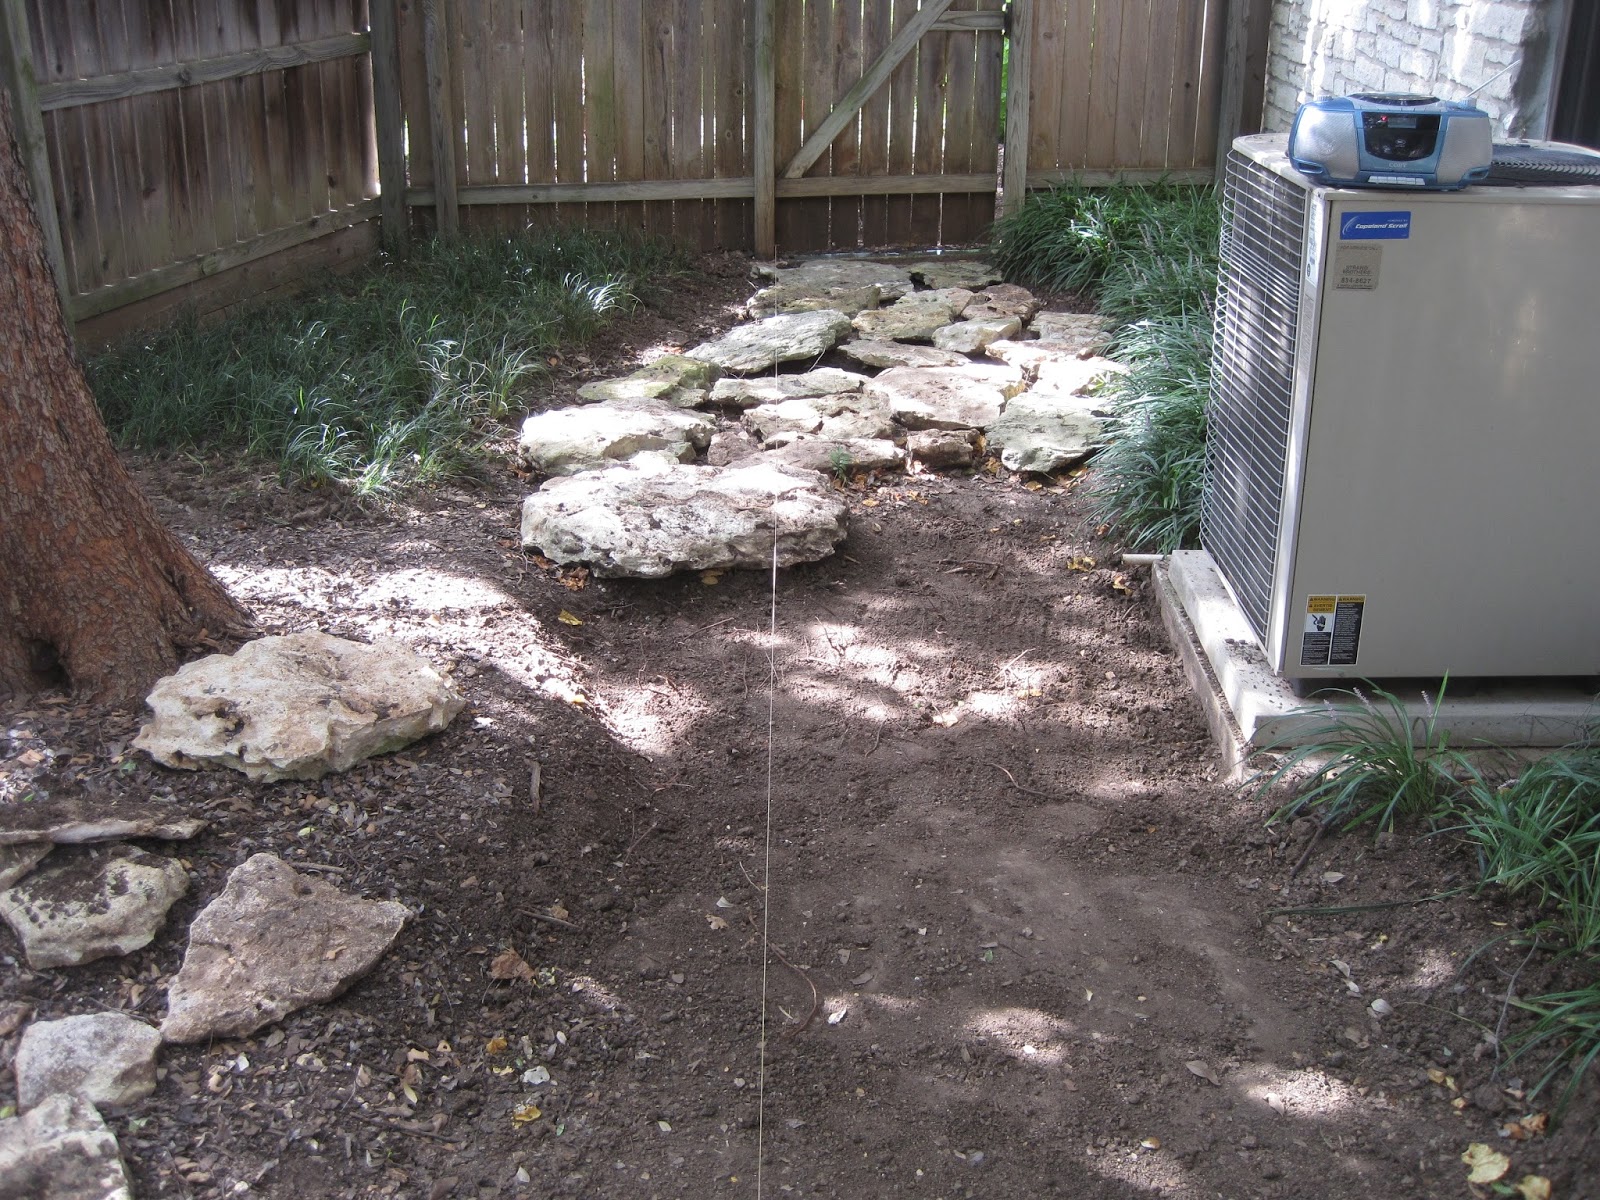
First I have had to scrape out the path for the River of Rocks, digging down enough to make the path level. Then I put the rocks in place, to see how they would fit together.
I'm using a string here to help me keep the rocks level. Some of the rocks are thicker and some are thinner. Each rock has to have the dirt under it dug out to accommodate that specific rock, so that it lies flat and stable and at the correct height, so that the path is (mostly) level.
Once that is done, I poured dirt over it and raked the dirt down into the spaces between the rocks. Then I saturated the entire area with water, to get the dirt to settle down, and flow under the rocks. I think there are a couple of the smaller rocks that will need to be "raised" up a bit (probably less than half an inch) once everything settles, but for now it's looking pretty good.
This is thick, rich dirt which we have been saving from the truck load that went into the raised garden. It should be excellent dirt for the mondo grass to be transplanted into. The mondo grass will fill the spaces between the rocks (after everything settles and dries).
This is the first section of the River of Rocks. Since this process seems to be working, I will continue it from the A/C compressor down to the end of the house.
First I have had to scrape out the path for the River of Rocks, digging down enough to make the path level. Then I put the rocks in place, to see how they would fit together.
I'm using a string here to help me keep the rocks level. Some of the rocks are thicker and some are thinner. Each rock has to have the dirt under it dug out to accommodate that specific rock, so that it lies flat and stable and at the correct height, so that the path is (mostly) level.
Once that is done, I poured dirt over it and raked the dirt down into the spaces between the rocks. Then I saturated the entire area with water, to get the dirt to settle down, and flow under the rocks. I think there are a couple of the smaller rocks that will need to be "raised" up a bit (probably less than half an inch) once everything settles, but for now it's looking pretty good.
This is thick, rich dirt which we have been saving from the truck load that went into the raised garden. It should be excellent dirt for the mondo grass to be transplanted into. The mondo grass will fill the spaces between the rocks (after everything settles and dries).
This is the first section of the River of Rocks. Since this process seems to be working, I will continue it from the A/C compressor down to the end of the house.
Saturday, July 4, 2015
Liriope and Monkey Grass Beds for the West Lawn
When the cable people tore up the Monkey Grass by the greenhouse, it seemed that we should replant what we can over in the West Lawn. That is closer to what was intended; planting it by the greenhouse was supposed to be just temporary.
The first step is to build up the bed that we dug up. It has the native dirt, mixed with leaves, grass and compost, but it will settle. So we first put on a thick layer of the good dirt we are storing in the backyard.
Then we can transplant the Liriope that was left on the wrong side of the river of rocks up by the fence into this bed. It's a little sparse, but should fill in over time.
That leaves the area on the other side of the river of rocks by the fence empty.
We can build this up with better dirt from the backyard pile and then plant the monkey grass that was torn up by the cable people.
The first step is to build up the bed that we dug up. It has the native dirt, mixed with leaves, grass and compost, but it will settle. So we first put on a thick layer of the good dirt we are storing in the backyard.
Then we can transplant the Liriope that was left on the wrong side of the river of rocks up by the fence into this bed. It's a little sparse, but should fill in over time.
That leaves the area on the other side of the river of rocks by the fence empty.
We can build this up with better dirt from the backyard pile and then plant the monkey grass that was torn up by the cable people.
Subscribe to:
Posts (Atom)